- Best Stump Killer To Consider for Your Yard - January 5, 2024
- The 7 Best Spading Fork Options - December 21, 2023
- Best Head Planters – Top 24 Options You Will Love - December 16, 2023
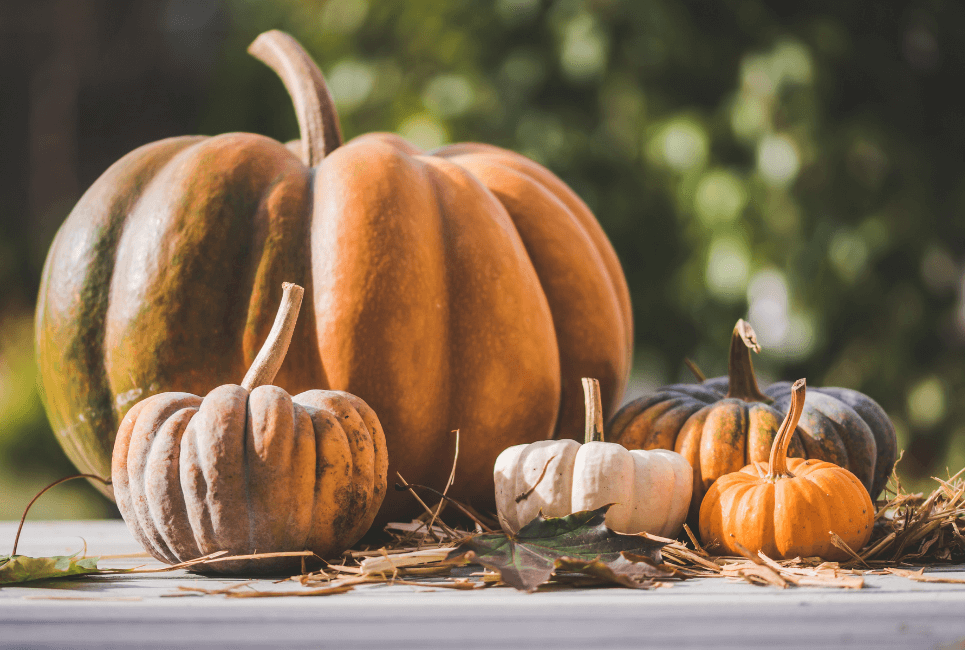
The acorn squash — a winter squash that many of us have seen in stores, at fall celebrations, and in gardens. You might find yourself with questions about growing acorn squash, how to grow and care for acorn squash, and how they’ll fit into your garden without a hint of an answer.
When I first started growing squash, I didn’t know what to expect. I knew I would have some tasty squash by the end of the season, but what about everything in between? Do they need any other care beyond weeding and watering? Do you have these same questions?
Look no further! Acorn squash isn’t as complicated as it may seem. Anyone can grow it with enough love and care — expert and novice gardeners alike. So grab your spades and bags of seeds, because I’m about to show some knowledge.
What Is an Acorn Squash?
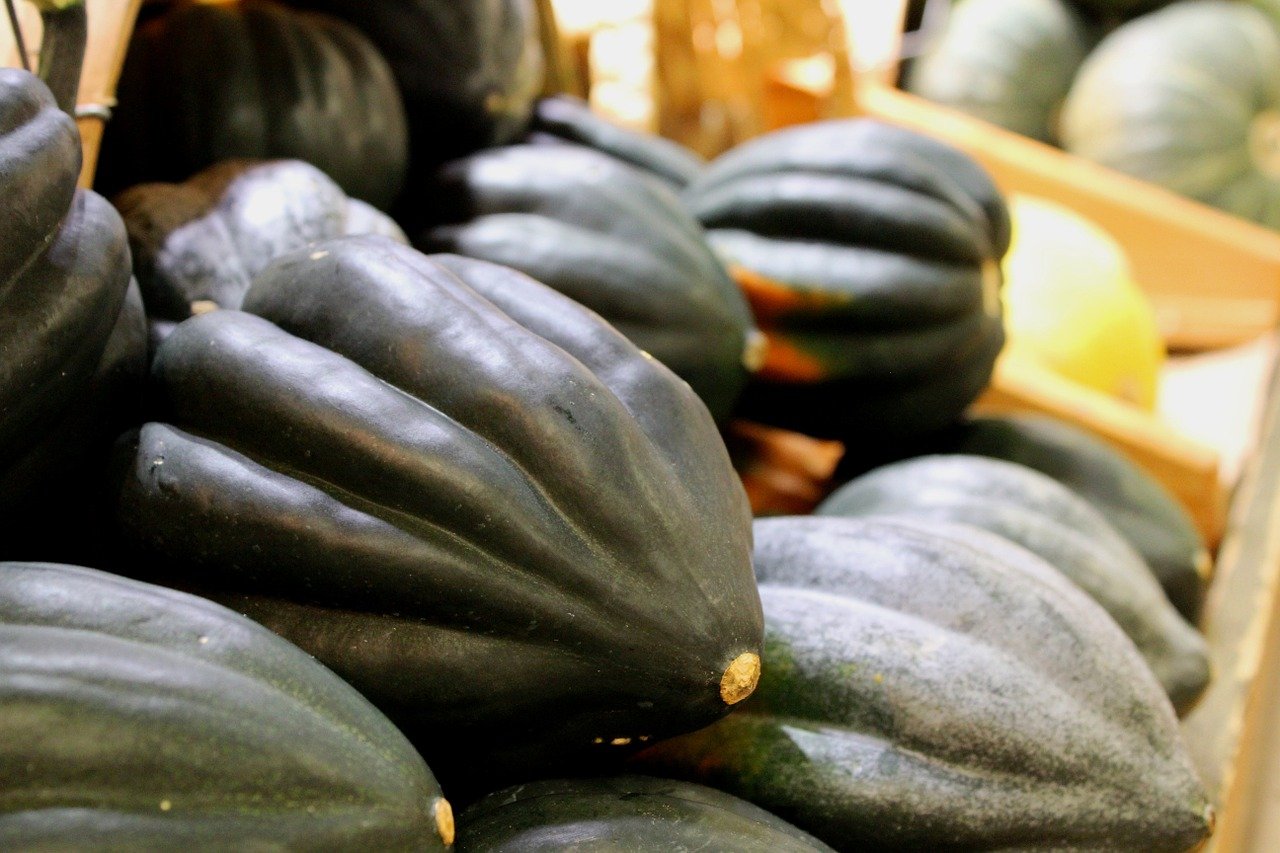
The acorn squash, also known as the Des Moines squash or the pepper squash, is a type of winter squash that grows throughout the summer. It’s a part of the summer squash (Cucurbita pepo) family, meaning it’s in the same family as all other summer squashes, like zucchini and patty pan!
The only reason they’re called “winter squash” is because of their ability to be stored for months in cooler basements –they were great for our ancestors to pack away for the cold winter months. And while botanically considered a fruit, it’s an honorary vegetable in my heart.
Why you should grow them
Before you set off to your garden, why should you invest your time in growing acorn squash?
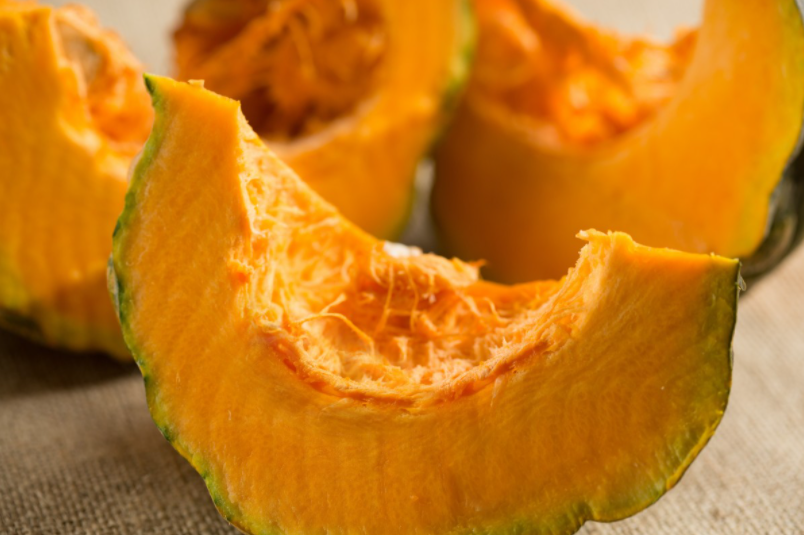
Not only are the plants large and impressive, the flowers gorgeous, and the fruit perfect for a touch of fall aesthetic, but the fruit is also chock-full of antioxidants! It’s full of nutrients like potassium, vitamin C, magnesium, and fiber, and anything home-grown in your garden with love is always going to be worth the time.
Tools to use
An important thing to keep in mind is that you need the right tools for the job. You’ve got your standard trowel and weeder, but what about beyond that? Is there anything else you might need? Don’t use up another second worrying about it! Here’s everything you need:
- A garden hose
- A soil thermometer
- Pruning shears
- Grow lights (If you’re starting indoors)
- Row covers
- A hoe
- Some good fertilizer
The row covers are best used for the first four weeks of your squash being outside. It helps prevent disease — just make sure you remember to remove them after those four weeks so they can be properly pollinated!
Once you’ve got all the tools and supplies you need, you’re almost ready to hit the garden.
Best places to get Acorn squash seeds
But before you can grow your acorn squash, you’re going to need some seeds! You’re welcome to put starter plants in your garden, but for that “Hey, I grew it myself!” feeling, I love to start from seed.
The best place to get acorn squash seeds is either a local gardening store or right here on the web. Amazon’s always my go-to when it comes to ordering things online — and these acorn squash seeds just might be your best bet at a 90% germination rate.
How to grow from seedlings — Germinate good times, come on!
Before I move on, I’d like to take a moment to talk about how to germinate acorn squash seeds!
Germination is when you help your little seed along to become a plant. After seeds have been dormant for a while, sometimes you need to create the right conditions to help them grow. A lot of gardeners use growing trays or little bio-degradable pots to get started.
It’s not a terribly complicated process — start by taking your seeds and covering them with a warm, damp paper towel while you prepare your soil. Make sure you leave them in the paper towel for a few hours before planting!
Then you’ll want to plant about six of them in the same pot after adding soil mix and sprinkling a touch of warm water inside.
Once planted (no deeper than just under an inch), place your plants in a sunny window, or under a fluorescent light, and cover with plastic wrap for the first two or three days.
They should begin to pop up between 5 and 12 days — and once they’ve sprouted, you’ll want to move a few of them to other pots, leaving 3 in each.
Then all there is to do is wait for all threat of frost to be gone before transferring them outside!

How and When to Get Started
The very first thing you want to do when growing and caring for acorn squash is make sure you’re getting started in the right season — though it may be a winter squash, acorn squash is best started right after winter. Or, more specifically, the last frost of the season.
If you’re starting from seed, you’ll want to start your seedlings inside. You can start your seeds inside about three to four weeks before the last frost of the season — this gives them time to come up out of the soil so they’re ready for the elements when the time comes.
Whether you’re starting from seed or bringing home young plants from the store, you want to make sure they’re planted in your garden no earlier than two weeks after the final frost of the season.
But before you put your plants in the ground, you want to make sure your garden is prepared. The key to growing acorn squash is making sure they have the proper space to grow.
I’d recommend about 50 square feet of space, depending on how many plants you’ll be tending to, planting them no closer than 18 inches apart. Ideally, they’ll have somewhere between 3 to 6 feet to grow. Just remember that the space they may need can depend on the size — the most space they might need to be separated could be up to six feet apart!
How big do they get? Big and small, you can grow them all
While the squash itself measures between four to seven inches, the plants can grow up to varying sizes. Smaller plants will grow outward to be 18 to 24 inches (two feet), medium plants will be 2 to 3 feet, and the largest can grow out to be 3 to 4 feet!
Time to Get Growing
Now that your plants are in the ground, it’s time to make sure they stay healthy and strong! Since acorn squash can grow to such large sizes, they’re heavy feeders. So make sure the soil they’re planted in is rich, and try to feed them regularly. An all-purpose fertilizer should do a fine job.
Feeding them once a month throughout the growing season should help them along nicely. Oh, and here’s a quick tip that I like to use: put fertilizer down before you plant your seeds or transplant your starter plants to make sure the soil is ready for them!
And speaking of soil — you’ll want to make sure it’s the right temperature for your little plants! The soil temp should be at least 60 degrees F before you put them in the ground. And remember that the soil’s pH should be between 5.5 and 6.8.
You’ll also want to make sure they get plenty of sun — about 6 hours of sunlight per day. Planting them where they’ll get full sun is best.
And don’t forget to water them! Acorn squash needs about an inch of rainwater a week — so if you’re not expecting rain, be sure to have your watering can at the ready.
But unfortunately, gardening isn’t all roses — or, acorn squash, in this case — and you need to keep a sharp eye out for pests. The two biggest threats to your growing acorn squash are borers and striped cucumber beetles.
Pest control 101 — Gardening’s no borer
Borers are these little beetles that lay their eggs on the stem of your acorn squash so when they hatch, the larva can burrow down into the stem, preventing your squash from taking up any water and nutrients. This causes sudden wilting, and can all-too-often lead to the death of an acorn squash plant.
Another sign that borers are hiding in your plant is traces of something that looks like sawdust around the base (or lower stem) of your squash plant. The “sawdust” can be spotted before wilting takes place, so be sure to check your plants regularly.
But don’t fret! Borers don’t necessarily mean the end! A good way to control squash vine borers is to remove spent vines after harvesting so any borers that may have been hiding inside don’t have the chance to get to the rest of your garden. It may also help to till the area so birds can eat any larvae that might be in the soil.
Other ways to combat borers include:
- Checking for and removing any eggs you might see — they’re small and bright orange
- Wrapping a little bit of foil at the base of your stems where they meet the ground
- Making a vertical slit on any holes in the vines and removing the larvae by hand
Striped cucumber beetles
Striped cucumber beetles might also put a hindering on your gardening mojo — lucky, they’re easy to spot. These yellow beetles will feast on the leaves of your squash plant, girdled stems, and the squash itself.
These beetles are also primary carriers of cucumber mosaic virus — so it’s extremely important to get them out of your garden as fast as possible.
Thankfully, there are ways to combat these destructive little bugs. Here are a few precautions to take.
- Try to remove and destroy any plants infected with bacterial wilt, so they won’t attract even more beetles to your acorn squash
- Mulch the ground with hay, plastic, fabric, or straw to deter beetles from laying eggs in the ground
- If push comes to shove, it might be best to use an environmentally-friendly pesticide
Companion Planting -Buds for Your Buds
And speaking of pests – who could forget about companion planting? If you’re fairly new to gardening, companion planting when it comes to squash is a very wise thing to do — it helps keep pests off of your squash, improve the flavor of your veggies, and even boost growth! A few faithful companions for acorn squash (and squash in general!) are:
- Corn
- Beans
- Marigolds
- Peas
- Mint
- Radish
- Sunflowers
- Cucumbers
- Celery
- Carrots
But be warned that while some plants benefit from each other, there are some plants that will do just the opposite. Try to avoid planting potatoes and tomatoes near your acorn squash to keep them happy!
Harvest for Last –When to Pick your Squash
Acorn squash takes between 80 to 100 days to mature completely and be ready for harvest — and should be harvested before the first hard frost.
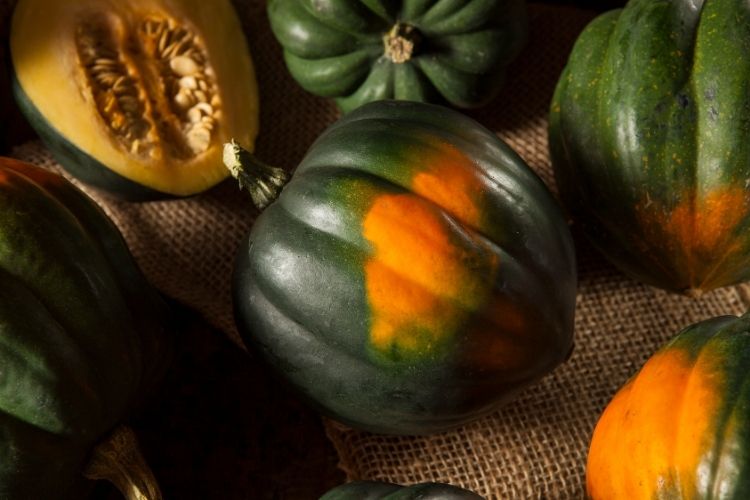
When they’re ready, they’ll be tough enough to withstand being poked with your fingernail. They’ll also be a dark green all over, aside from the section that was in contact with the ground. That bit will be yellow or orange!
When you’re ready to harvest your squash, cut the stem from the vine, leaving about one inch of the vine attached. Remember not to pull the squash from the plant — you might hurt it.
How to stash squash away for another day
And just like that, you’ve grown your own acorn squash and successfully cared for the plant all season long! Now, all there is to do is make sure you store your squash properly.
Store them somewhere cool and dry, and side by side. Not stacked. They should last up to a month or two if kept at room temperature, and about two weeks if kept in a refrigerator.
FAQs
Honestly, it depends on a few different things. If you’re shorter on time, you might want to go with transplants or starter plants. If you’re a little strapped for cash, starting from seed is a better option. Take a moment to ask yourself if you’re ready to commit to caring for these plants from seed. And if not, just bring home some transplants! Though I personally like to grow plants from seed simply because of the sense of accomplishment.
Believe it or not, acorn squash seeds can be saved for up to six years! Any seeds within that time period will probably germinate.
Yes! It can be frozen either cooked or raw.
No, you don’t need to necessarily. It’s just a recommendation!
Everything’s Coming up Squash
Congratulations! You’re now ready to get out there and plant your own acorn squash. You’ve got everything you need to know about growing acorn squash and their care — so you can rest assured knowing your plants are in the right hands. And hey, maybe you could teach your friends and family a thing or two about growing their very own acorn squash!
Best of luck with your gardening adventures, and I hope you have a plentiful harvest at the end of the growing season.
How did your acorn squash come out? What did you end up making with it? Did I answer your questions about growing acorn squash, how to grow and care for acorn squash, and how to fit them in your garden? Were they a good addition to your garden? Let me know in the comments below — I look forward to hearing from you!