- Growing Bok Choy: How to Grow and Care for Bok Choy - December 9, 2020
- Growing Snow Pea: How to Grow and Care for Snow Pea - November 4, 2020
- Growing Fennel: How to Grow and Care for Fennel - October 22, 2020
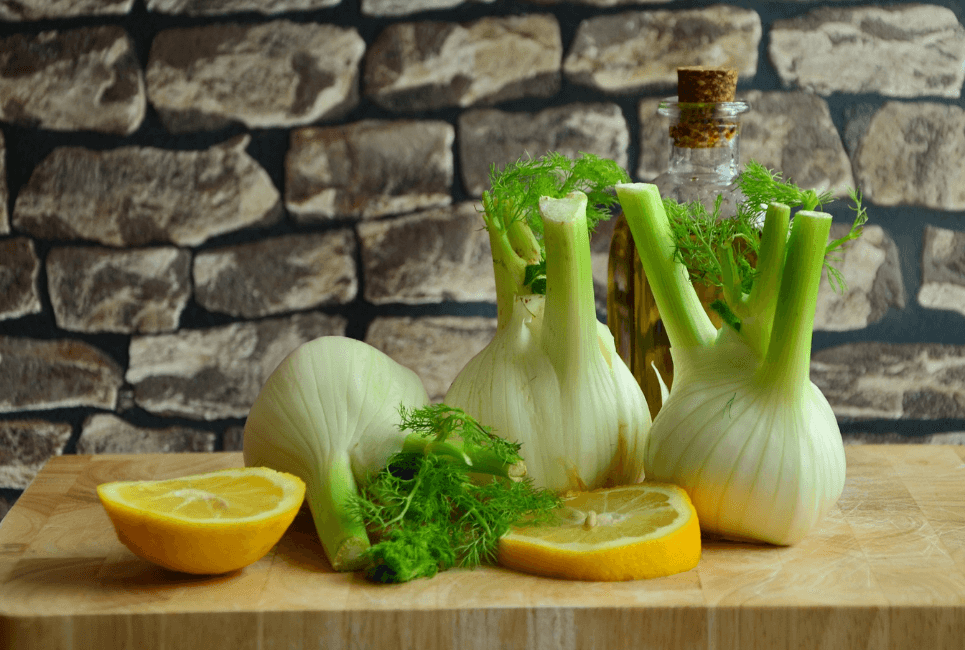
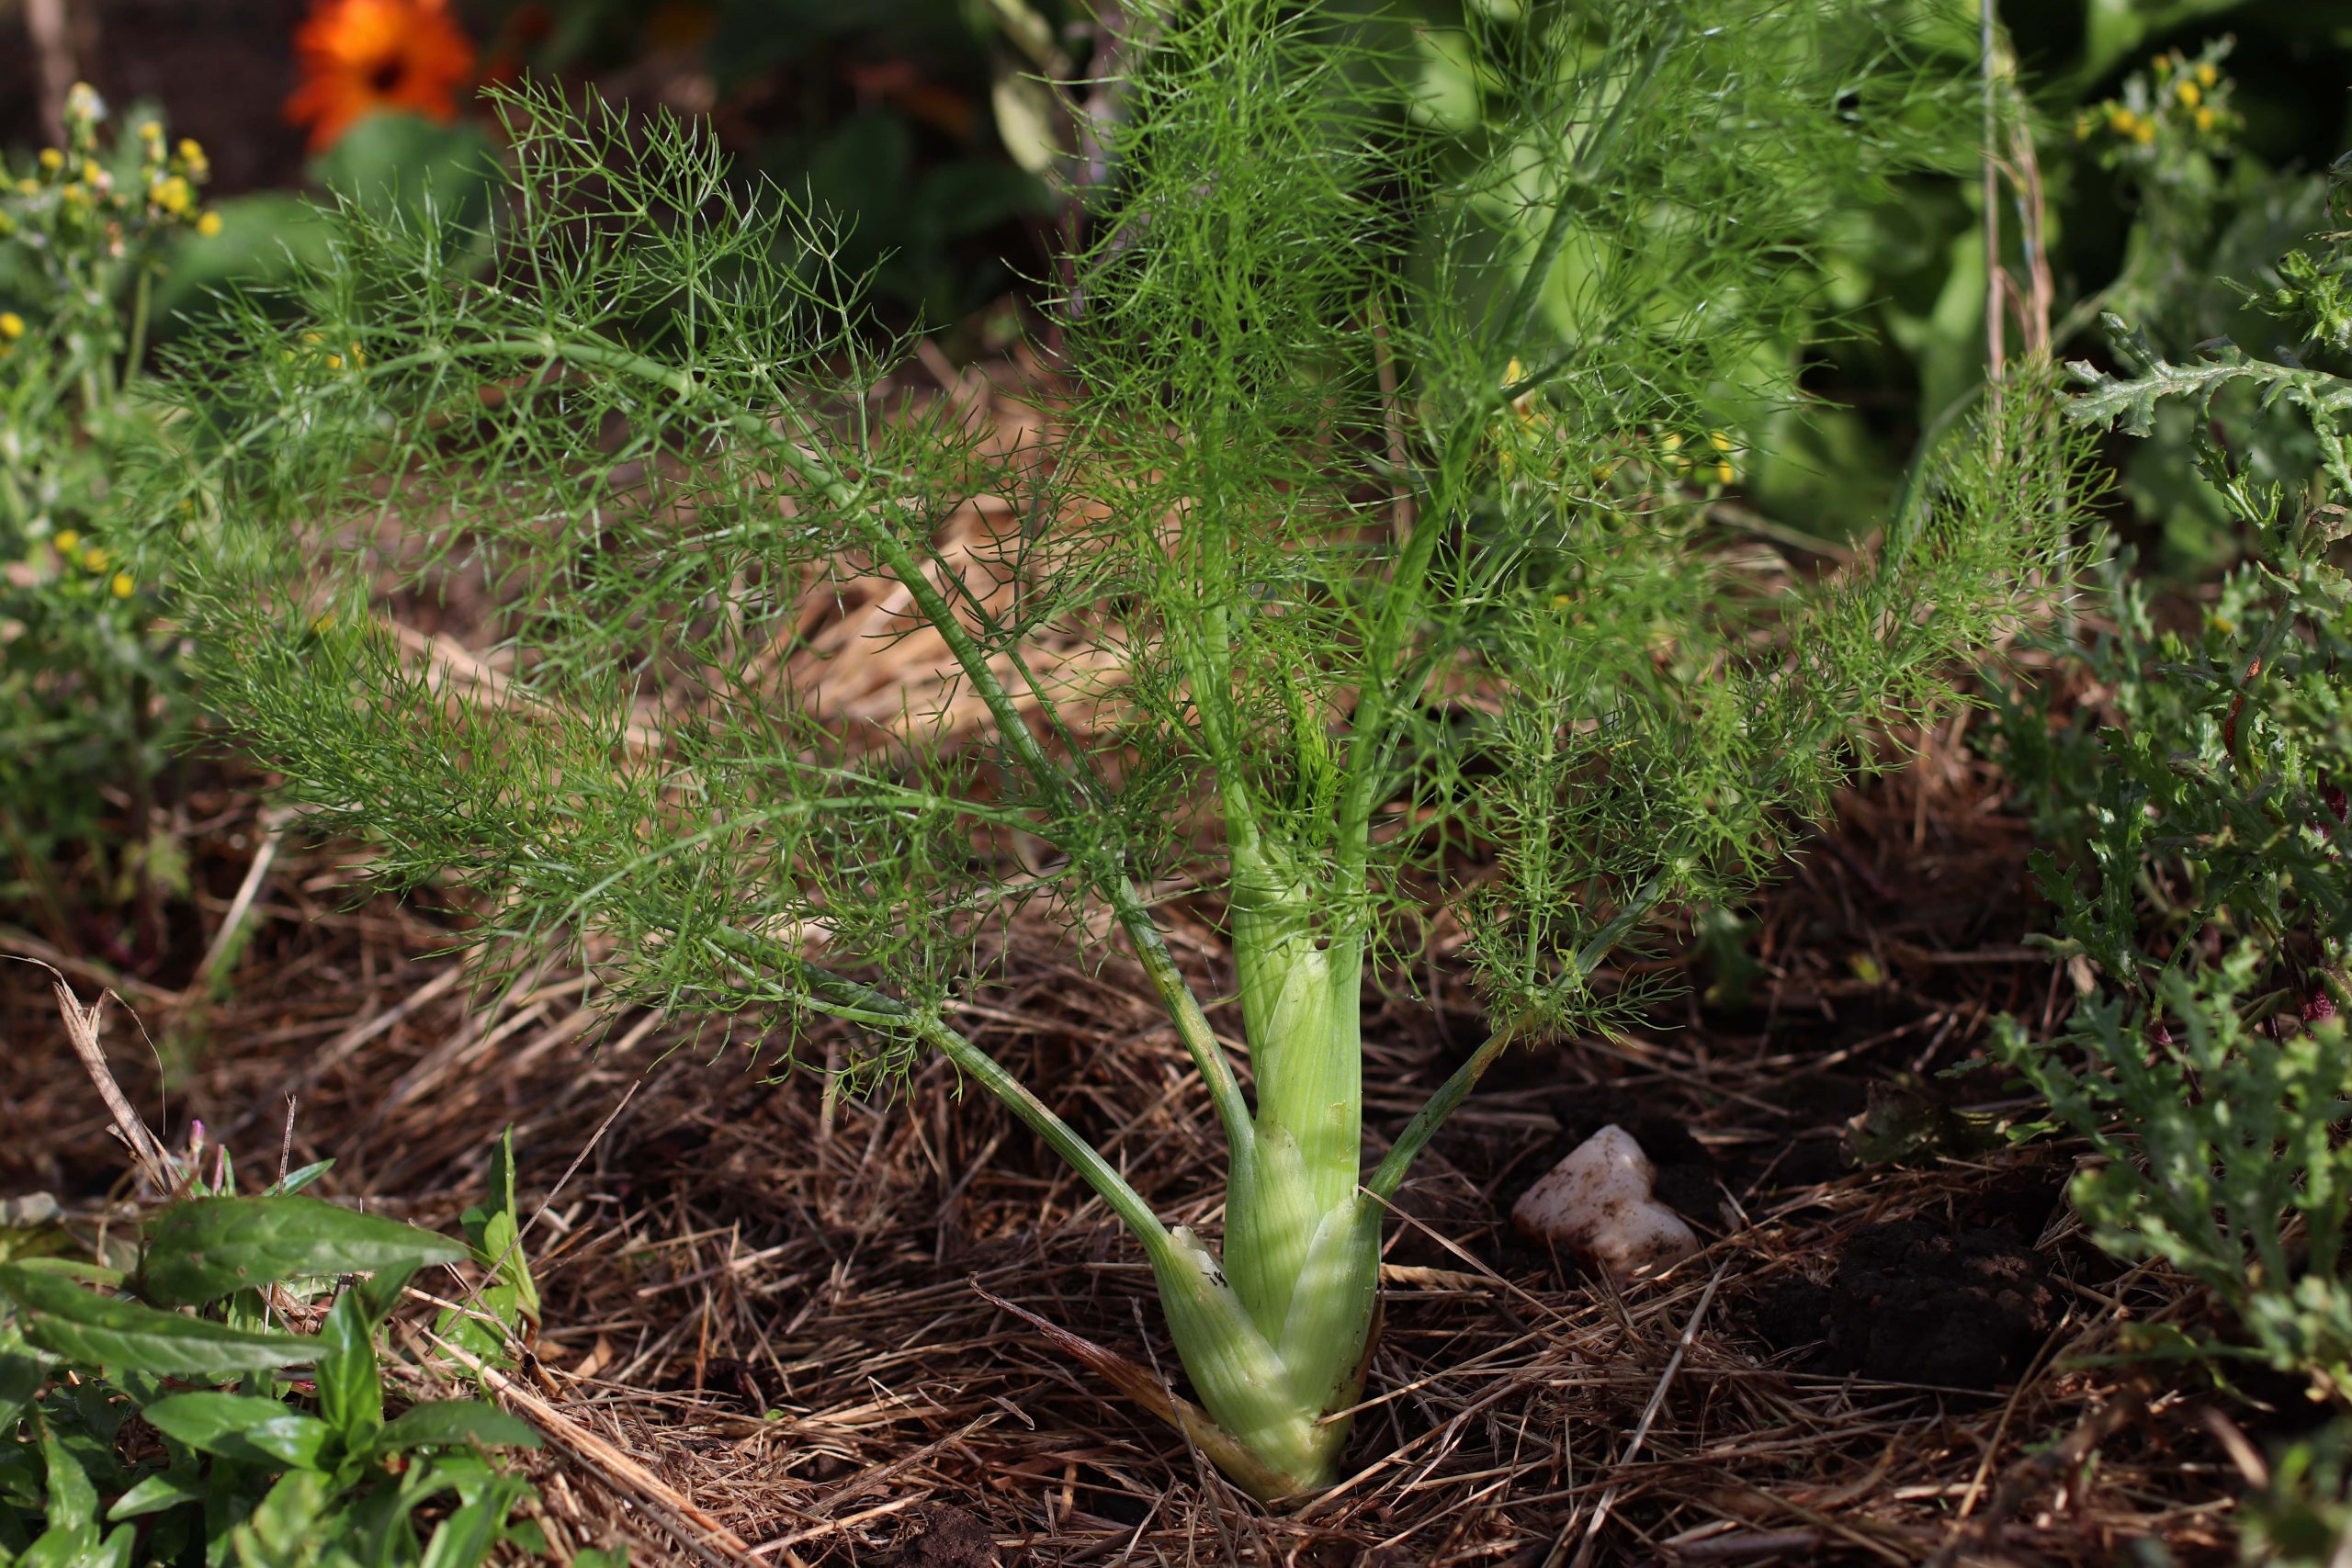
Native to southern Europe and a classic component in Mediterranean cuisine, fennel is now grown all over the world for its crisp bulb and feathery leaves. It’s low-maintenance, cold-tolerant (down to 0°F/-17°C), and has a deliciously distinct licorice/aniseed flavor that complements so many other foods.
Fennel also happens to be surprisingly easy to grow. Here’s everything you need to know…
The Different Types of Fennel
There are actually two types of fennel, which can sometimes cause a bit of confusion:
- Bulb fennel – also known as Florence fennel, this is grown as an annual vegetable for its crunchy, delicately-flavored bulb and celery-like stems.
- Herb fennel – also known as sweet or common fennel, this is a flowering perennial herb with a more intense flavor.
Choosing a Variety
Once you’ve decided on which type of fennel you want to grow, you will need to choose a variety. Each one will have its own unique characteristics, so pick wisely!
Bulb Fennel
Most varieties will grow to a maximum of 3 feet in height. Just like when growing any other vegetable, choose the variety that best suits your climate.
- Rhondo – matures quickly, making it ideal for those with a shorter growing season.
- Mantavo – highly productive and slow to bolt, making it perfect for hotter climates.
- Big Sicilian – produces chunky, heart-shaped bulbs – the longer your growing season, the bigger they will get.
- Romanesco – loved for its sweet-tasting, pure white bulbs.
Herb Fennel
Most varieties will grow to around 5 feet in height, with some boasting stunning ornamental qualities.
- Purpureum – often grown purely as a decorative plant for its bronze/purple leaves, although all parts of the plant are also edible.
- Rubrum – another colorful fennel with red/bronze leaves.
Sowing Fennel Seeds
Fennel is an easy plant to grow from seed. However, since it grows a long taproot, it doesn’t like to be transplanted.
Ideally, sow the seeds where you want your fennel to grow. This is best done in the spring, once the soil has started to warm up. Successional sowings until late spring will ensure regular harvests. Second sowing can be done in midsummer to give you a fall/winter harvest.
If you live in a colder climate, start seeds off in modules or small pots indoors, but don’t leave it too long before transplanting. This minimizes root disturbance once the plant really gets going.
Direct Sowing
Choose a sunny site in your garden with well-draining soil. Adding in some organic matter, such as well-rotted horse manure or compost, will help to improve drainage while increasing soil fertility.
- Sow seeds thinly, 1/4” to 1/2” deep, in rows that are about 20” apart.
- Cover with a fine layer of soil.
- Keep the soil moist while the seeds are germinating.
Sowing in Modules
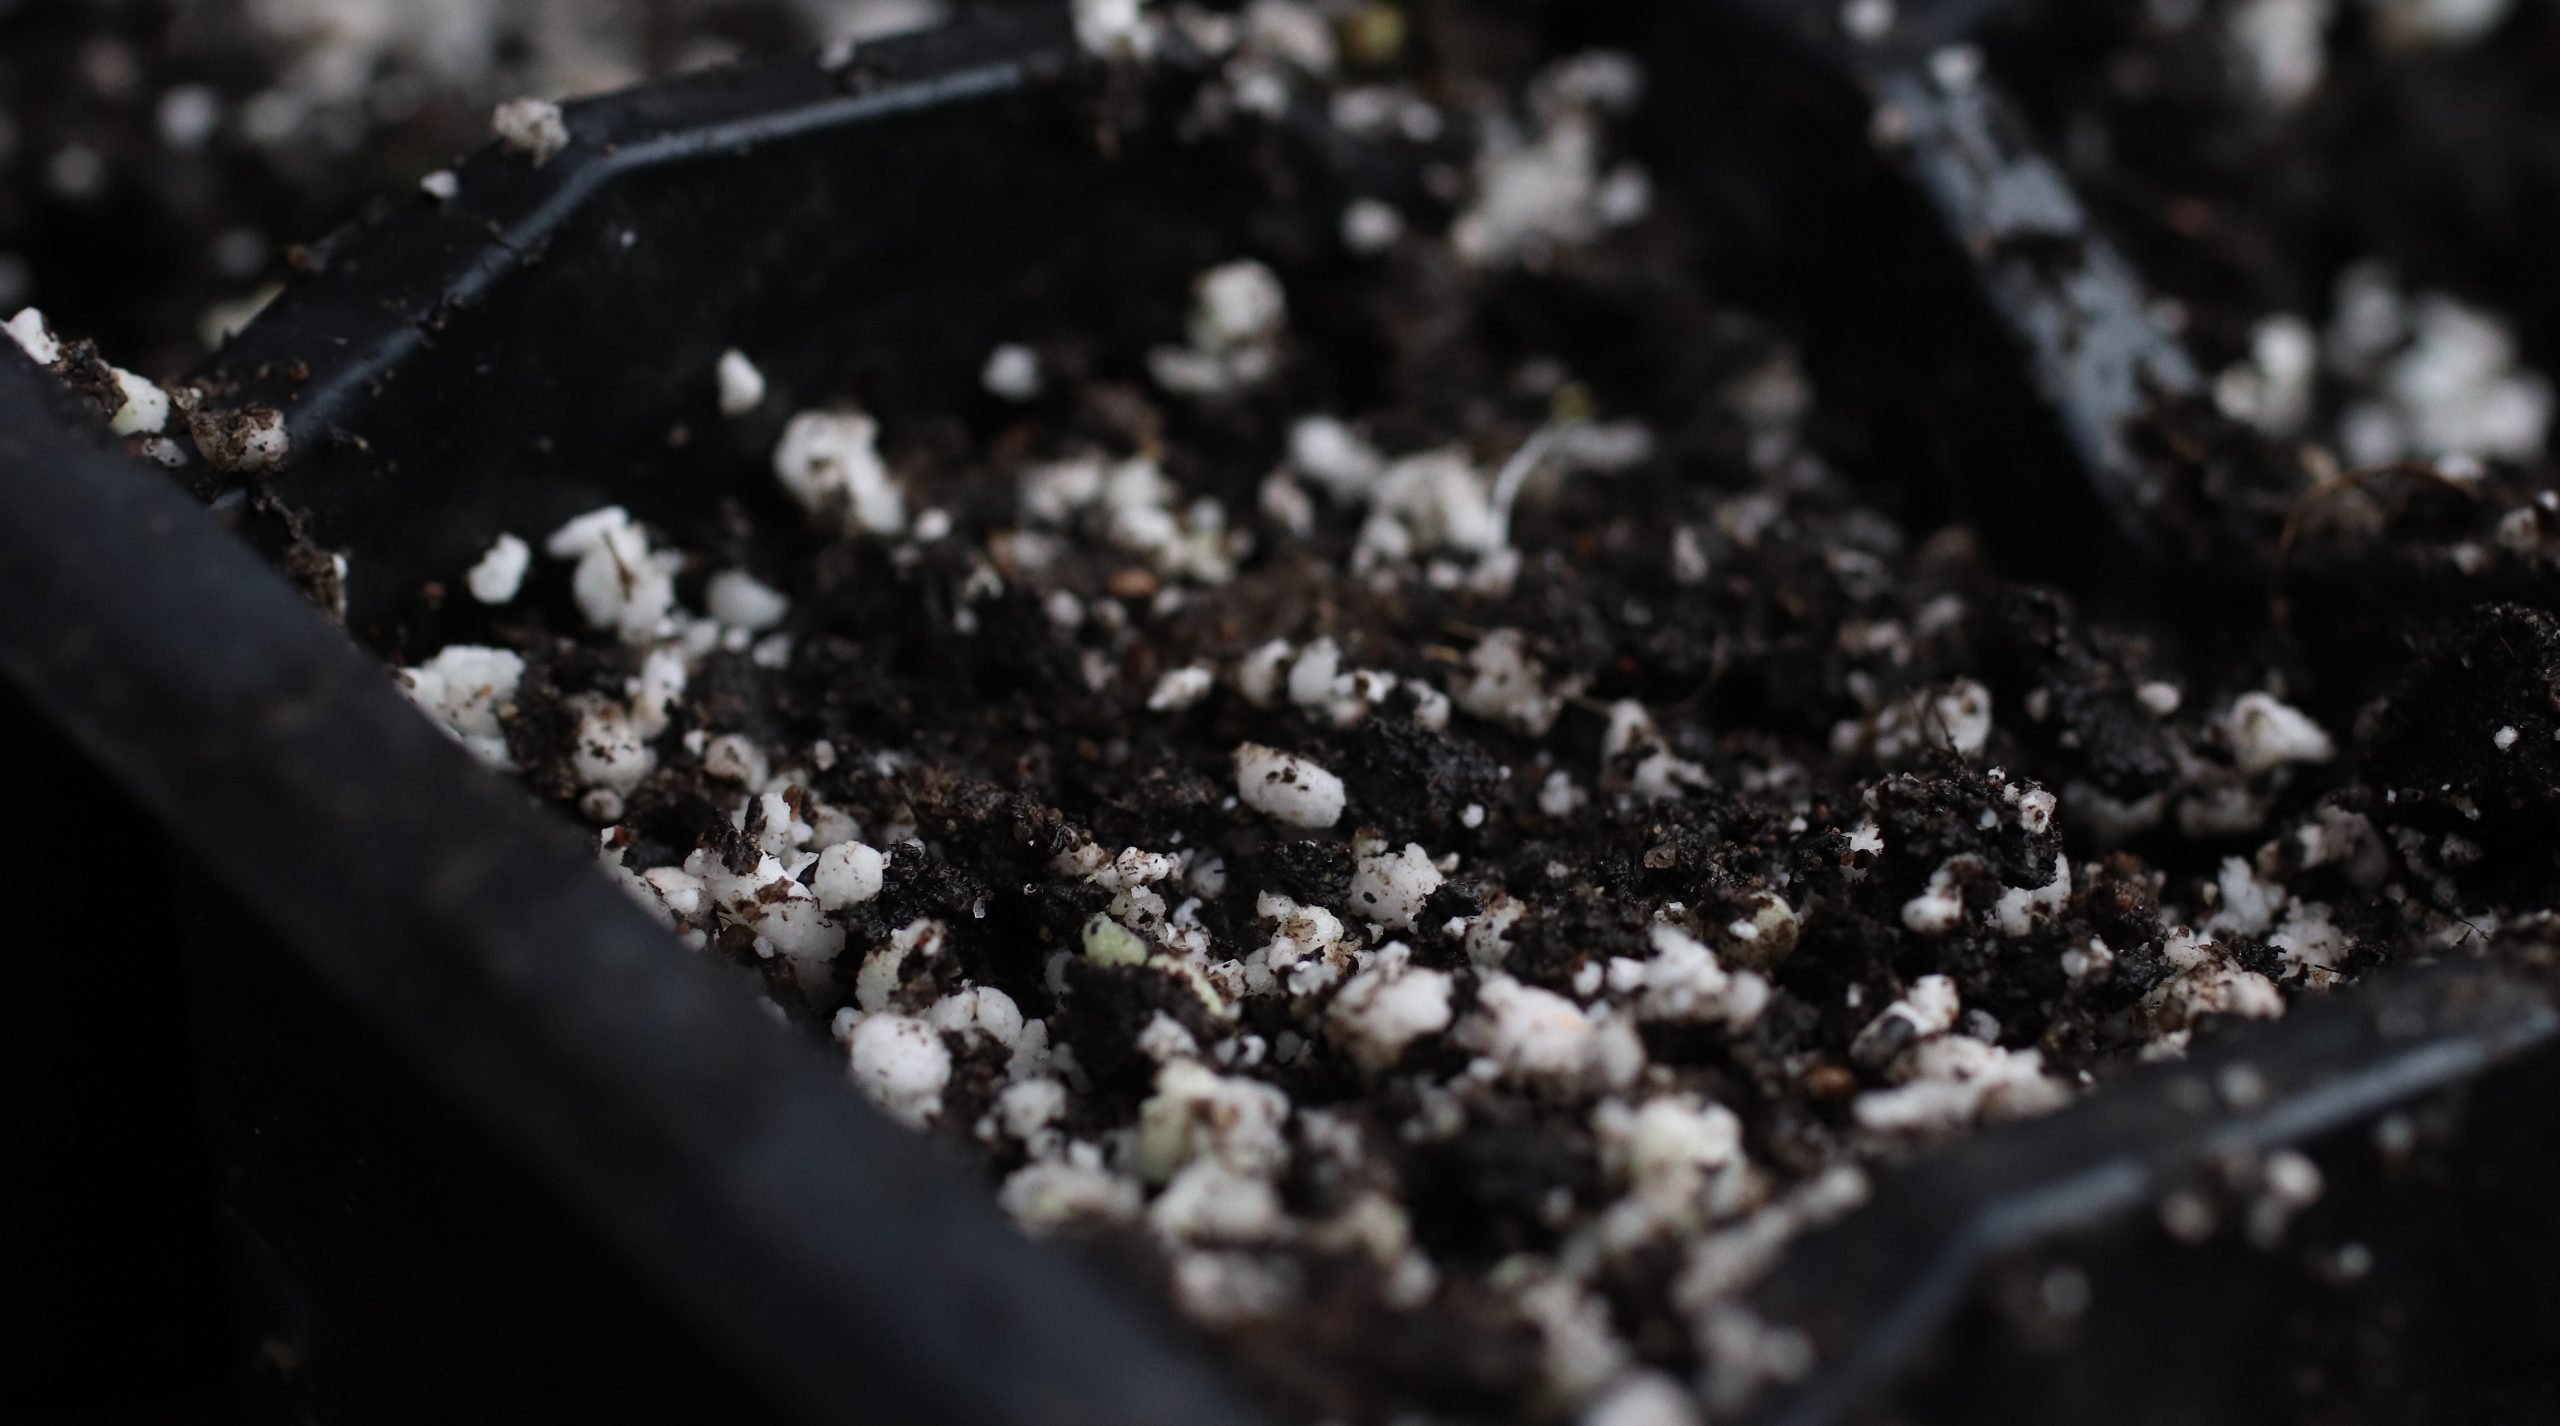
Modules or small pots are better than trays for sowing fennel since this keeps root disturbance to a minimum when transplanting. Fill modules with a mix of multipurpose compost and sand or perlite – you want to keep the texture of your growing medium light and fine.
- Use your finger to make a small indentation in each module, about 1/2” deep.
- Place 2 seeds into each module.
- Cover with compost, scraping away any excess from the top of the modules.
- Water gently and place in a warm location; 20°C is ideal.
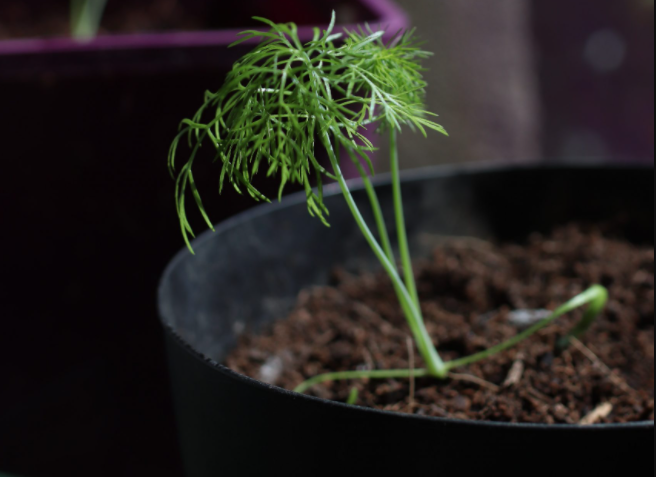
Caring for Fennel Seedlings
Each fennel plant will need about 12” of space for optimal growth, meaning seedlings will likely need to be thinned out. Do this once seedlings are 4-6” tall.
For seedlings in modules, prick out the weaker seedling in each module, leaving the healthiest one to continue growing. You will need to carefully monitor heat and light levels to prevent your seedlings from turning leggy.
If this happens, increase light levels – a strategically-placed mirror or foil sheet can reflect light onto the darker side of your plant. Reducing heat will also help to control legginess, as will continuously rotating your pots so that different sides of the seedlings are facing the light.
Keep your fennel seedlings moist but be careful not to overwater them. Allow the top 1-2” of soil to dry out before watering again.
Planting Out Fennel
If you have started your fennel indoors, you will need to plant your seedlings out once they are about 4-6 weeks old.
To gradually acclimatize them to their new environment, harden them off first. This means placing them outside for a couple of hours a day, slowly increasing this until they have spent a few nights outside. At this stage, you can plant them out.
As with all plants, transplant your fennel in the early morning or late afternoon. This gives the plants time to settle before having to deal with intense sunlight, which will help to prevent wilting.
Thoroughly water your seedlings about an hour before transplanting. Choose a sunny site in your garden and dig your planting holes. These should be just slightly bigger than the size of your modules.
Carefully remove each seedling from its module, making sure that you disturb the roots as little as possible. Place into the planting holes and firmly but gently pack some soil in around the roots. Fill in the rest of the hole and water well.
Caring for Fennel
Once your fennel has established itself in your garden, it’s surprisingly easy to care for.
Watering
If your garden receives about 1” of rainfall a week, additional watering won’t be needed other than during dry spells. This will help to prevent your plants from bolting. However, be careful not to over-water, as this can cause rot.
Earthing Up
Earthing up is a technique used when growing bulb fennel. Although not necessary, it promotes a more delicate texture and a whiter color, while also increasing bulb size. It simply consists of piling on some extra soil around each bulb once they start to swell, and continuing to do this as the bulbs grow. This technique is also used when growing potatoes.
Weeding
Few people enjoy weeding, but it’s an essential task to ensure that your fennel is able to extract all of the nutrients and moisture it needs from the soil around it. Keeping the area around your fennel as weed-free as possible will also help to improve air circulation to prevent diseases from forming.
Mulching
One way to cut back on the amount of weeding required is to mulch your fennel. This not only prevents weeds from emerging but also regulates water and temperature levels in the soil, while slowly releasing extra nutrients.
Good mulching materials include:
- Straw
- Hay
- Grass clippings
- Wood shavings
- Tree leaves
- Newspaper/cardboard
Place your chosen mulch on the soil around each plant, keeping a few inches between the mulch and the base of the plants.
Fertilizing
Although not necessary, fertilizing will increase the productivity of your fennel plants and prevent them from going to seed too soon. Bulb fennel can be fertilized every 2-3 weeks with a general-purpose fertilizer. You can use the same on herb fennel, but this will only need to be fertilized once a year in the spring.
Overwintering Fennel
Since fennel can tolerate hard frosts, a midsummer sowing can last you well into the winter. Extra protection over the winter is not usually needed, but if you notice your bulb fennel is starting to wilt or dieback, covering the plants with some light fleece can help.
Mulch will also help to protect your plants from harsh winter temperatures by keeping the soil beneath warmer.
Dealing with Pests
Pests are usually more prevalent over the warmer months and don’t affect fall/winter fennel quite as much. Although fennel is quite resistant to many of the pests that other vegetable plants succumb to, a couple to keep an eye out for are:
- Aphids – tiny white, green, or brown insects that cluster on leaves. Organic insecticides can treat an infestation, as can the introduction of ladybugs into your garden.
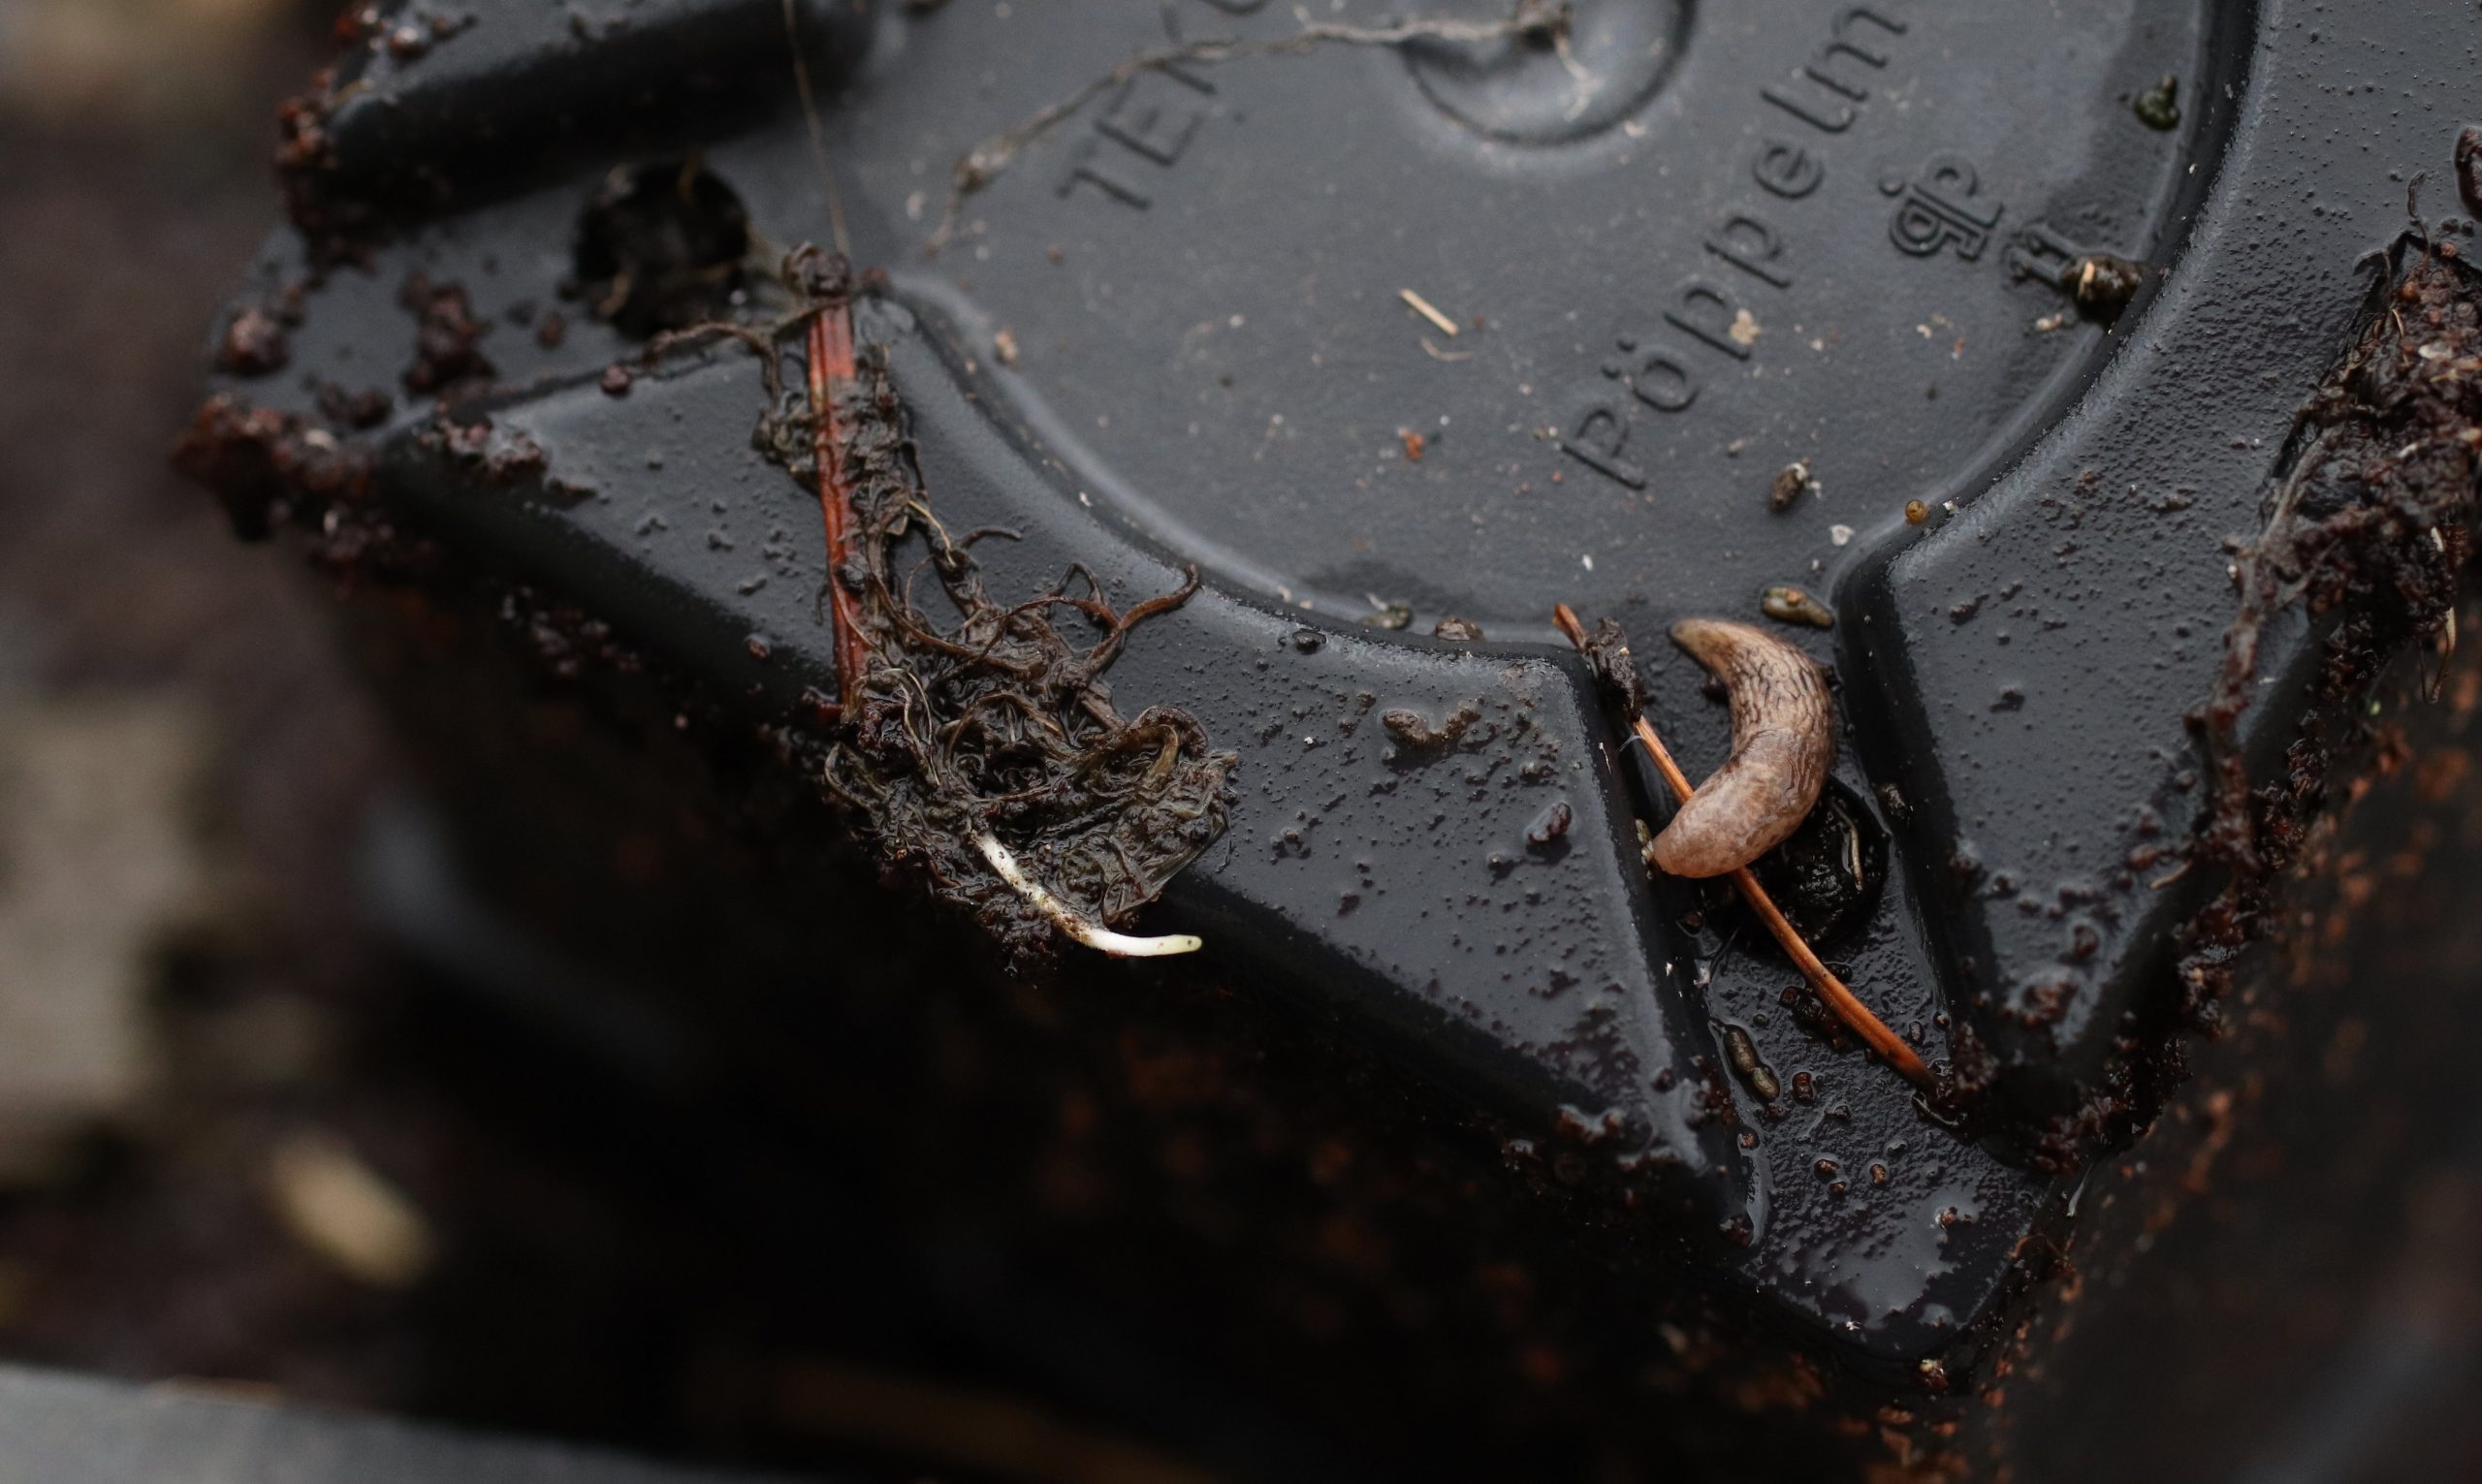
- Slugs – slugs adore young fennel plants and can strip a plant right down to its base overnight. Copper tape, beer traps, and seaweed are just a few of the ways in which you can prevent slug damage. Don’t forget to keep checking the undersides of pots when you first start hardening off your fennel – slugs love to hide here!
Harvesting Fennel
Bulb Fennel
The smaller the bulb, the more tender your fennel will be. Bulbs are usually harvested when they’re about the size of a tennis ball, as this means that they are still tender enough to be eaten raw.
To harvest your fennel, use a sharp knife to slice off a bulb about 1” off the ground. While you can also simply pull the entire plant out, leaving the roots intact will encourage the plant to re-sprout, giving you delicate shoots to enjoy.
Your harvested fennel bulbs can either be eaten or cooked while they are fresh, or frozen for later use. If you remove any leaves, you can also store fennel for 10-12 days in a refrigerator.
Herb Fennel
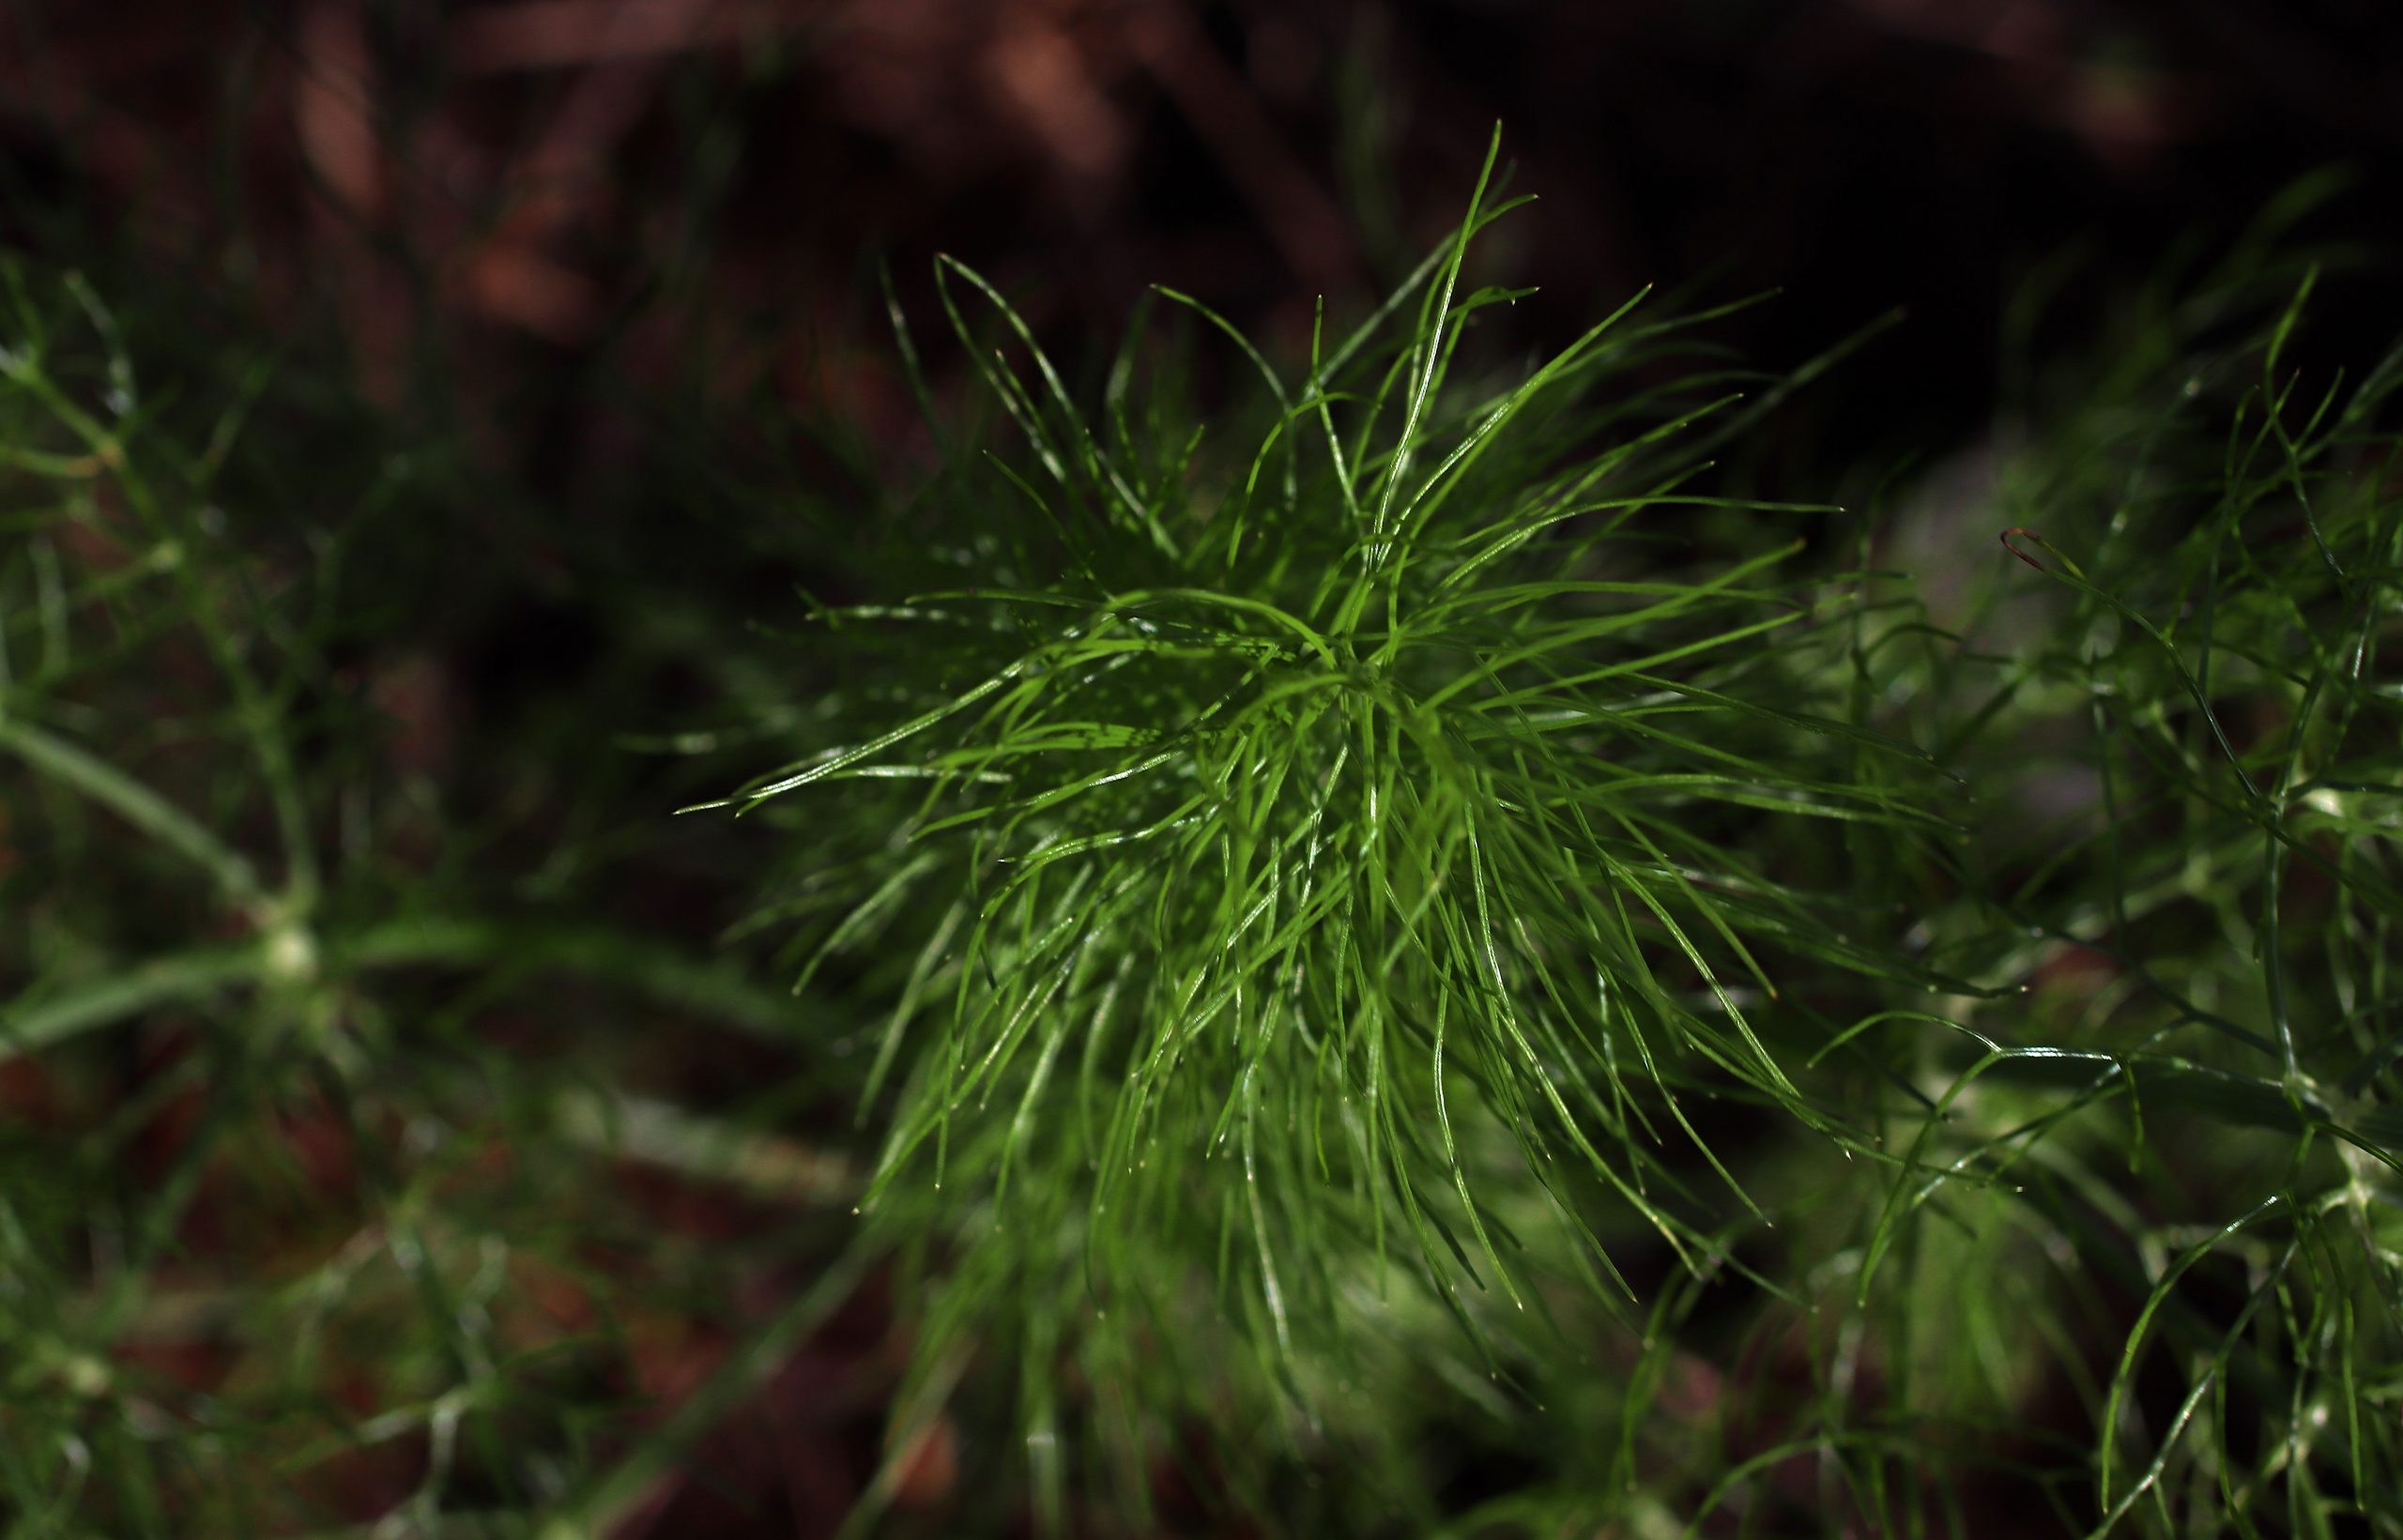
Herb fennel can be harvested whenever leaves are available. Simply cut away as much foliage as you need and use as soon as possible.
Saving Seed
Not only does saving seed from your fennel ensure that you have a seed supply to plant again the following season, but the seeds themselves can also be used in the kitchen.
The best time to harvest fennel seeds is once the flowers have started to turn brown and die back. Here’s what you need to do:
- Snip off any fennel stalks with flower heads.
- Place them into a paper bag and store them in a dark place.
- After about 2 weeks, most of the seeds will have fully dried and will have dropped out of the flowers themselves. If there are some that haven’t, gently shake or rub the flowers until the seeds are released.
- Store in an airtight container until you are ready to use them.
Remember – if you are saving seed to re-plant next season, only save seed from your very best specimens. Avoid collecting seed from damaged or diseased plants, or those that have bolted early. These aren’t traits that you want in your fennel next season.
Each fennel plant will produce a huge amount of seeds. Even if you don’t plan on saving these, cutting off spent flower heads can still be beneficial. This prevents the plants from wildly self-seeding and becoming invasive.
FAQ
Bulb fennel is considered to be a short-lived perennial but is usually grown as an annual. However, it will survive frosts and can last long into the winter. Herb fennel is a long-lasting perennial that will keep returning for several years.
Soaking fennel seeds before planting isn’t a necessity, but it can help the seeds to germinate better. Do this 48 hours before you plan on sowing the seeds.
Fennel can be grown in pots, but these will need to be deep enough to accommodate a taproot that can reach 1’ in length. Use a light potting mix and place some gravel at the bottom of your pot to further improve drainage.
This depends on the variety you choose. Some bulb fennel varieties have been developed to mature quickly, which can happen in just 65 days in the right conditions. Others can take longer but compensate with bigger or tastier bulbs. Herb fennel is even faster to grow – you’ll be able to start picking baby leaves just a few weeks after sowing.
Although fennel grows well next to dill, the two can cross-pollinate, which is a problem if you intend on saving seed. Fennel can inhibit the growth of other vegetable plants, so you would be best off giving it its own area in your garden.
Summary
From the roots to the stalks to the flowers, all parts of the fennel plant are edible and can be used in the kitchen in so many different ways. What makes this all even better is the fact that fennel is low in calories but packed with several important nutrients.
In addition to its edible qualities, fennel also happens to be highly ornamental. That bulbous base topped with lush, feathery fronds adds such a decorative look to any garden, with the plant releasing its sweet, aniseed scent whenever you brush up against it.
If fennel is a plant that you haven’t yet grown, give it a try next season. Chances are, it will quickly become a staple in both your garden and your kitchen for many years to come.