- Growing Bok Choy: How to Grow and Care for Bok Choy - December 9, 2020
- Growing Snow Pea: How to Grow and Care for Snow Pea - November 4, 2020
- Growing Fennel: How to Grow and Care for Fennel - October 22, 2020
Nothing quite beats the oh-so-satisfying crunch, followed by the juicy burst of sweetness, that comes from a freshly-picked snow pea. In terms of texture and flavor, as well as nutritional composition, homegrown snow peas are far superior to store-bought versions, making this a vegetable well worth taking the time to grow yourself.
What is a Snow Pea?
There are three main pea types out there:
- Garden Peas – also known as English peas, these are peas that are shelled before being eaten
- Snow Peas – also known as mangetout, these are grown more for their tasty pods than the peas within
- Sugar Snap Peas – these are a hybrid between garden peas and snow peas, meaning large and sweet peas that also have edible pods
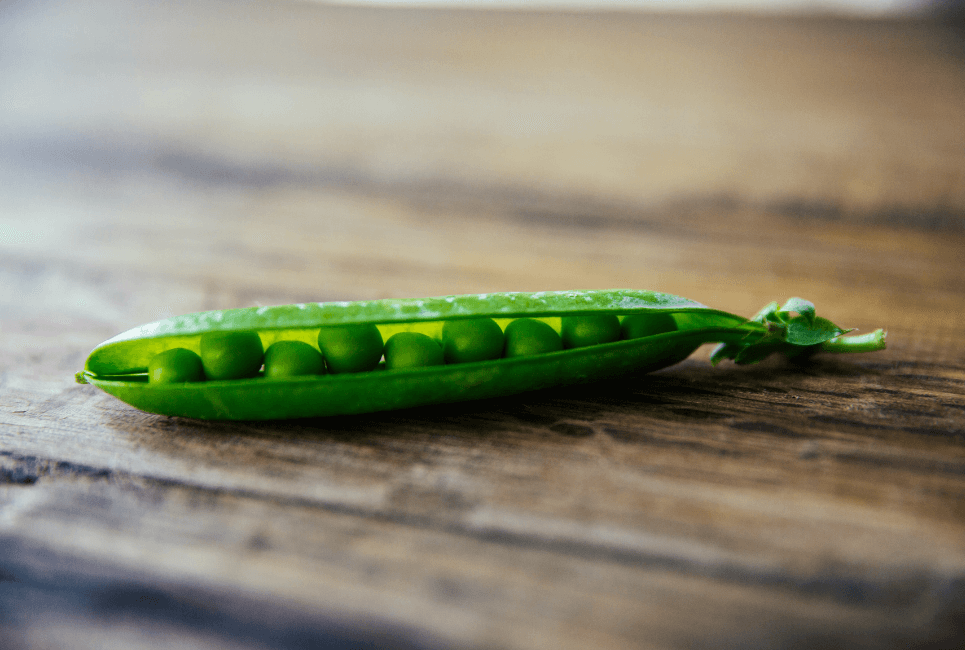
Compared to the other two types, snow peas are quite flat in shape and the peas within are very small. The pods are thin and relatively translucent, meaning that they can either be eaten raw or quickly cooked, although the stringy membrane that runs along one edge is often removed first.
Snow peas are known for being crisp, sweet, and incredibly tender. They’re also packed with vitamins, folate, and fiber while being lower in calories than garden peas.
Snow Pea Varieties
There are numerous snow pea varieties out there – some are more compact, making them good for container planting, while others are taller, more productive, or have better disease resistance. Either way, pick a variety that best suits the growing conditions you can offer.
Here are a few options:
- Tom Thumb – a dwarf variety that works well in pots
- Mammoth Melting – known for their large pods that can withstand longer periods of high heat when cooked
- Avalanche – extremely productive with large, disease-resistant pods
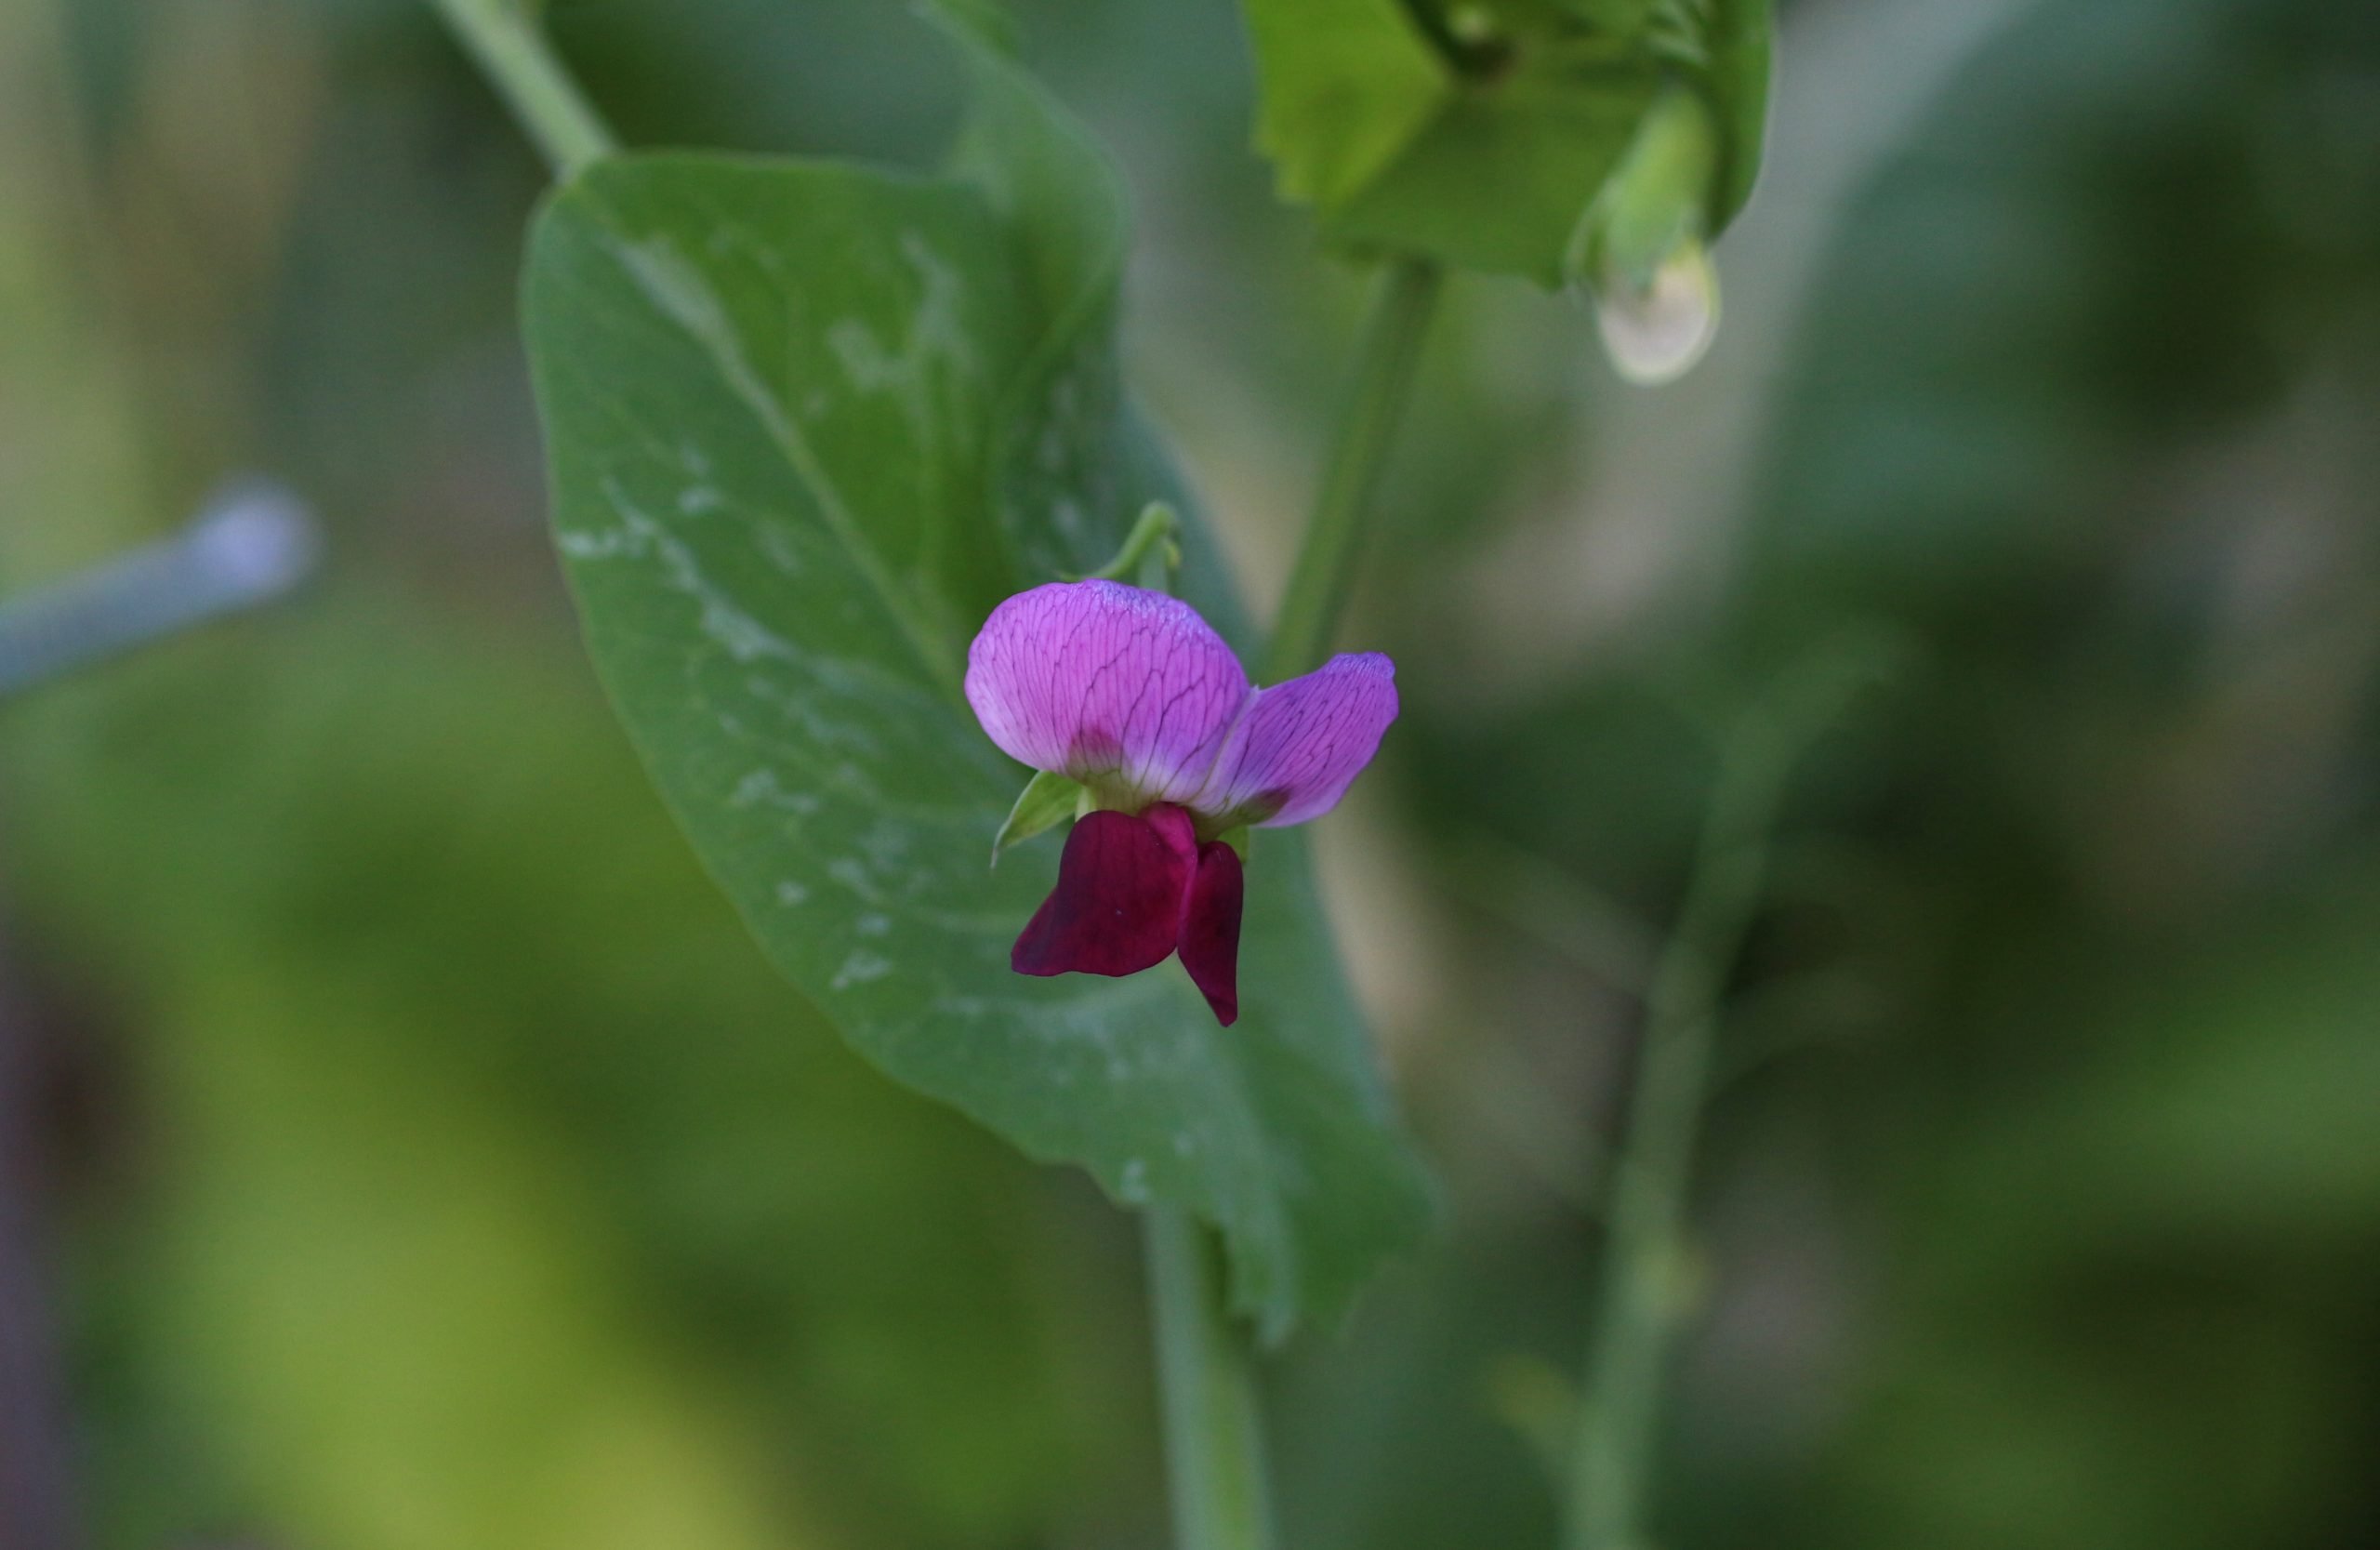
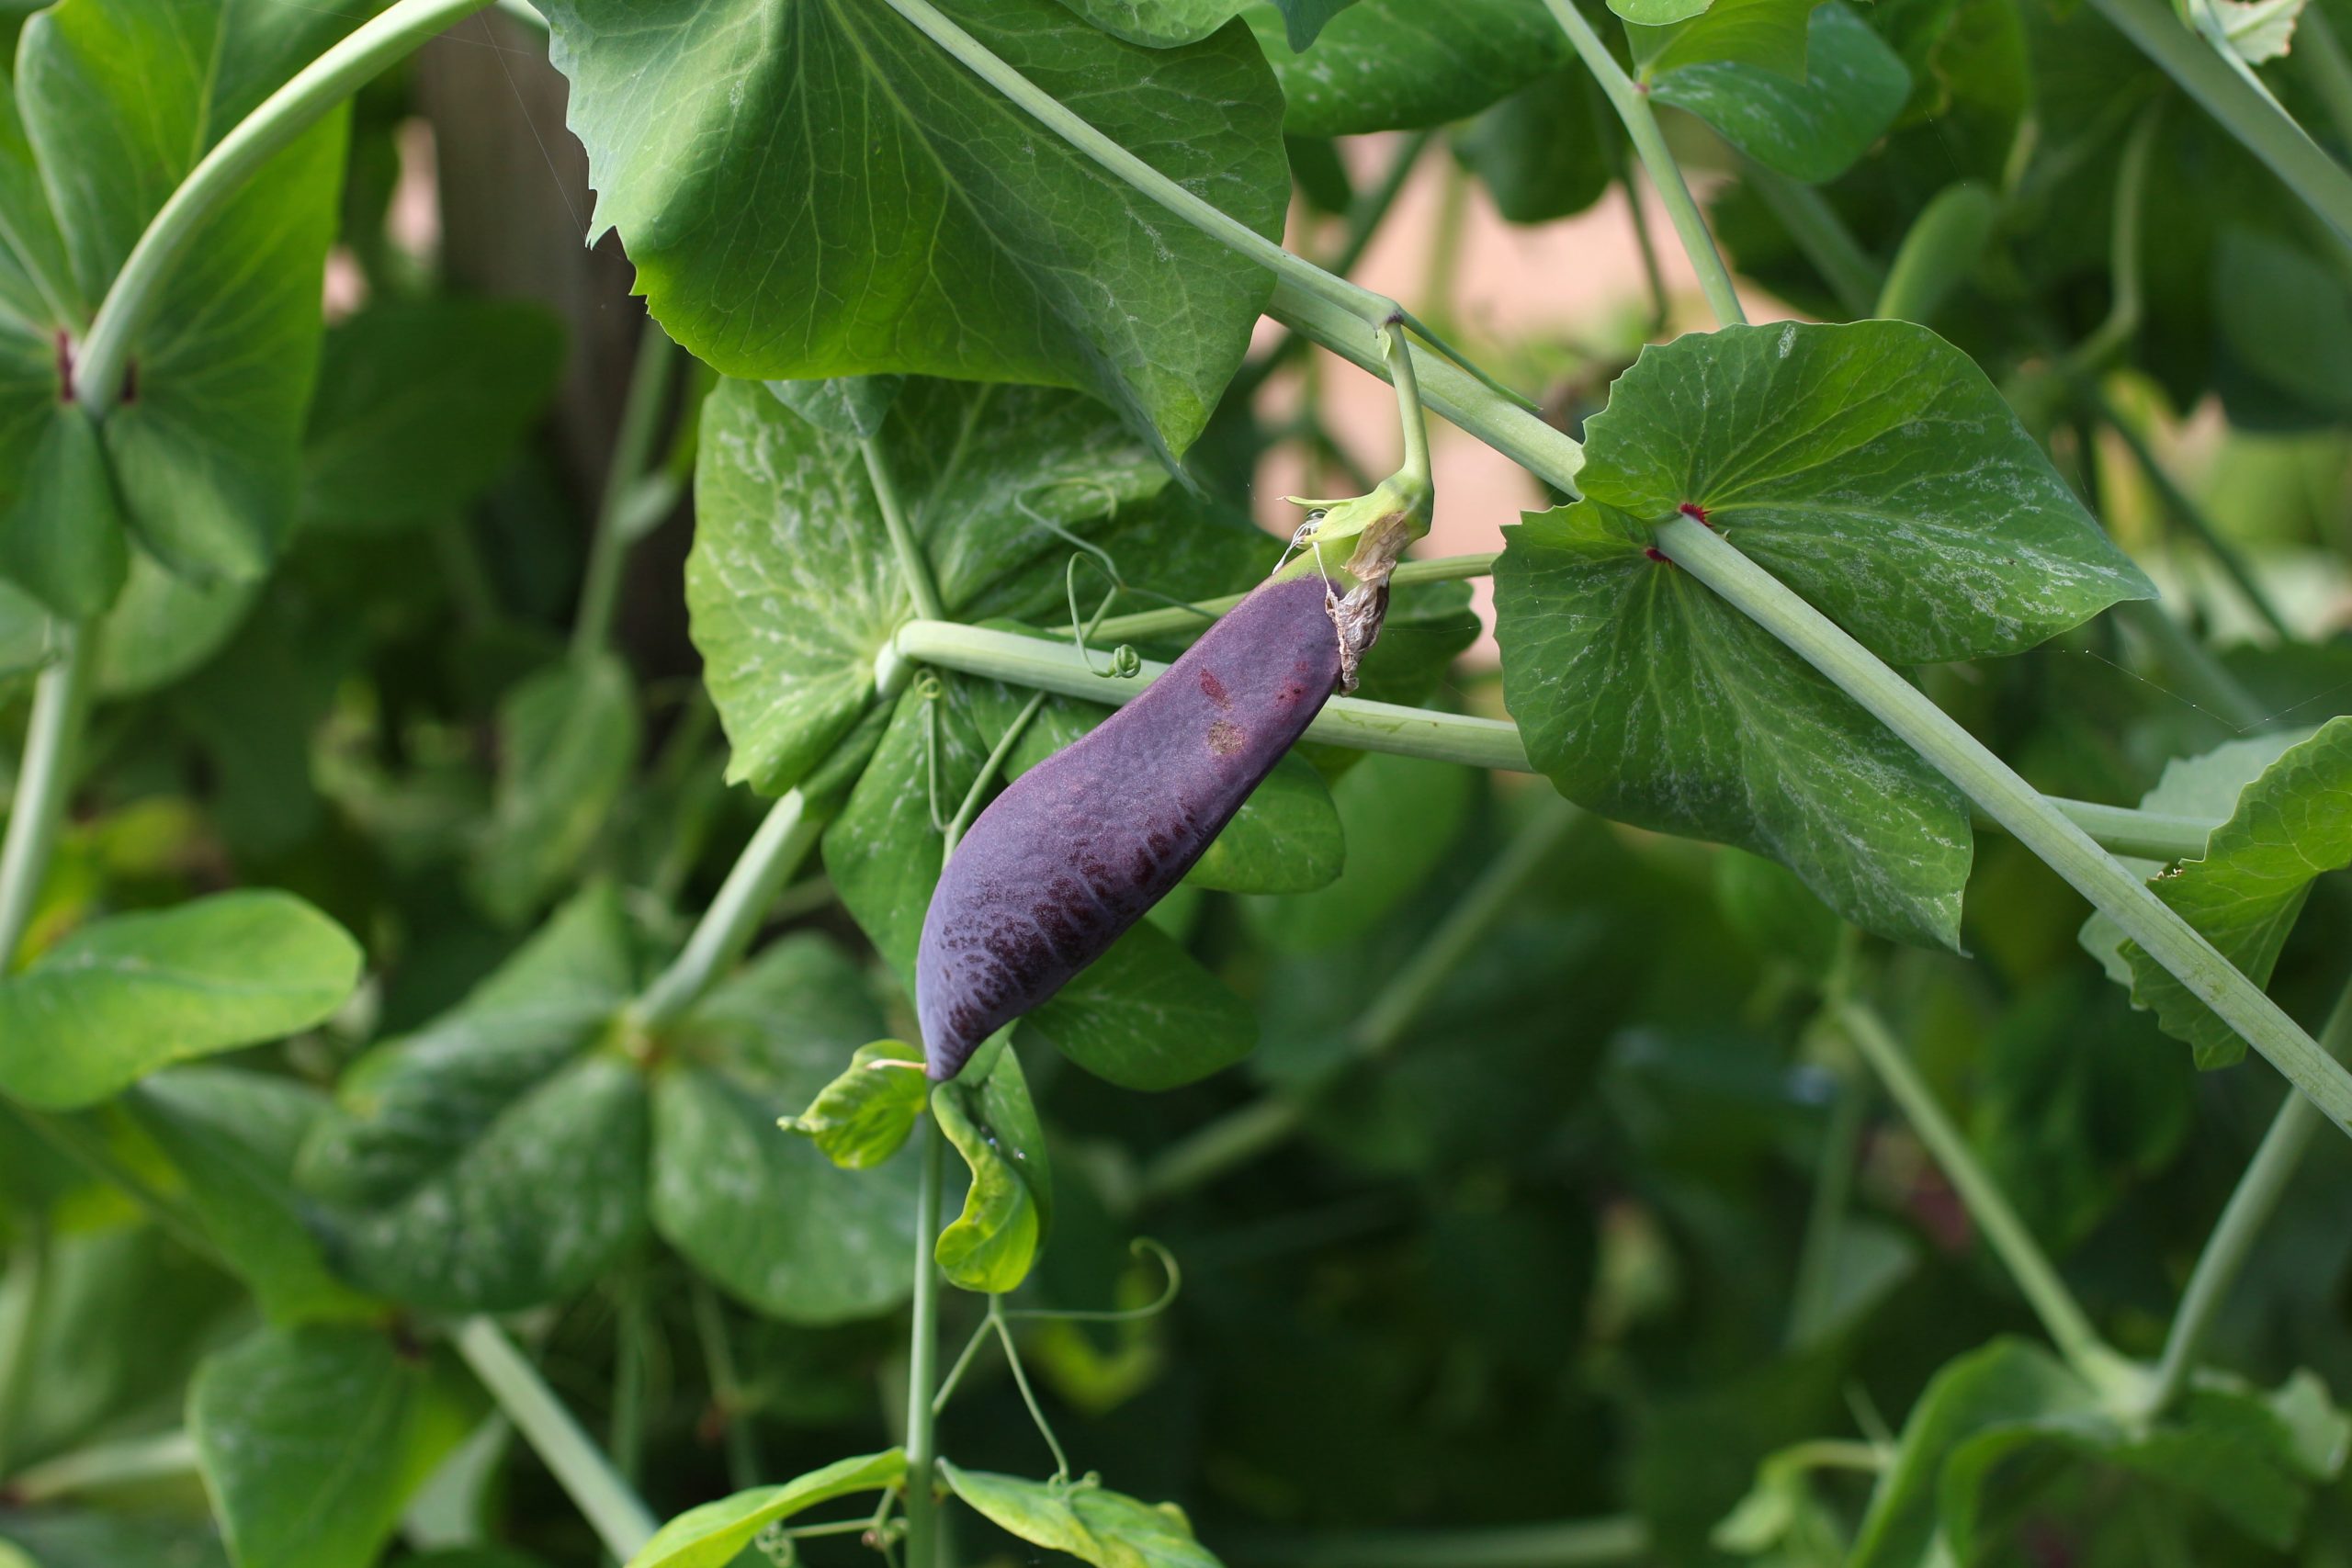
- Shiraz – boasts a vibrant, purple color
- Golden Sweet – grows purple flowers and bright yellow pods

When to Sow Snow Pea Seeds
Snow peas are a cool-weather crop. Although they are tolerant of light frosts, an excessive cold will kill the plants, meaning that they tend to be most productive when grown in the spring.
It’s crucial to get your timing right when sowing snow pea seeds. If you’re planting them directly outside in the ground, which is the best way to go since their sensitive roots don’t like being transplanted, you’ll need to wait until the soil warms up to around 45°F.
However, if you’re starting your seeds off indoors, aim to sow your first batch about six weeks before your last frost date. Successional sowings, meaning sowing a new batch of seeds every week or two, will help to extend your snow pea growing season.
Sowing snow peas in the fall can work well too, although your yields won’t be quite as high as spring-grown plants. If you want to give this a try, aim to sow your seeds about ten weeks before your first frost date – this will give you cool enough conditions for your snow peas to grow, as well as enough time to harvest them before the winter sets in.
How to Sow Snow Pea Seeds
Whether you grow them directly outside or start them in trays indoors, snow pea seeds are easy to sow.
You can either sow the seeds as they are or soak them for 24 hours beforehand. The soaking process softens the outer coating on each seed, which speeds up the germination process.
Sowing Indoors
If you want to start your snow peas indoors, cell trays work well. These will allow you to transplant your seedlings with minimum damage to the root systems.
Fill your cells with a light, well-draining soil – multi-purpose compost with perlite or sand mixed in works well. Don’t be tempted to go for a mix heavy in manure, as snow peas don’t need this.
Then, make a small indentation about one inch deep in the soil in each cell.
It’s up to you whether you over-seed or not. This basically means sowing two or three seeds in each hole, but only allowing the healthiest seedling to grow. It gives you healthier plants, as well as a form of insurance in case some of your seeds don’t germinate, but it isn’t a good option for those who only have a limited number of seeds.
After placing your seeds into each hole, cover them back over with soil and then give them a good watering.
As soon as the soil temperature outdoors sufficiently warms up, plant your snow pea seedlings out.
Sowing Outdoors
Before sowing your snow pea seeds outdoors, you need to choose the best location for them to grow.
They do best in either full sun or partial shade, so pick a site that provides this. They will also need supports to climb on as they grow – picking a location already next to a fence or a trellis makes this job much easier.
Prep your growing location by removing any weeds. Since snow peas are very adaptable, you don’t usually need to amend the soil. However, if your soil is very heavy and has poor drainage, mix in some compost to help rectify this.
If you’re planting in rows, use a trowel, or even a large stick, to make an inch-deep furrow in the soil. Place your seeds in at an interval of about two to three inches, before covering over with soil. Gently tamp down the soil and then water well.
Sowing in Containers
Growing your snow peas in containers gives you the best of both worlds – containers can easily be kept indoors to begin with and then moved outside when the weather warms up. Some vegetables aren’t as productive when grown in pots, but snow peas are an exception, especially if you choose a more compact variety.
Fill your pot with a light, well-draining soil mix and then make some indentations in the soil, two inches apart, in a circular shape. Keep this circle quite close to the center of the pot, as this gives the roots room to spread outwards as they grow.
Caring for Snow Pea Plants
Snow peas are a pretty low-maintenance crop. Even if you don’t do anything else to your plants after sowing the seeds, chances are that you’ll still have a harvest to enjoy.
However, in order for your snow peas to be as productive as possible, a little extra attention is required…
Snow Pea Supports
Some snow pea varieties don’t need much in terms of support, but others can grow pretty tall, leaving them susceptible to falling over and snapping. Harvesting is also much easier when you encourage your snow peas to climb.
It’s always best to put your supports in at the beginning. This prevents damaging the roots of your plants as they get larger.
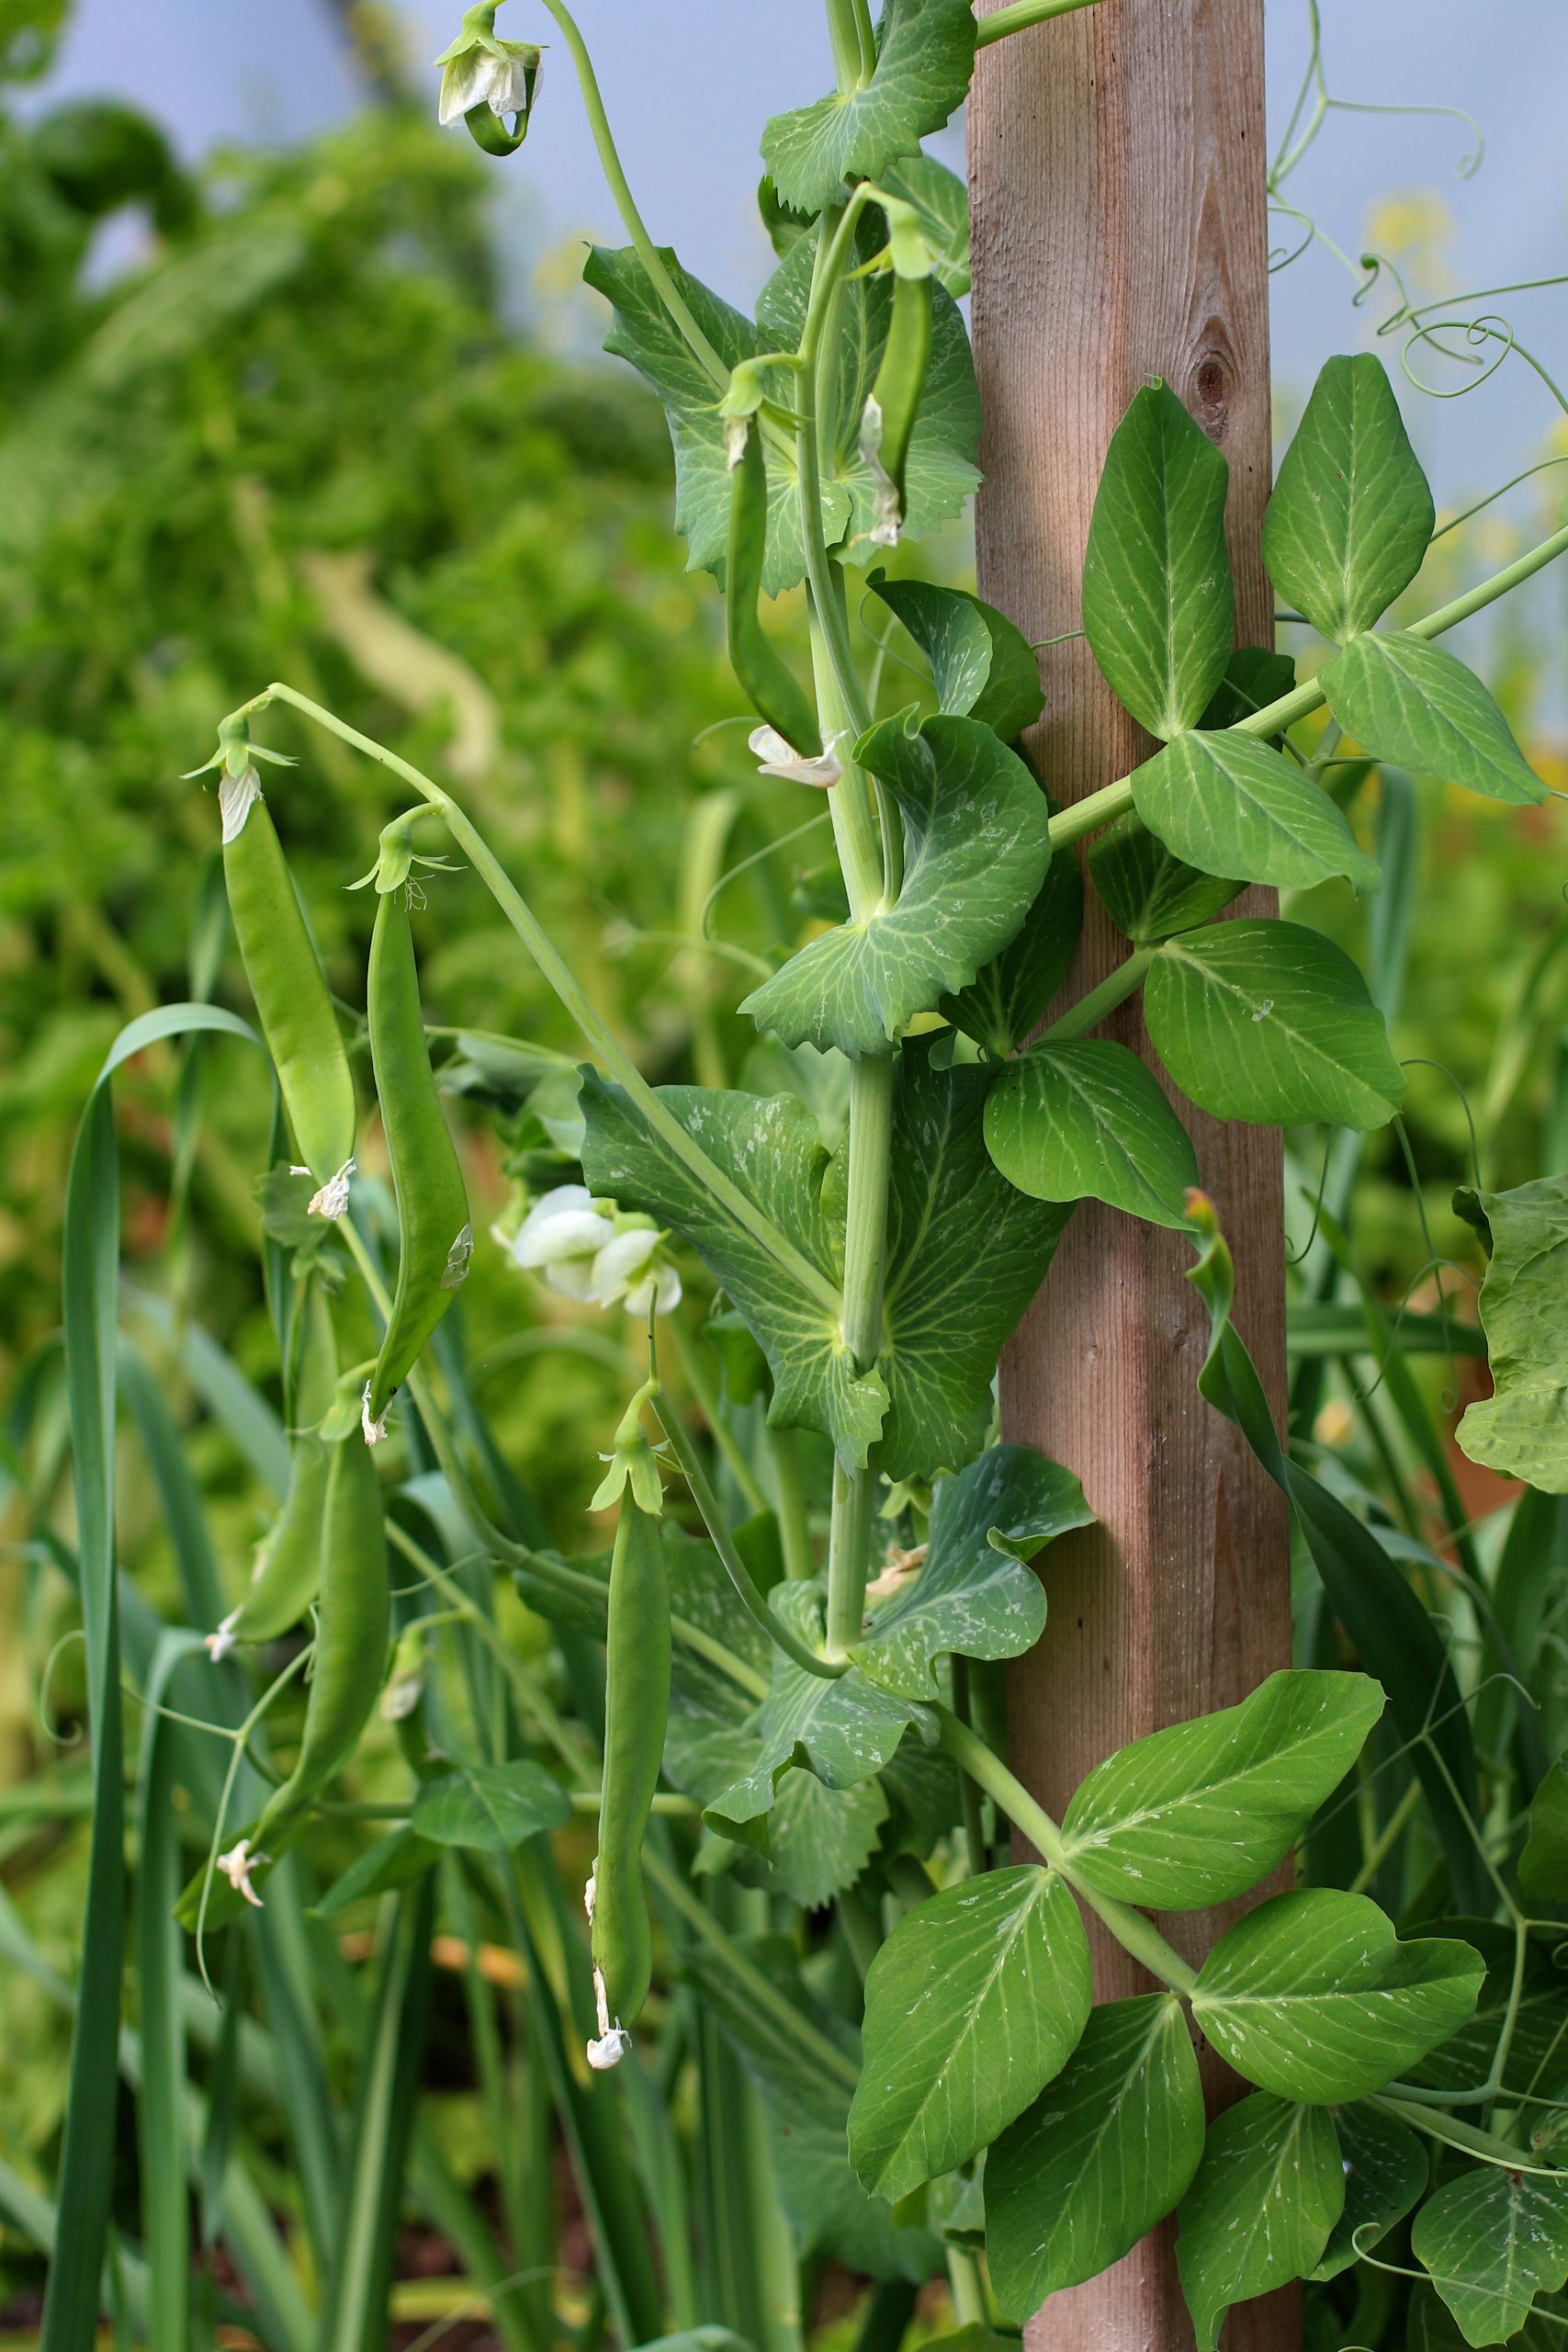
The tendrils that snow pea plants produce are great at naturally twirling their way around whatever happens to be nearby, giving you plenty of choice when it comes to deciding what type of support to use.
Some popular options include:
- A wooden trellis
- Bamboo canes with garden netting or twine
- Fallen tree limbs
- Chicken wire
- A teepee made from sticks
To begin with, you may need to encourage the tendrils to latch on to the supports you’ve provided, simply by weaving the plants through or around them. However, once they’ve got a good grip, they’ll take care of climbing the supports all on their own.
Watering Snow Peas
Snow peas do best in soil that is kept consistently moist. However, waterlogged soil should always be avoided, as this will cause your plants to rot.
Ideally, you should be giving your snow peas about an inch of water each week, possibly increasing this slightly once your plants start flowering and producing pods. In many climates, rainfall easily provides this, meaning that manual watering is often not required.
Mulching Snow Peas
It’s a good idea to mulch your snow pea plants once they are a couple of inches tall. Snow peas do best when their soil is damp and at a consistent temperature, both of which a mulch will provide.
A mulch will also help to prevent weeds from popping up in the soil around your snow peas. Weeds cause competition for light, water, and nutrients, and they can quickly drown out young plants, making it important to keep your growing area weed-free.
Mulching snow pea plants is easy – simply spread a mulch of your choice onto the soil around the base of your plants, making sure that the mulch isn’t actually touching the stems of the plants.
There are so many different natural materials that can be used as a mulch, but some of the easiest to find, as well as the most effective, are:
- Straw
- Grass clippings
- Chopped leaves
- Damp newspaper or cardboard
- Wood bark
Harvesting Snow Peas
It won’t be long before your snow pea plants are covered in a profusion of flowers. Once these flowers die back, pods will start to form in their place.
How quickly this happens depends on the variety you’re growing, but it usually takes about 70 days from sowing before snow peas are ready to be harvested.
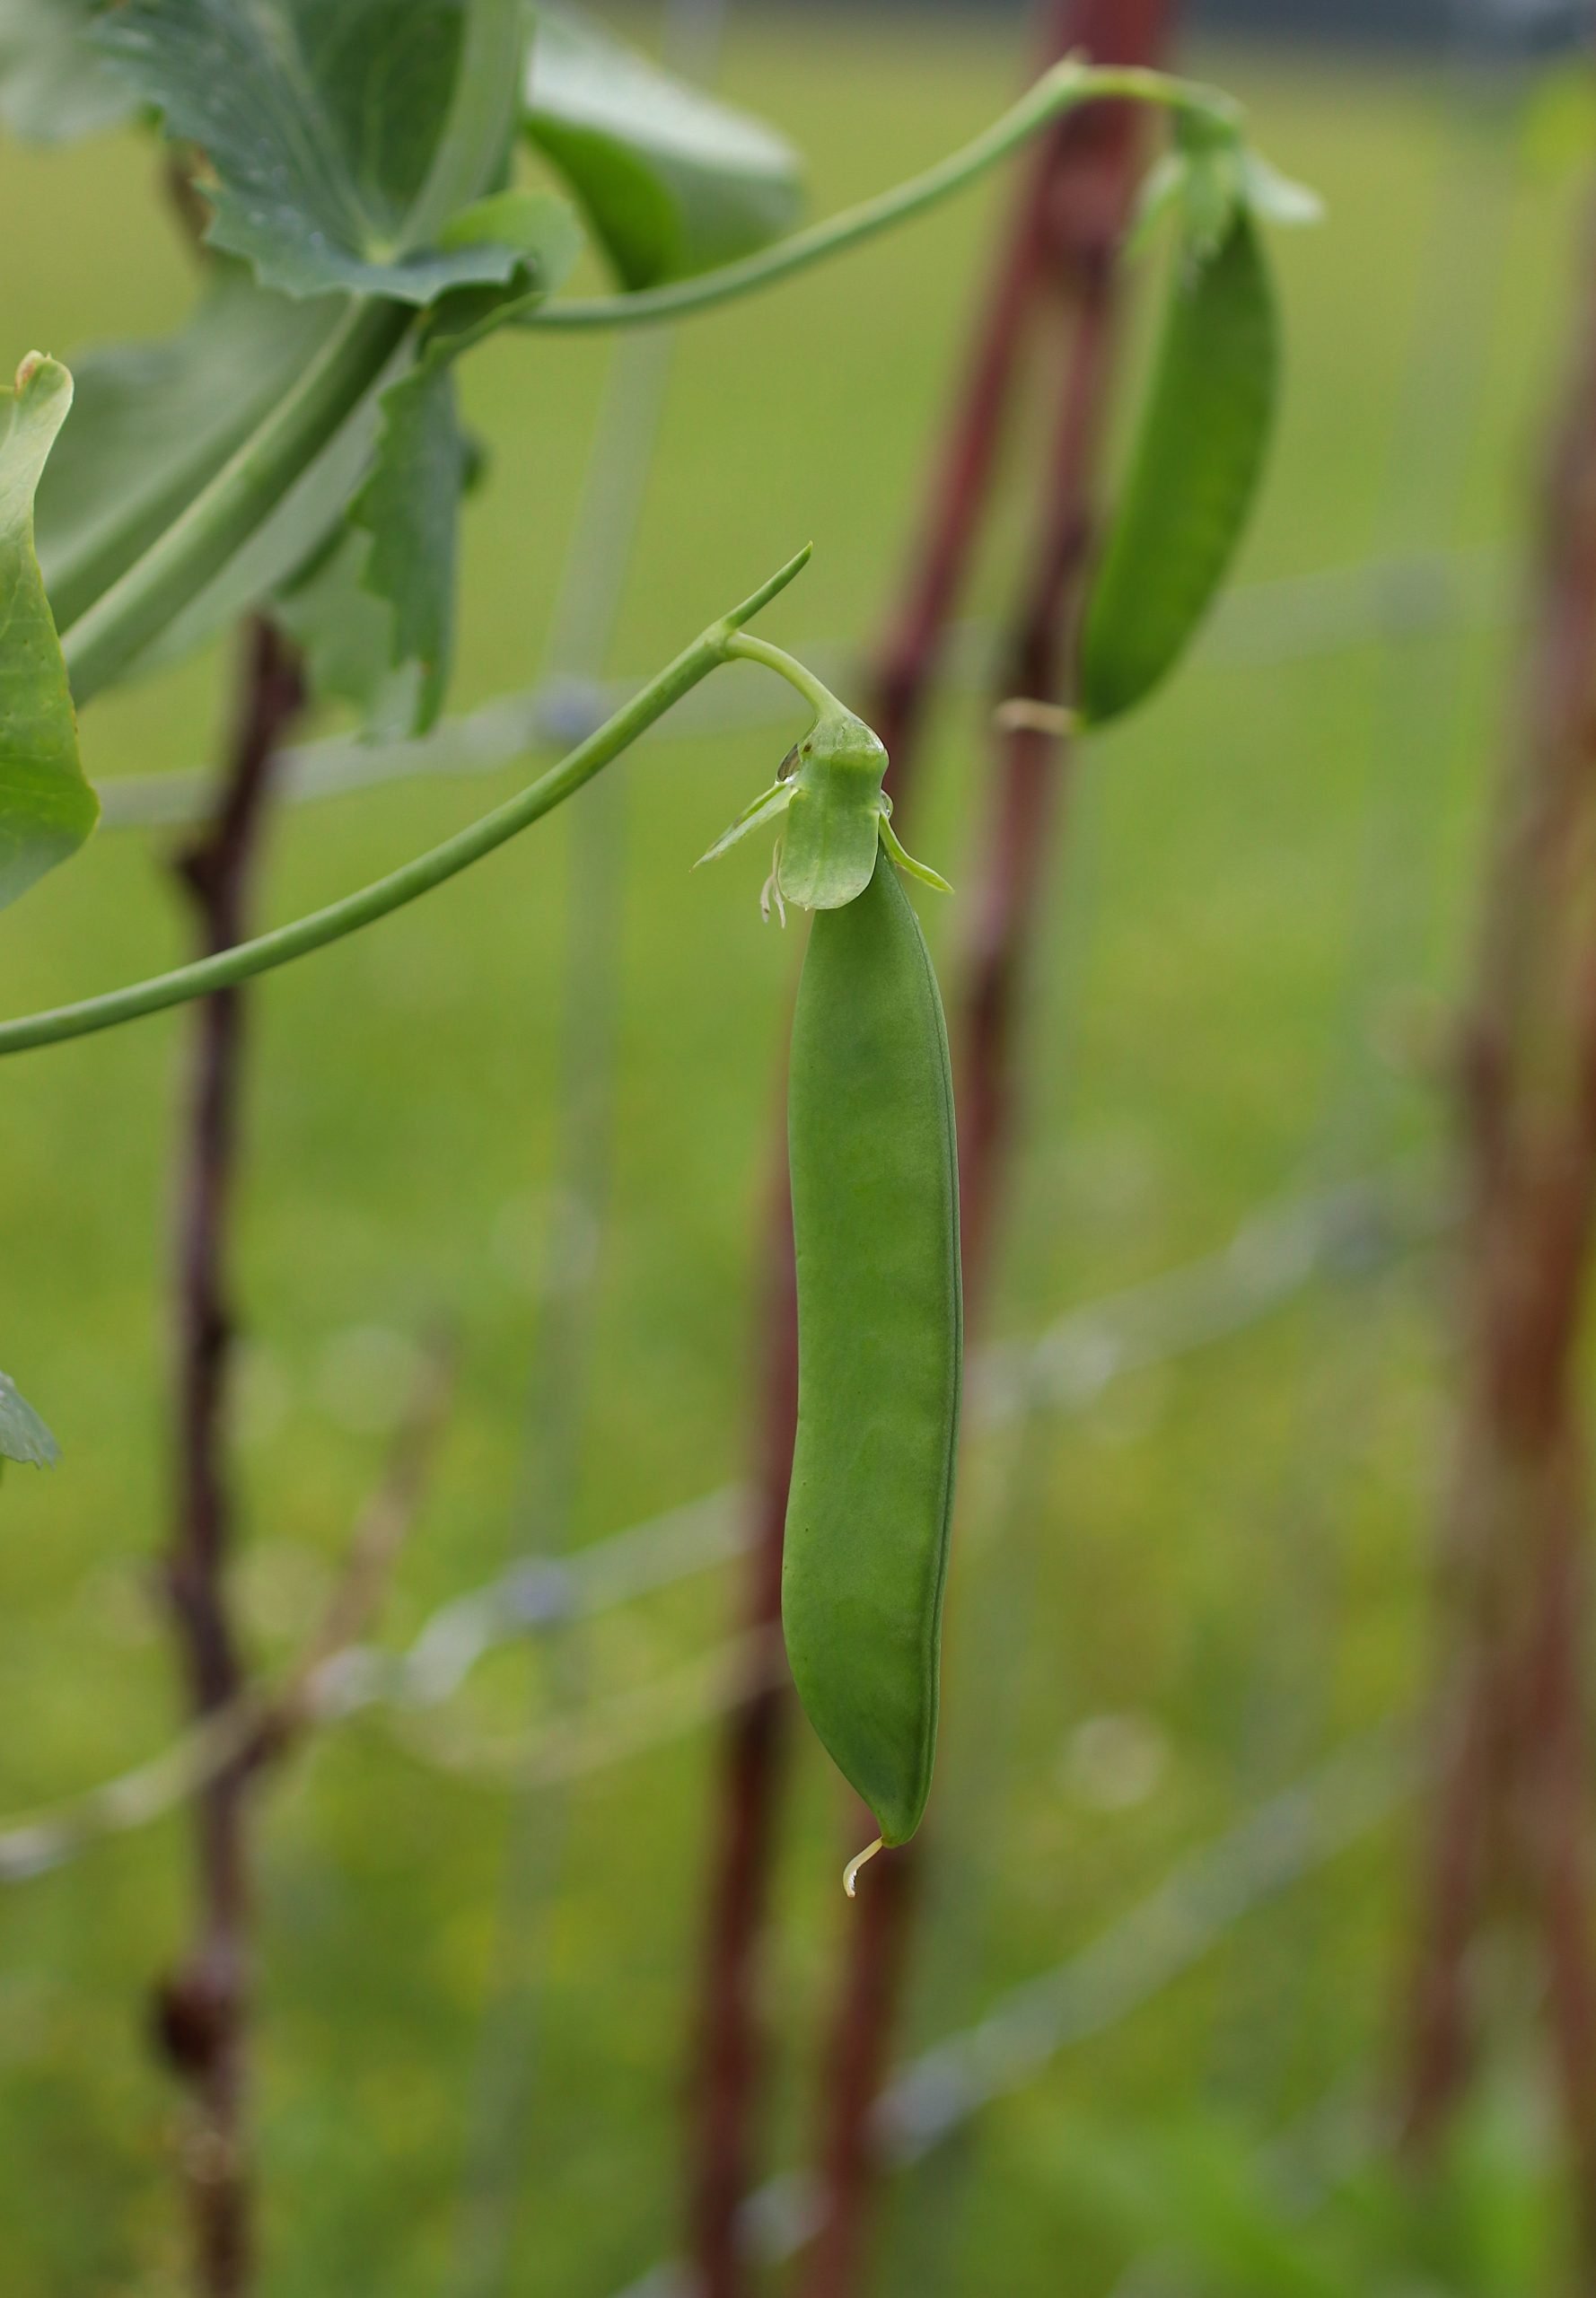
As soon as a pod has fully formed, meaning that it’s at least two or three inches long, it is ready to be harvested. The younger the pods are when picked, the tender and sweeter their flavor will be, so don’t wait too long! Plus, the more that you harvest your snow peas, the more flowers they’ll produce, meaning a much larger total harvest.
To harvest your snow peas, gently pinch each pod away from the vine. Don’t be tempted to try and pull them off, as this could end up damaging the vine itself.
Once your plants start to produce pods, you’ll need to check them every couple of days. If you leave all of the ripe pods un-picked on a plant, that plant will quickly stop producing new flowers, meaning that it will reach the end of its life sooner.
Storing Fresh Snow Peas
Since snow pea pods need to be picked as soon as they are ready, this can often mean that growers end up with too many pods to immediately use.
There’s no denying that snow peas taste best when eaten fresh, but there are ways in which you can store your harvest too so that you can enjoy those sweet, crisp pods throughout the winter months as well.
There are three main options when it comes to storing snow peas – it all depends on how long you need to store them for, as well as how you plan on using them:
- In the fridge – freshly-picked snow peas will keep in the fridge for up to a week
- In the freezer – you can either blanch them first, or simply clean them, dry them, cut them into two or three, and then freeze. If you keep them frozen constantly, they will last indefinitely, although the texture can change quite a bit when they’ve been in the freezer for more than a year
- Dehydrated – dehydrated snow peas will keep for years. They can be added straight into dishes that are going to be slow-cooked but will need to be rehydrated if you plan on using a faster cooking method
Saving Snow Pea Seeds
Once your snow pea plants start nearing the end of their life, it’s worth considering leaving some pods to remain on the plants to save for seed for next year. Ideally, you want the peas within to be as mature and large as possible – at this stage, they’ll be too starchy and tough to eat, but this is exactly what you want for seed.
Once the pods have dried out and turned brown, they will naturally start to split to release their seeds – you want to harvest them just before this happens. Leave them to dry for a couple of weeks indoors before shelling them.
Store your seeds in a sealed box or jar in a cool, dry place.
FAQs
Answer: Technically, yes. However, garden pea pods are much thicker and more fibrous, giving them quite a tough and chewy texture that isn’t very palatable.
Answer: Snow peas are great at seeking out all of the nutrients that they need from the soil around them, meaning that fertilizing isn’t necessary. Adding some fresh compost to the soil before planting is more than enough to keep your snow peas happy.
Answer: Yes – after all, they’re called snow peas for a reason! However, they will still need lots of sunlight during the day, as well as protection from excessively cold temperatures. Although they won’t be as productive as plants grown in the spring, fresh snow peas in the midst of winter is still a delicious treat.
Answer: Tough snow peas could be a phenomenon because you haven’t harvested them early enough. Remove any older pods to stimulate your plants into producing new growth, and then harvest new pods as soon as they have formed.
Answer: Aphids are a common snow pea pest, as are pea moths, snails, and slugs. Aphids can be spotted clustering on the undersides of leaves, while snails and slugs will chew large holes through leaves and pods, leaving behind that tell-tale slime. Once you know which pest you’re dealing with, take the necessary measures to protect your plants.
Summary
Snow peas are such an easy yet rewarding plant to grow. With just a little care and attention, your snow pea plants are capable of producing large and delicious harvests. Time your sowings right and you’ll be able to enjoy fresh snow peas for several months of the year.