
- Best Soaker Hose Options Your Yard Truly Needs This Year - January 5, 2024
- Best Tomato Planters You Should Really Consider for Your Garden - December 21, 2023
- Best Home Depot Tomato Cages to Support Your Plants - December 16, 2023
Many of my friends and family love munching on raw tomatoes straight from the garden. While I’m not very fond of most raw tomatoes, I know that the Juliet tomato variety is something that even I enjoy in its raw form. Specifically, I like to throw them into a Greek salad. These tomatoes are just so good with a little olive oil and feta cheese.
Now that I have your tastebuds watering for a fresh salad let’s talk about these special tomatoes you should try. In this article, I will walk you through the lifecycle of a Juliet tomato. You will learn how to plant, care for, harvest, and use these tomatoes. It will be a true farm-to-table experience.
Bottom Line Upfront
Since you’re probably already outside digging a garden bed for your tomato plants, you may not want to spend much time reading about them. Go ahead and finish that row, then read this summary. Once you have time, do come back to finish the rest of the article.
- Find and purchase Juliet tomato seeds or sprouts
- Plant seeds in an indoor seed starter tray
- Begin hardening sprouts that are 7” tall
- Once the final spring frost has passed, transplant the hardened sprouts into a permanent spot outside
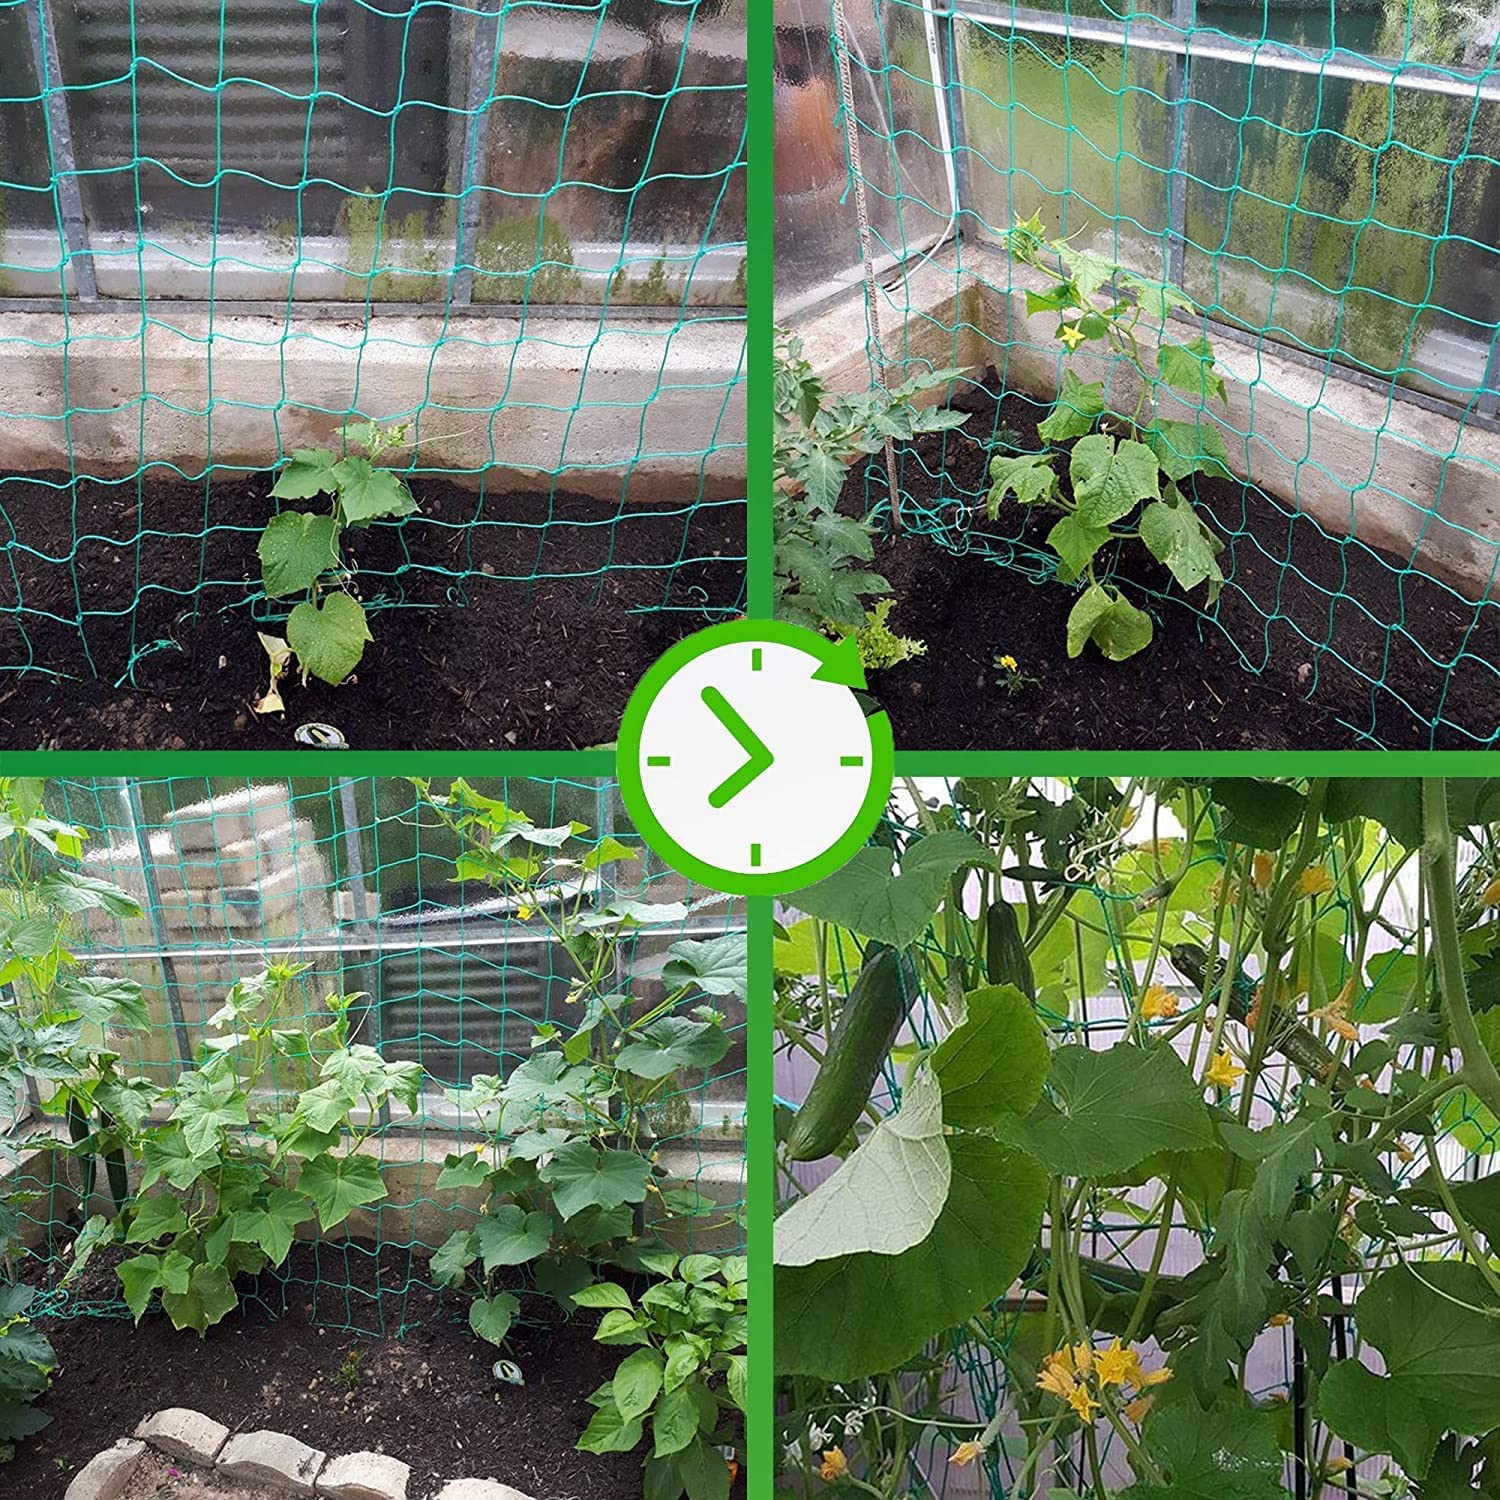
- Set up a trellis or a stake to support the growing tomato plants
- Give the plants water when the top two inches of their soil is dry
- Provide fertilizer once fruit appears on the plant and every other week as needed
- Inspect the plants regularly to catch pest infestations or disease infections
- Learn to identify and treat common pests and diseases
- Harvest and store ripe tomatoes
How to Identify Juliet Tomatoes

This tomato variety is considered a grape tomato because of the size and sugar content of its fruit. Juliet tomatoes are small and oblong-shaped with thick, red skin. I think they look like miniature Roma tomatoes. Another key feature to help identify Juliet tomatoes is that they are indeterminate. This means they will continue to vine until frost kills them off. Many of these plants reach nine feet tall.
How to Grow Juliet Tomatoes from Seed
I thoroughly enjoy growing tomato plants from seed; in fact, I like to harvest my seeds (more on that later). Instead of purchasing sprouts from a gardening store, try growing your plants this way. It is not difficult, and I think you’ll discover that it is a lot of fun.
To begin growing Juliet tomatoes from seed, you need to gather a few pieces of gardening equipment. These tools are:
- Tomato seeds
- Seed starter tray
- Seed starter soil
- Spray bottle
- Heat mat
- Grow lights
Once you have gathered the necessary equipment, follow these steps:
- Pour the seed starter soil into the seed starter tray
- Spread out the soil so that it is evenly distributed
- Set the tomato seeds a quarter of an inch deep into the spread-out soil
- Moisten the soil by spraying it with water from the spray bottle
- Replace the lid on the seed starter tray
- Set the tray on the heat mat
- Remove the lid daily and spray more water on the soil to moisten it
- Remove the lid permanently once sprouts appear
- Set the seed tray under grow lights or in a sunny window
- Moisten the soil when it is dry
- Begin hardening the sprouts once they are 7” tall and the threat of frost has passed for the season
- Transplant the sprouts to an outdoor garden or planter after they have been properly hardened for ten to twelve days
How to Harvest Juliet Tomatoes Seeds

Harvesting tomato seeds is such a fun summertime project. This is something I do when I’m ready to make a lot of pasta sauce and when my toddler needs a little mommy time. Gardening and cooking is something that can be nutritious for our bodies and our relationships, so give this project a go. Here’s how it’s done:
- Select tomatoes that are healthy and free of pests and noticeable diseases
- Cut the tomatoes in half
- Squeeze the insides of the tomatoes into a colander
- Separate the skin and pulp from the seeds
- Use the pulp and skin for cooking projects
- Rinse the seeds
- Set the seeds on a paper towel to allow them time to dry out (this will be a few weeks)
- Set the paper towel holding the seeds in a spot that is out of direct sunlight and is both cool and dry
- Place the dried seeds in a paper envelope
- Label and date the envelope
- Store the envelope in a spot that is cool, dry, and dark
When to Plant Juliet Tomatoes
Tomato seeds can be planted indoors a few months before spring. Tomato sprouts should only be transferred outdoors once the threat of frost has passed. To find out when your area no longer has a threat of frost, reference this website.
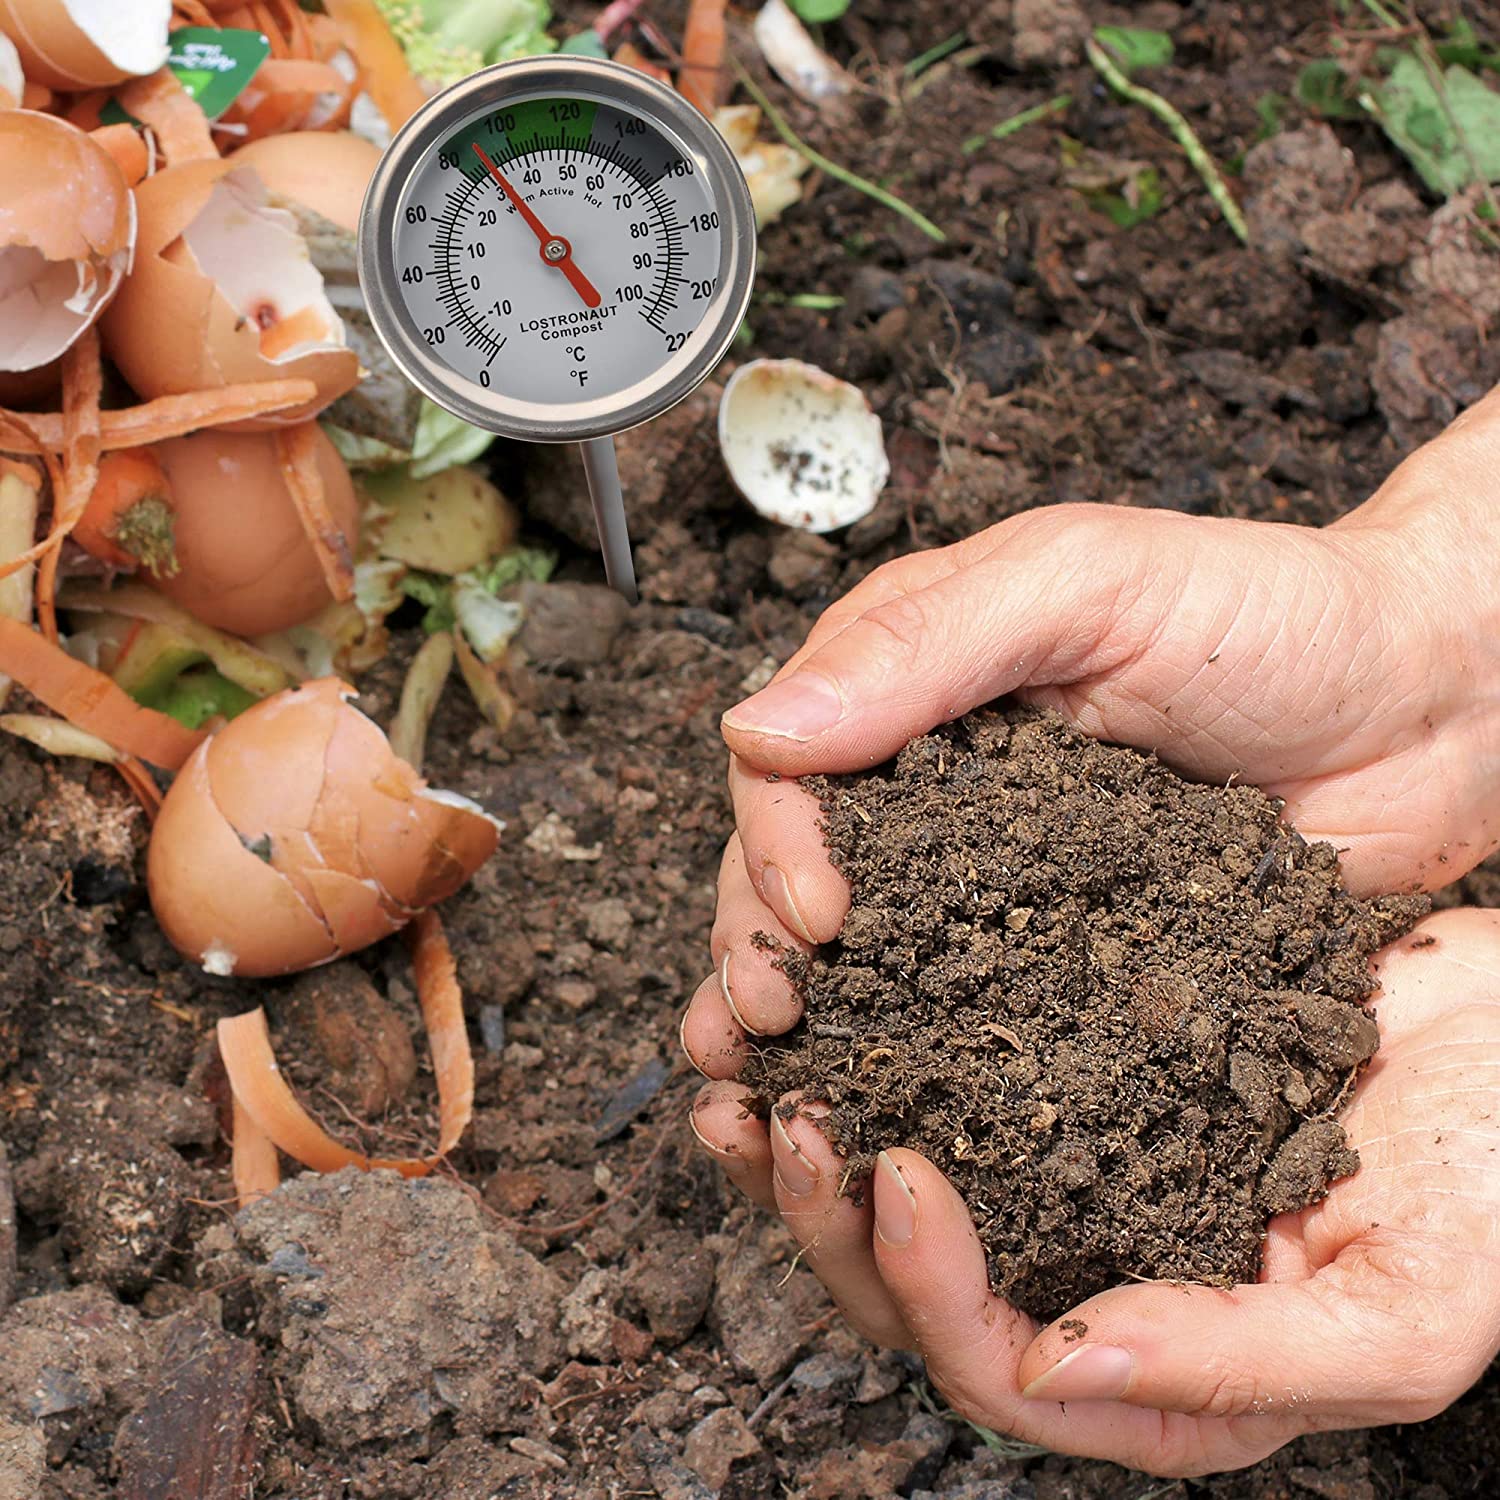
Two other factors to keep in mind when you transplant tomato sprouts are air and soil temperature. Before you transplant tomatoes outside, ensure that air temperature remains about 50° F while soil temperature averages 65° F . A simple outdoor thermometer will indicate air temperature, while a soil thermometer will give you a good reading on ground temperature.
How to Plant Juliet Tomatoes
Once the great outdoors begins to play nice with your tomato plants, it is time to move them outside permanently. When I know it’s time to transplant my tomato sprouts, I gather up the following tools:
With my tools in hand, I begin digging out a new home for the little sprouts. Here are the details:
- I dig a hole for each sprout that is 12” deep and 24” from any other plant in the garden
- I place 3” of compost at the bottom of each hole
- I prune off the bottom leaves of each sprout, ensuring that there are several healthy leaves on the top
- I gently remove each sprout from its current home and set them in a hole
- I fill the hole with dirt and ensure that the sprout is secure in its new home
- I set up a stake or trellis nearby
- I water the newly planted sprouts thoroughly
Best Juliet Tomato Fertilizer
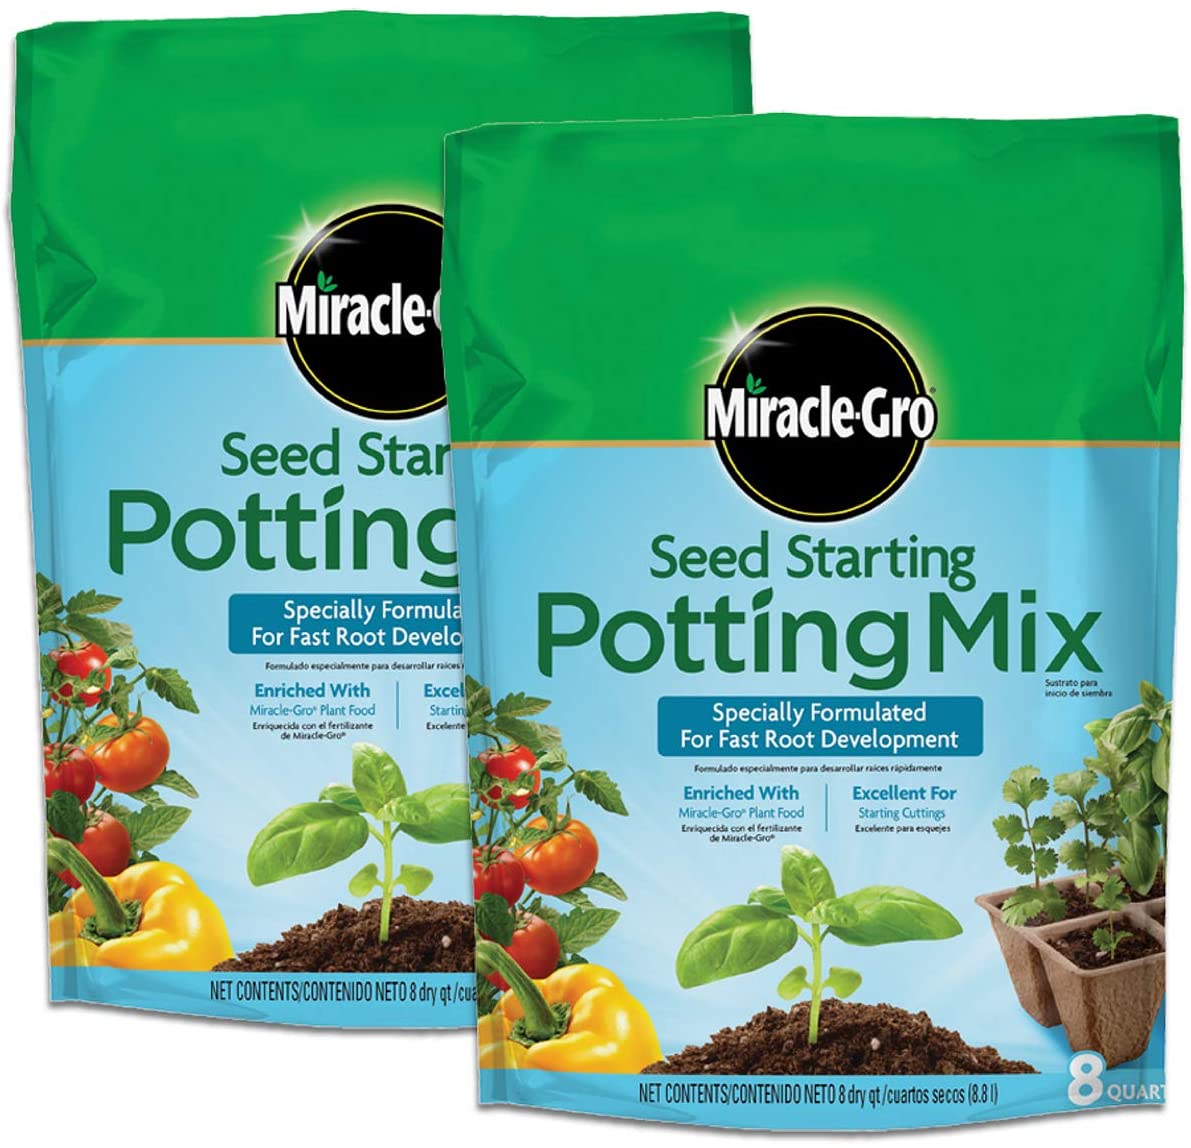
Typically, I don’t fertilize my tomato plants until I notice they are producing fruit. If they get too much fertilizer too soon, they will only produce more leaves and vines. When I do feed them, I choose to use Miracle-Gro Tomato Plant Food. This is a gentle formula that can be used regularly throughout the tomato plants’ growing season.
Juliet Tomato Soil Requirements
Ensure that your Juliet tomatoes grow big, strong, and healthy by providing them with nutritionally rich soil that is also well-draining. When I sense that my garden soil is not nutritious enough, I will either do a crop rotation or add some all-natural compost to encourage healthy plant growth.
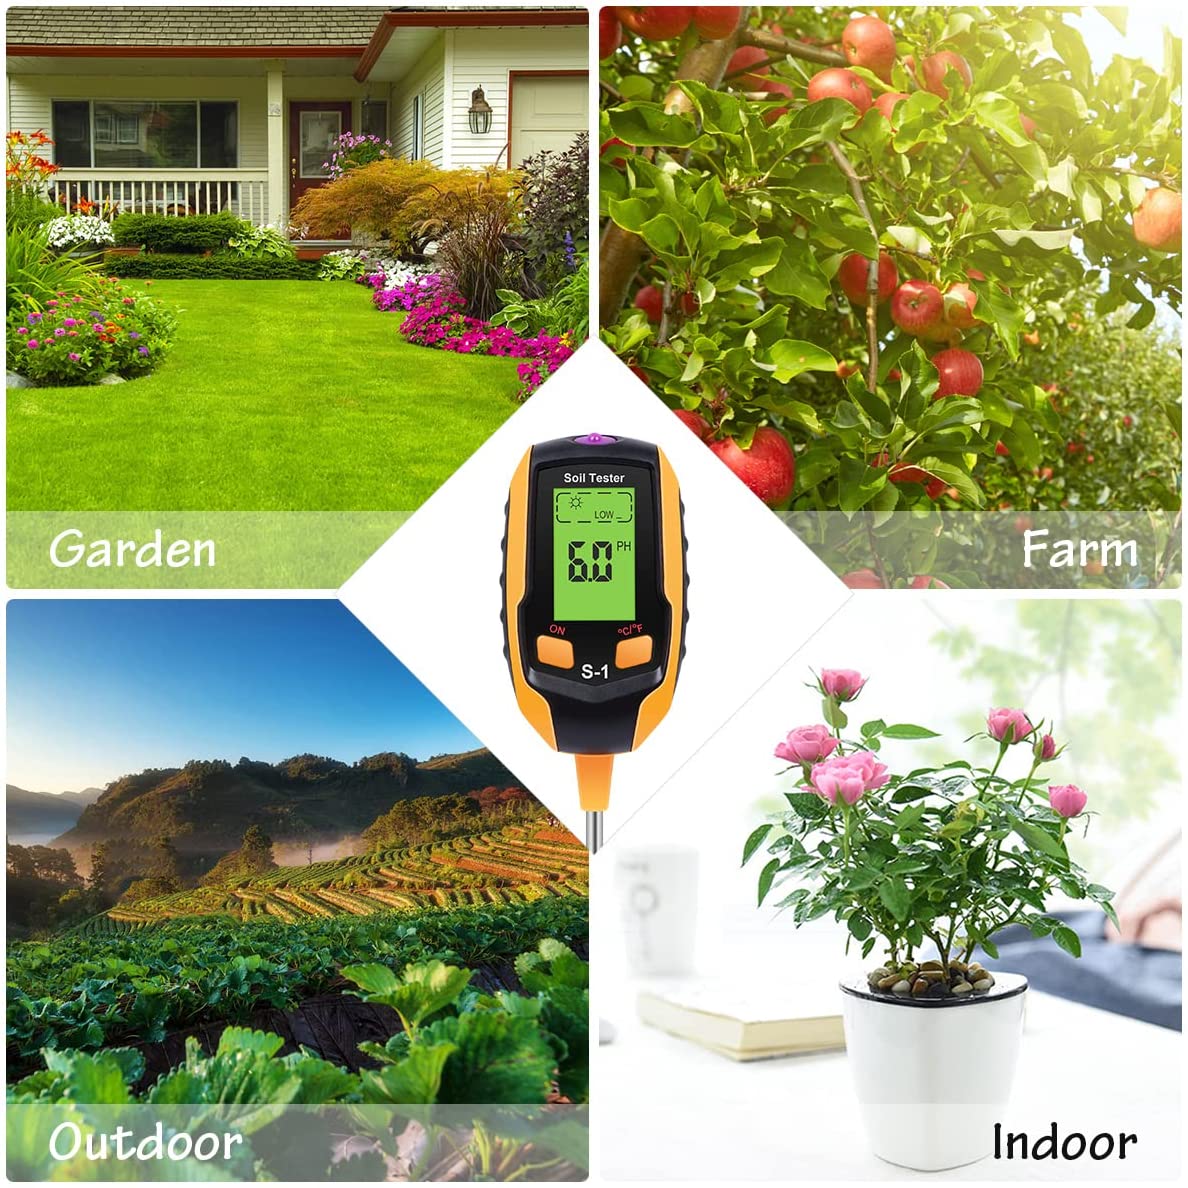
Another thing to remember is that tomatoes grow best in slightly acidic soil. Use a soil pH tester to ensure that your garden’s soil is just what they need. 6.5 is optimal.
Juliet Tomato Light Requirements
I always plot out where I am going to plant my garden fruits and vegetables before I dig a hole. This is because some plants require a lot of sunlight while others require much less. When it comes to Juliet tomatoes, or any tomato for that matter, the more sun, the better. I try to find a garden plot that gets at least six hours of sunlight every day.
Juliet Tomato Water Requirements
Not only do tomato plants require a lot of sunlight each day, but they also require a lot of water. I think I would, too, if I baked in the summer sun for six hours or more every single day.
My recommendation is that you set up a soaker hose for your tomatoes. This type of hose allows you to water plants more thoroughly without risking damage to their leaves, stems, or fruit.
How much you water your tomato plants will depend on weather conditions in your area. If it is extremely hot and dry where you are, you will need to water more than if you have been in a rainy spell. I usually test the top two inches of soil around my tomato plants and check their leaves for dryness. If these are dry, I give my plants a drink. However, if the soil is moist and the leaves look healthy, I will wait to water until I sense that the plants need a drink.
Best Juliet Tomato Companion Plantings
My absolute favorite garden companion plant for tomatoes is basil. Yes, this is also my absolute favorite kitchen companion plant for tomatoes. These two plants work well together throughout their entire existence.
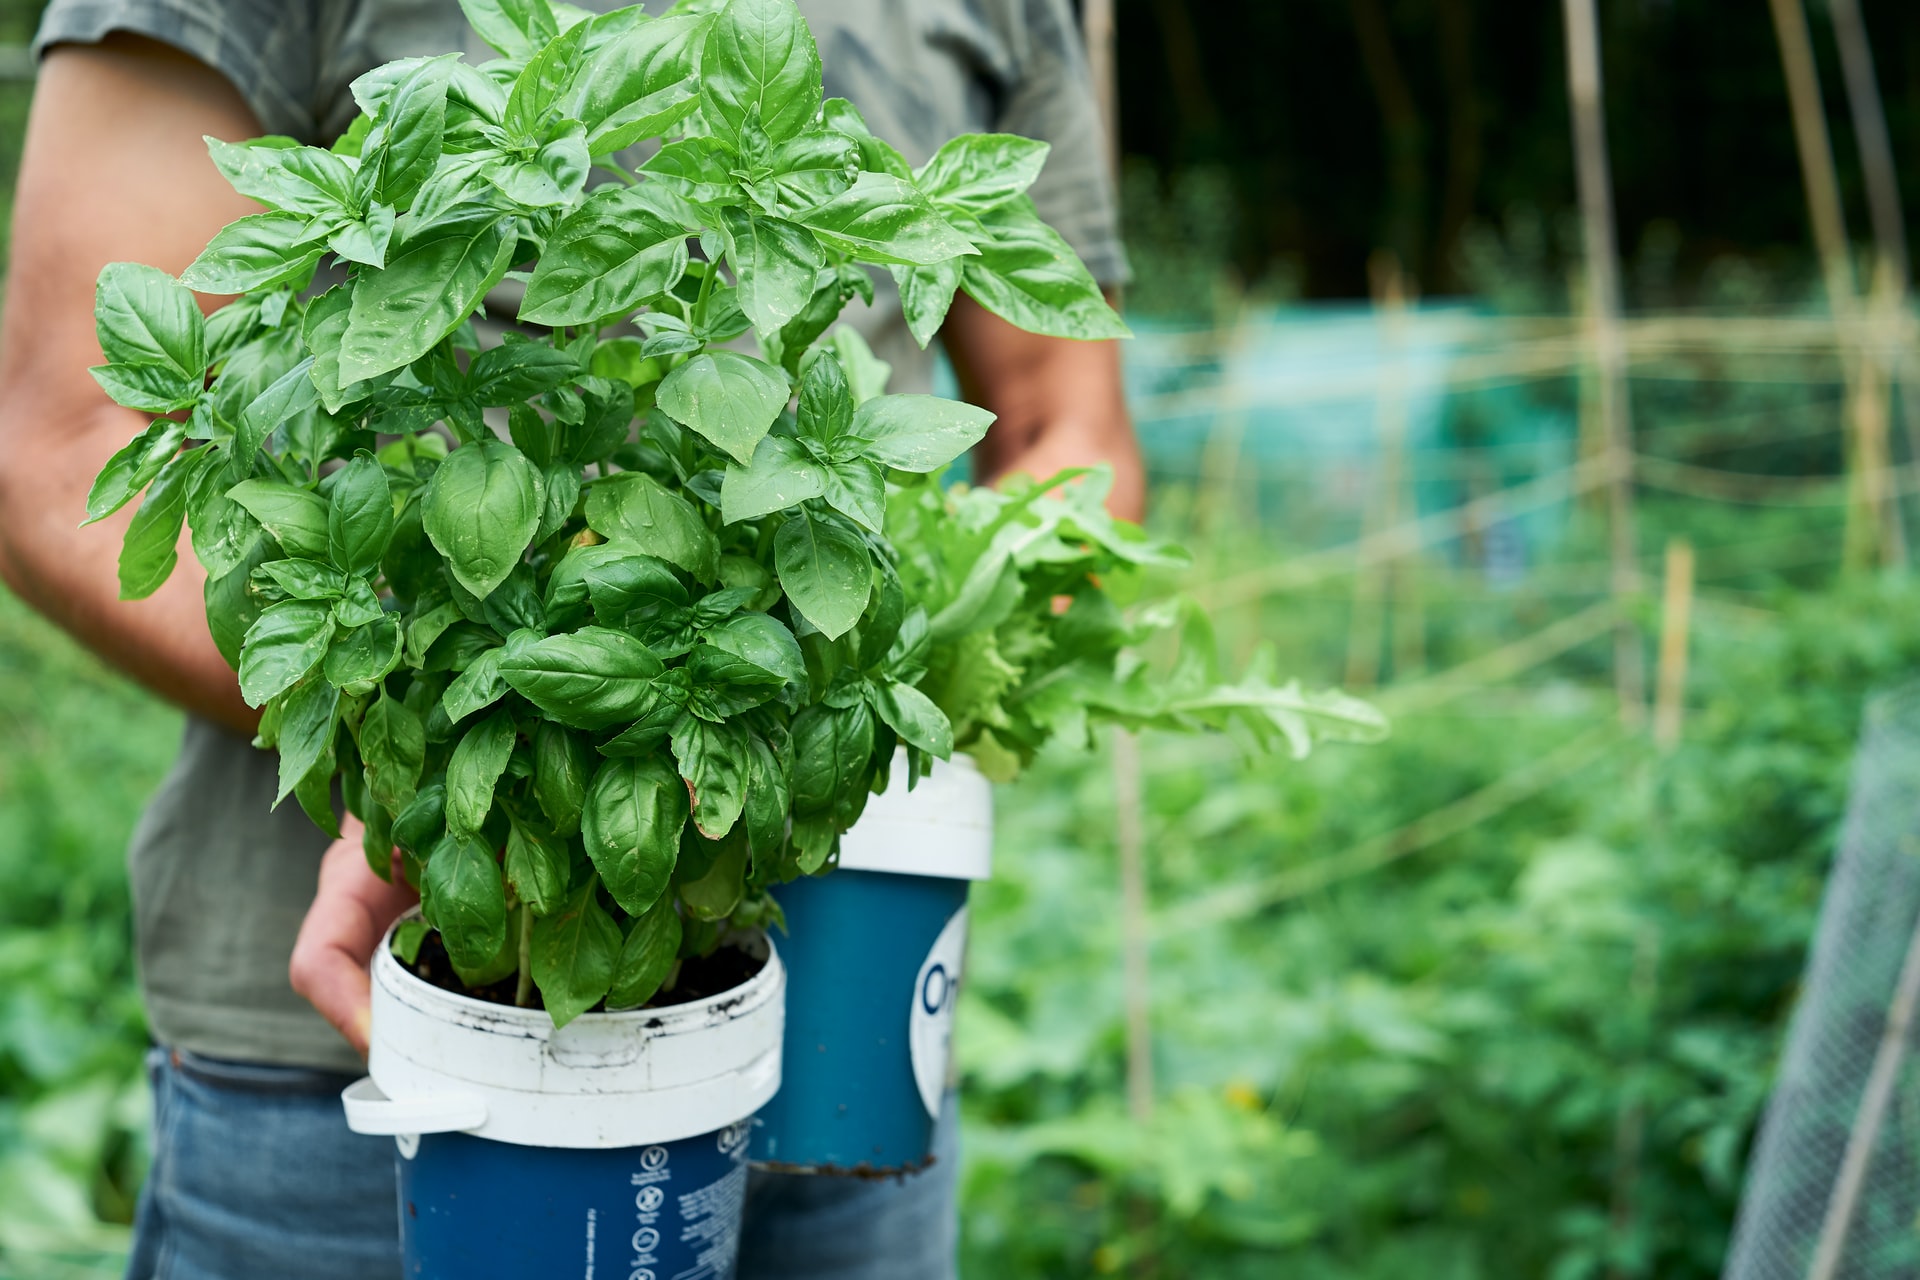
What basil does in the kitchen is brighten up any tomato-based sauce. What basil does in the garden is repel whiteflies and attract pollinators. You can’t go wrong with this pairing.
My second favorite garden companion plant for tomatoes is dill. I’m not big on eating them together, but I don’t have anything against growing them together. After all, dill is great for keeping hornworms away from my tomato plants.
My third favorite garden companion plant for tomatoes is amaranth. I am only just learning about the nutritional benefits of amaranth, and I hope to use it more in the future. But for now, I will continue letting it grow near my tomato plants so that it brings more pollinators.
Juliet Tomato Treatments and Maintenance
Try as I might, I still can’t completely get rid of pests and diseases attacking my tomato plants. I’m getting better at warding them off, but my strongest defense has been learning how to detect and diagnose these issues. Once I familiarized myself with the common issues faced by tomato plants, I was able to respond quickly and save so many of them.
These are the issues I come across the most in my tomato garden and how I deal with them:
Aphids
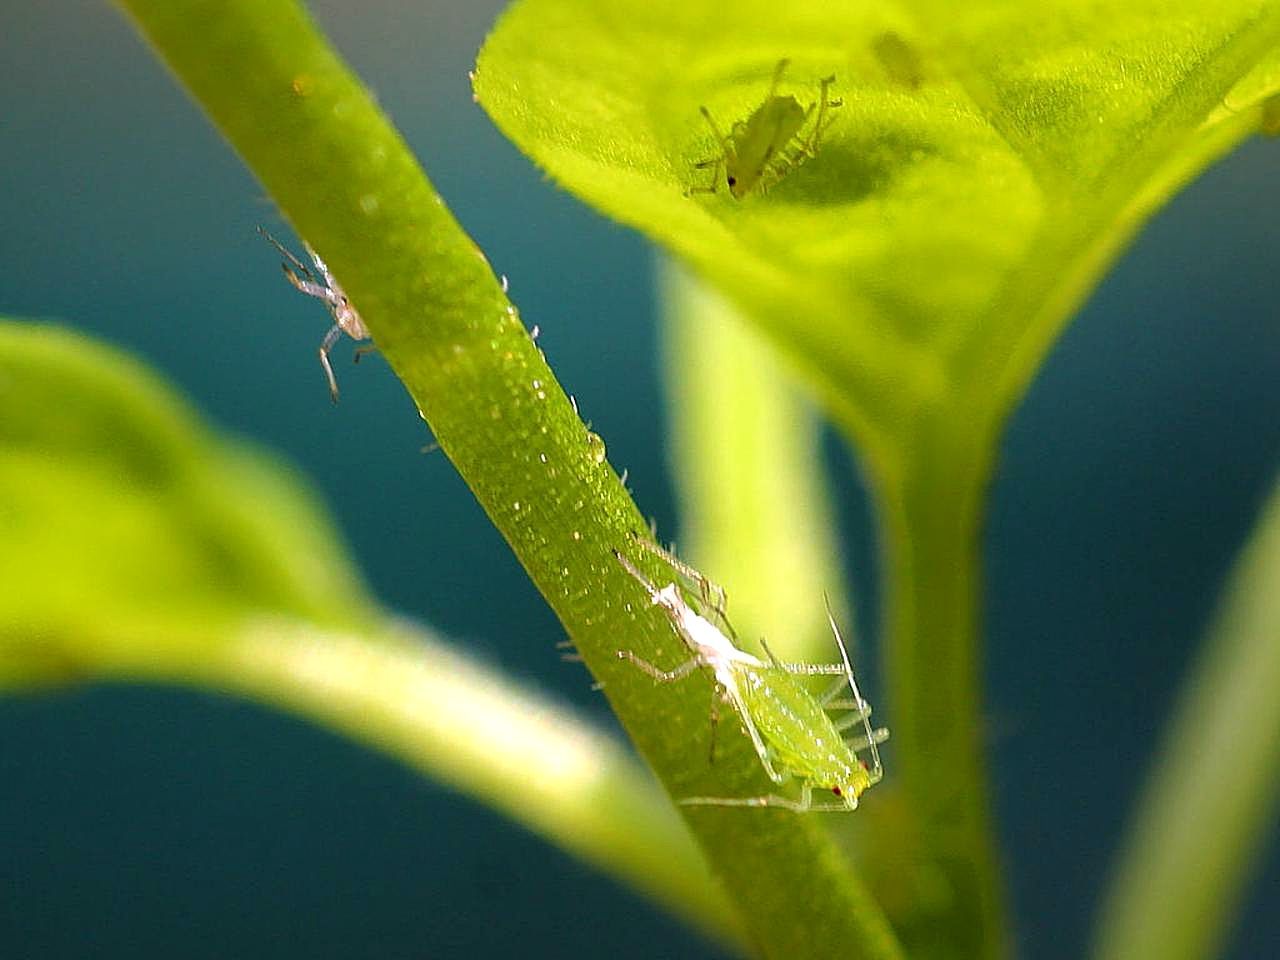
You’ll find these little guys on the underside of leaves and some stems. Another tell-tale sign of an aphid infestation is an influx of ants around your plants. The ants feed on the aphids, so that is why they are there. When you have an aphid/ant infestation, there are two treatment methods.
- Get rid of the ants by introducing predatory insects. This leaves the aphids at risk of attack by other insects.
- Wipe off the aphids with neem oil. This will protect the plant from future attacks.
Blight
You’ll notice this fungus growing as brown spots on leaves and stems. When I see my tomato plants dealing with a case of blight, I will apply a fungicide immediately. If the blight gets worse, I will remove the plant entirely. There’s no reason to lose an entire garden for one tomato plant.
Corky Root Rot
You’ll be able to detect and diagnose this odd disease rather easily. It turns plants into living cork. Since this disease is not treatable, I remove any plants that have corky root rot and destroy them. I also fumigate the soil where they planted.
Curly Top
You may notice that the leaves of your tomato plants begin to curl for various reasons (heat, dehydration, etc.). But, when you notice your tomato plants are well watered, and the heat has not been severe but their leaves are still curled, you may have a curly top virus.
This issue can usually be caught in time and a small application of neem oil will keep its ill effects at bay.
Cutworms
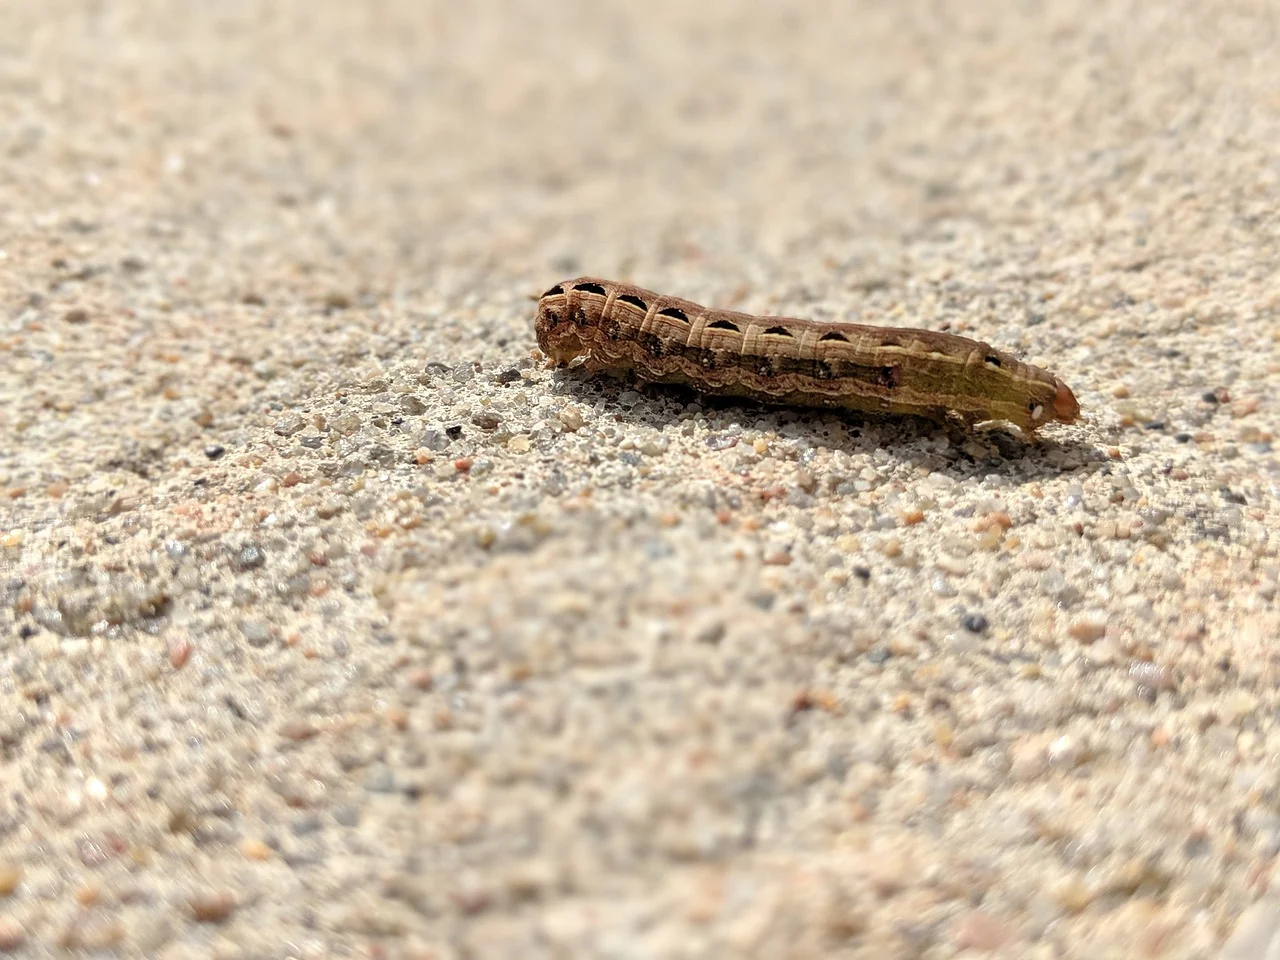
You can easily detect these nasty worms. They are no friend of gardens, so if you notice any in yours, remove and destroy them quickly. I like to take the extra precaution of applying a pesticide as well.
Flea Beetles
You’re probably going to have a little trouble noticing these pests; at least I do. Their looks and behavior are like regular fleas, but they choose to eat fruit and vegetables instead of pets. To treat a flea beetle infestation, I use talcum powder. Spread this across the infested plant and the soil around it to fend off these invaders.
Grey Mold
You should diagnose any plant that has fluffy grey fungus growing on it as having an infestation of grey mold. Any plants of mine that are dealing with grey mold are treated with a fungicide.
Hornworms
You should be able to notice these pests quickly and easily. They can get rather big, especially when they are feasting on garden vegetables. If you spot one, remove and destroy it, and then, use Bacillus Thuringiensis around your garden.
White Mold
You should be able to detect white mold by looking for a light and powdering substance on your plants’ leaves. If I notice a plant growing white mold, I spray it with a special homemade mixture. Simply mix milk and water at a 1:5 ratio. This usually fixes the issue.
Whiteflies
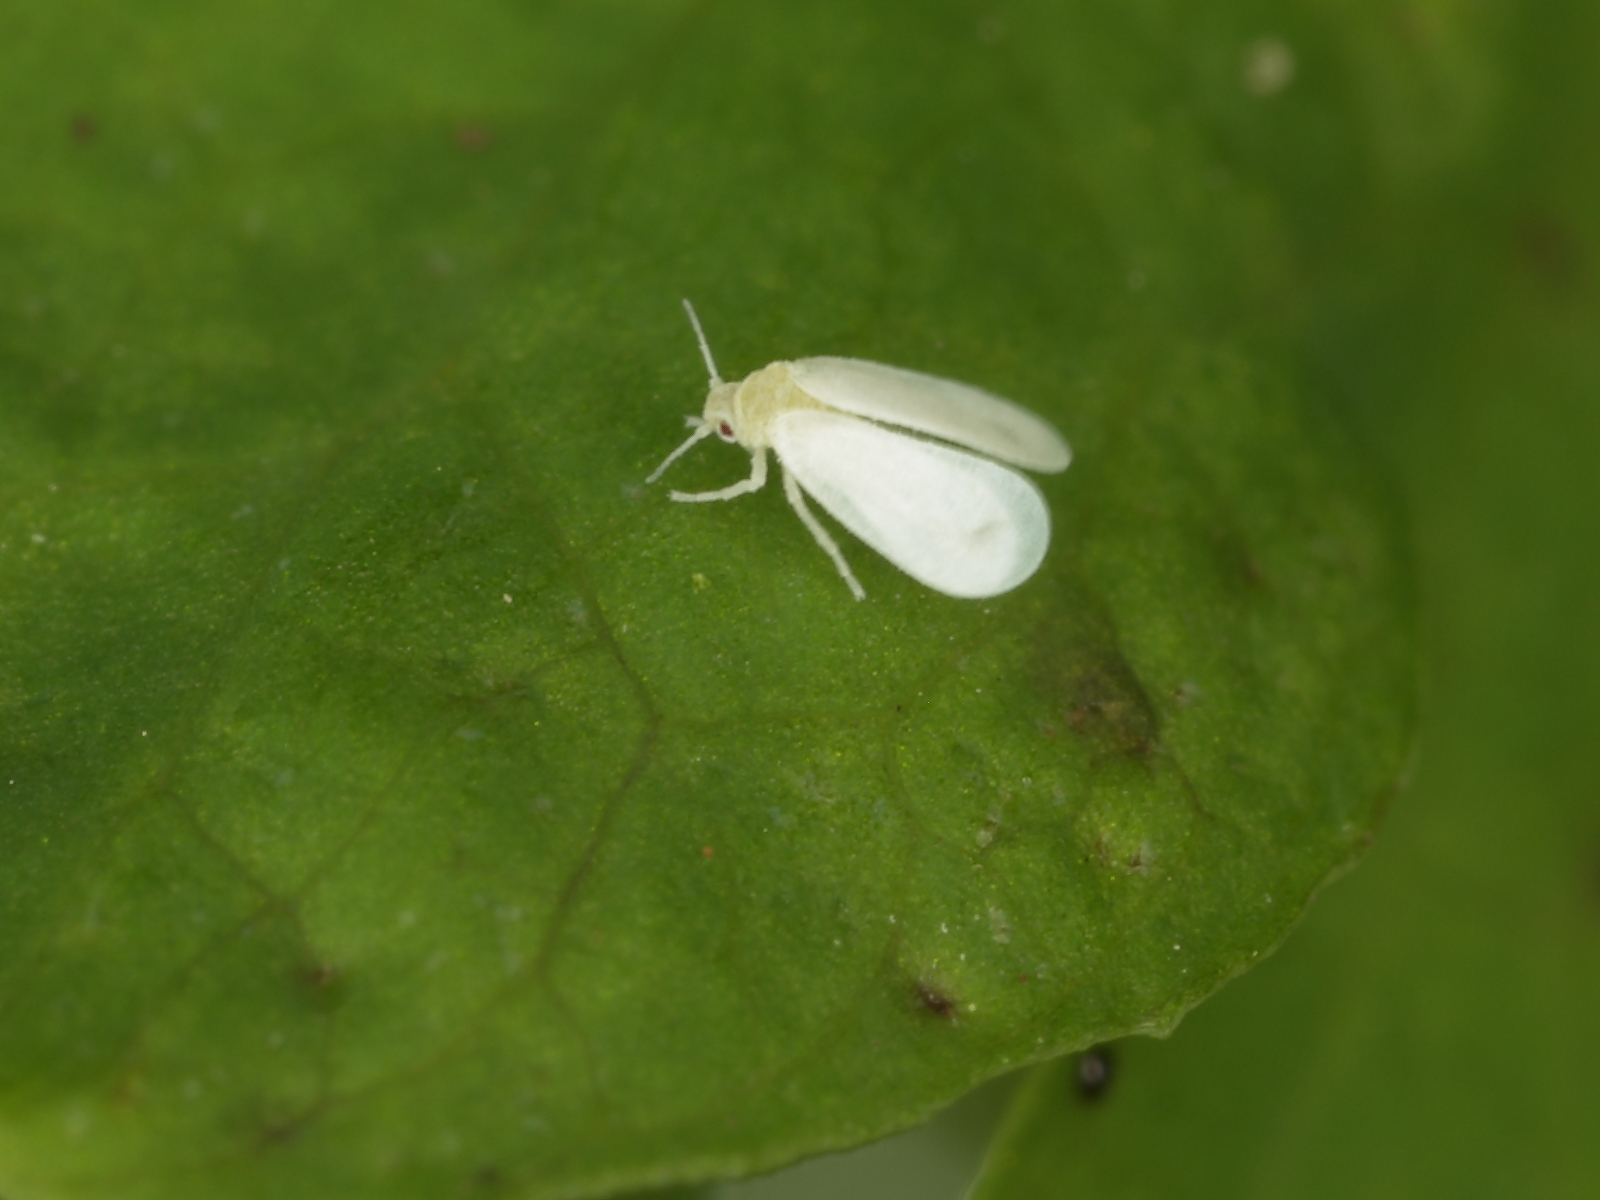
You’ll first notice whiteflies by the honeydew they trail behind them on leaves and stems. This type of infestation calls for some horticultural oil. I simply use a soft, clean cloth to wipe the plant with this oil.
Where to Purchase Juliet Tomatoes Online
- Juliet tomatoes are such a common variety that it is not difficult to find sprouts or seeds at most lawn and garden stores. If you’re interested in growing this variety, I recommend you shop at these online shops:
- True Leaf Market – seeds
- Grow Joy – sprouts
FAQs
Answer: Juliet tomatoes grow well in zones 3 through 11.
Answer: When I harden my tomato plants, I wait until the sprouts have reached 7” in height, nighttime temperatures stay about 55° F and soil temperatures are 65° F. Once these three factors are in place, I work through the following steps:
• Daily place the sprouts in an outdoor spot that is shady but wind-blocked
• Bring the sprouts inside before the sun goes down
• Move the sprouts to a different location if they appear injured by heat, sunlight, wind, or other outdoor conditions
• Continue this process for up to two weeks
• Transplant the sprout if it is in a healthy state after working through these steps for two weeks
Answer: Yes, especially if you don’t intend to harvest their seeds or you don’t care about cross-pollination. Planting tomatoes in the same area makes gardening them easier since they often require the same type of care.
In Conclusion
I think tomatoes are the quintessential garden and kitchen vegetable. Neither of these places would be complete without tomatoes in them. My assumption is that you agree with this opinion wholeheartedly; after all, you just finished reading an article about how to grow tomatoes.
I couldn’t leave you, my tomato-loving friend, without a few more tomato guides. If you want to harvest some amazing tomatoes this year, check out some of the tips my JardinHQ colleagues have to offer. These two articles have been especially helpful to me: