

- Testing Seed Viability - August 31, 2026
- Ferry-Morse Vs Burpee - July 8, 2026
- The Best Seeds for Flower Gardens: A Buyer’s Guide - May 25, 2026
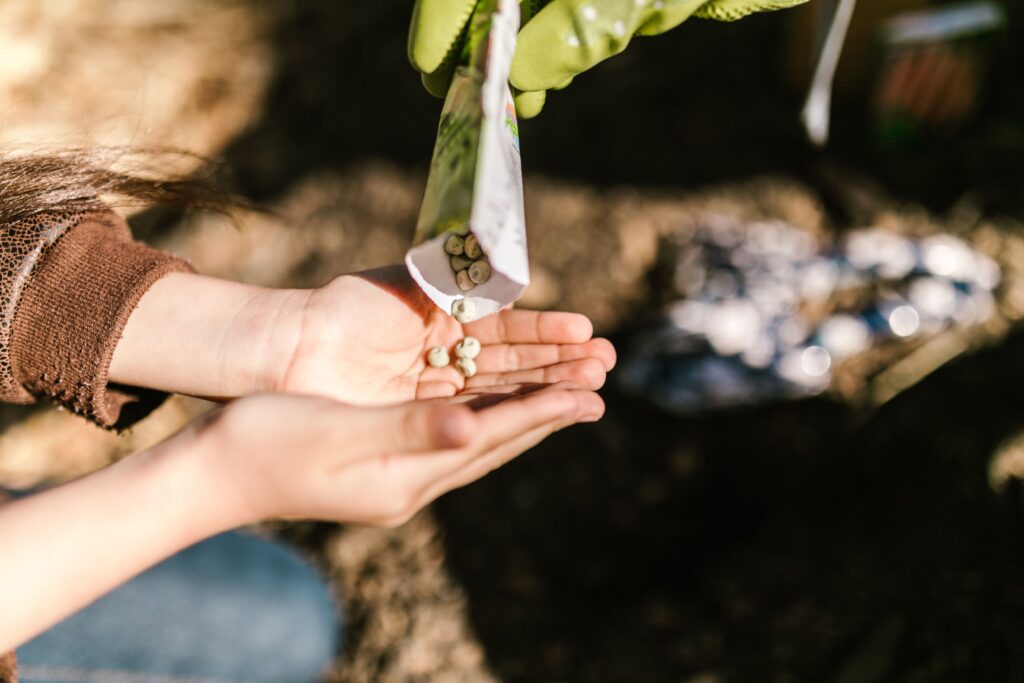
As the Fall approaches, I’ve turned to the seeds in my drawer I kept from last year’s harvest, along with a few half opened packets of seeds I had from staggered planting through the summer. As an avid gardener, I stretch my growing season as long as possible, which means saving seeds and not over-planting in the spring and summer. Those seeds in the back of my drawer could be past their prime and today we’re going to look at a few ways to easily test the viability of the seeds before giving them a spot in your precious garden real estate.
If you’re willing to run a test or two, it can save you the headache of why your seeds aren’t producing later on. You’ll be able to decide if they’re ready for planting, or if you’re better off spending a few bucks for a fresh pack of seeds. Let’s dig in (pun intended)!
Why Do Seeds Lose Viability in the First Place?
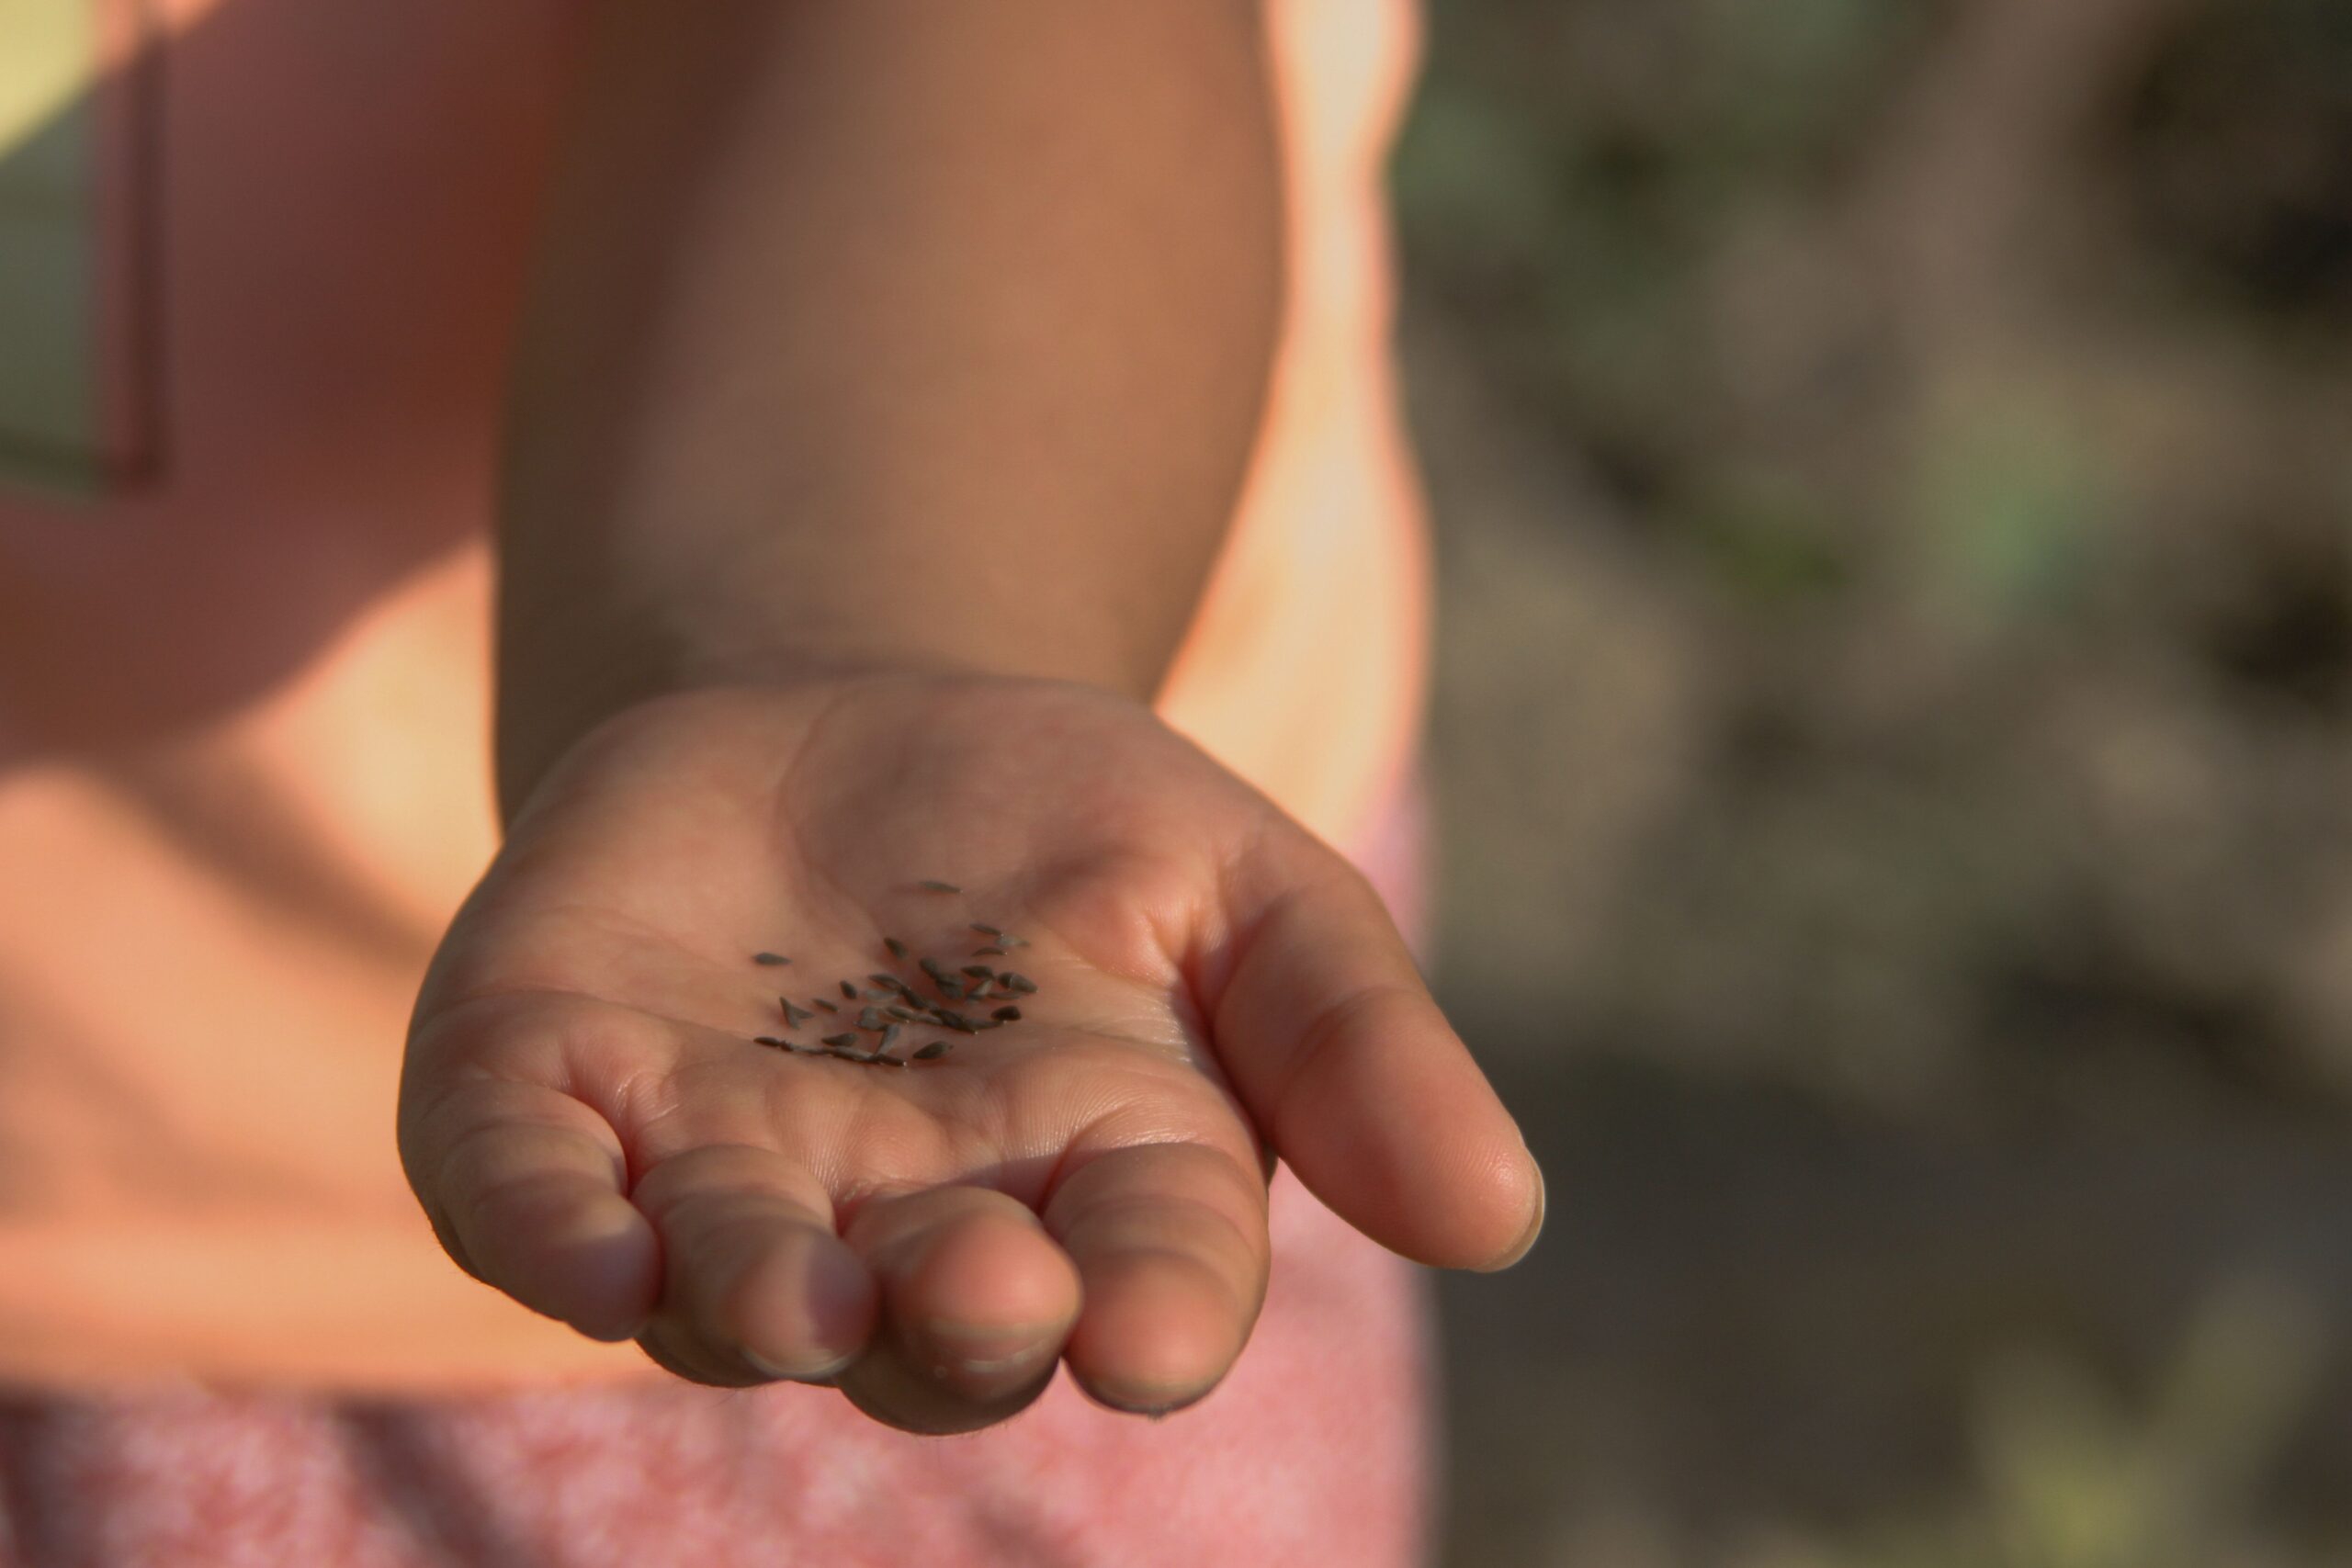
Remember back in grade school when we learned plants are living things? Well, so are the seeds! Seeds do not lay dormant forever, they have a limited shelf life, and the age of the seeds do not tell the full story. How seeds are stored, where they are kept, and what variety they are will give you more of a clue but still not the answer. Warmth, humidity and light are all factors in declining viability. Seeds that are stored in a hot shed or garage with exposure to moisture or light will drain the seeds quicker than being stored in a cool, dry pantry or closet. More than that, some seeds just have a naturally shorter life.
The age of the seed packet is just a variable in the seed survival equation. Consider a three year old seed packet that has sat in a kitchen drawer under the right elements against a six month old seed packet that has sat on the floor boards of your car through a hot and humid summer. That three year old packet may germinate quickly and produce wonderfully for you while the six month old packet is a dud in the garden. Age isn’t the only consideration, which is why it’s smart to put a few seeds through a test before investing your time and patience to a full growing period with them.
Visual and Physical Exam
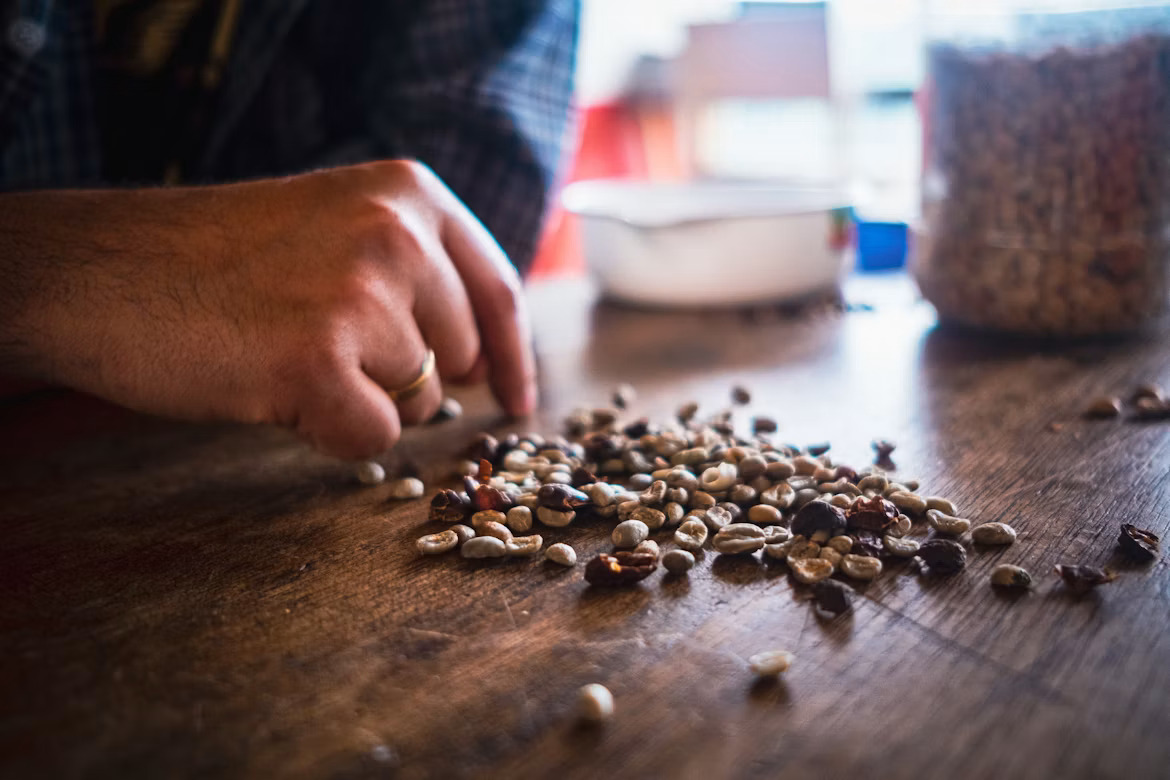
Similar to an annual physical with your doctor, you’ll do a visual assessment first. You’ll look for cracks, unusual spots or changes in color and signs of shriveling. If there are any mushy, moldy or foul smelling seeds, you can eliminate these from your test and discard, they are not viable.
Those that pass the visual and physical test can move forward to the float and paper towel portion of the exam. One step closer to planting!
The Quick Float Test
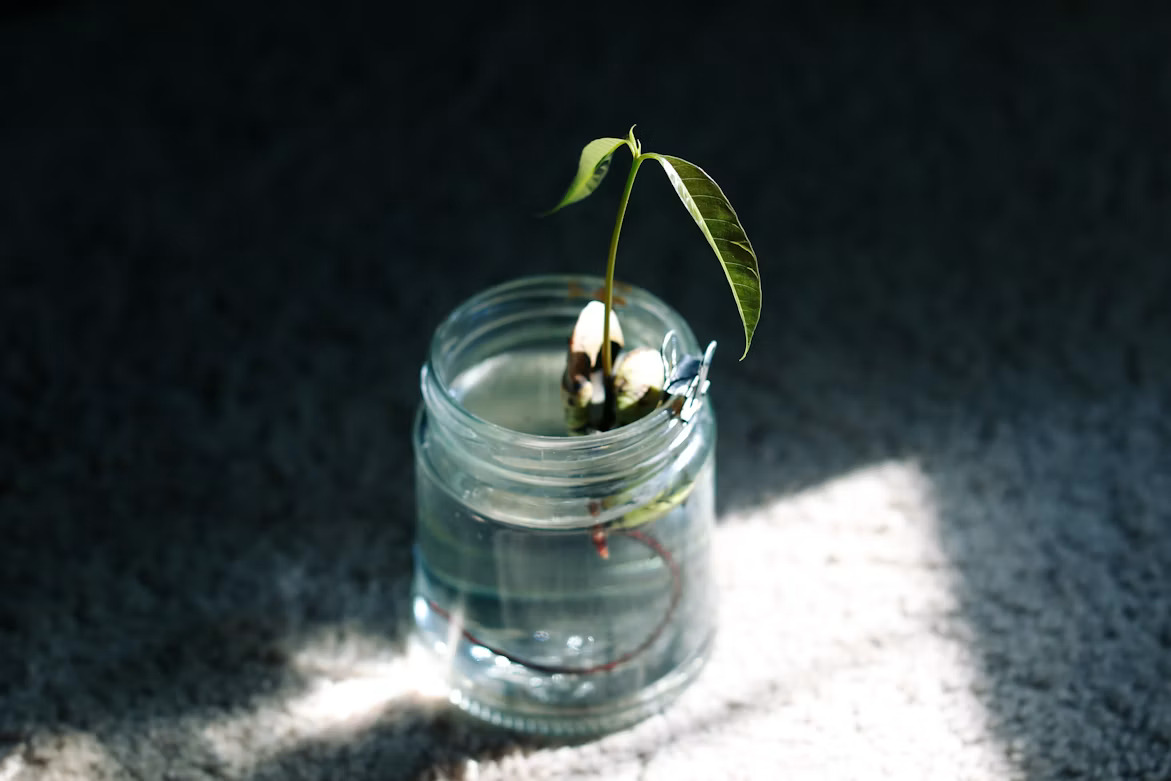
Of the two tests, this one is faster but not always the most reliable (and I’ll explain why.) This test involves a cup of water and about a tablespoon of seeds and those that float can be eliminated, those that sink are ready for soil.
Grab a glass of room temperature water and drop in a tablespoon of your seeds for fifteen minutes. The seeds that find their way to the top of the glass generally have more air space in them, pointing to a dried out interior. Those that sink are more dense and are a better bet for your garden.
There is a small stipulation with this test method. It tests for air space and moisture in the seed more than giving us the real picture of if the seed is alive and well in there. Smaller seed varieties, like lettuce or carrots are more likely to float given the size of their seed. So this test is more for seeds that have capacity to hold more air in them, like corn or beans.
The float test should be treated more as a sorting tool for larger seeds, rather than a viability test. A floating bean should be worth a second glance with the paper towel test because of its air space and moisture content. The most accurate way to screen your seeds is to run both tests to not treat the floaters as an automatic loss. These two methods combined will give you the bigger picture of the seed stash’s health.
The Paper Towel Test
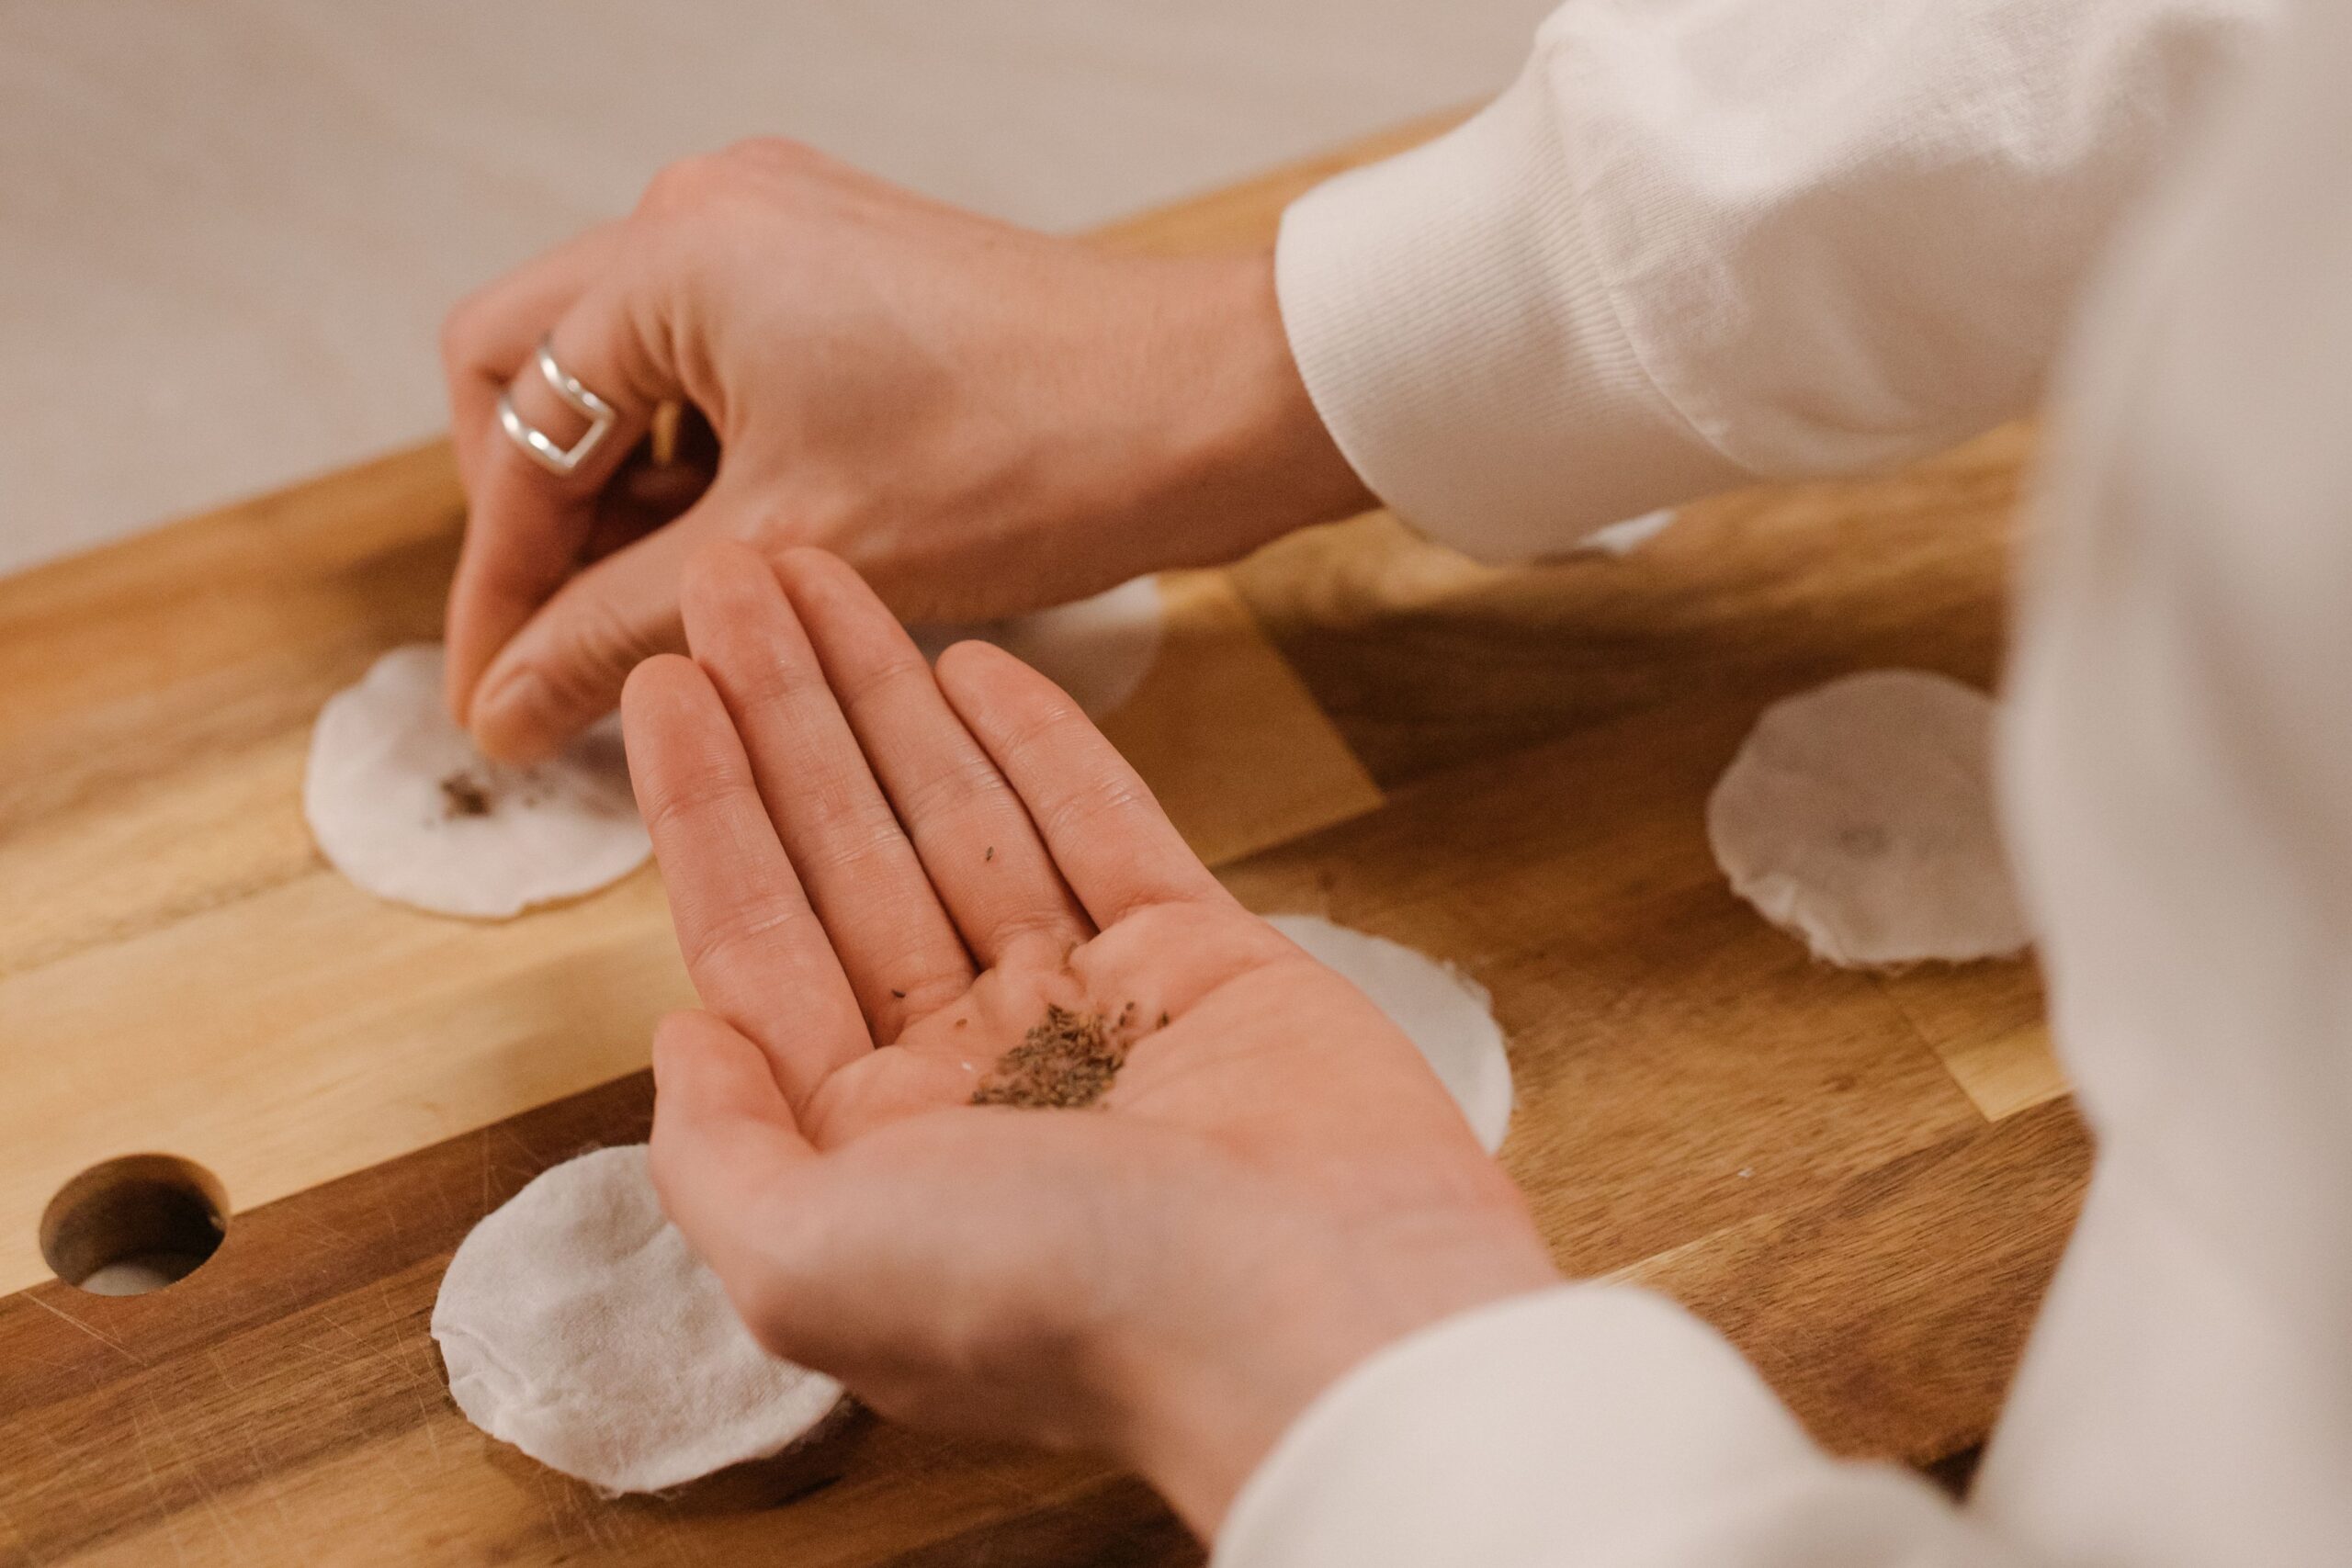
If you have time constraints, skip the float test and make this assessment the priority. This works for nearly every seed size and will give you a germination count instead of a guess.
To perform this experiment, you will need the following materials:
- Paper towels
- Water (spray bottle or sink)
- Plastic bag or container
- Warm space in your home or where you are conducting the test
Step One
Moisten your paper towel evenly with your spray bottle, or run it under a light stream from the sink so it’s damp, not soaked.
Step Two
Distribute at least ten seeds onto the paper towel evenly. Ten is a reliable sample size. If you only test one or two seeds and one of them fails, it can make the whole packet look bad, when really it’s just one unlucky seed. Make sure they are spaced apart well so you can count and track them individually later.
Step Three
Fold over your paper towel with the seeds making contact with the damp paper towel and press down gently to release moisture.
Step Four
Slide the folded paper towel into your plastic bag or container and seal it loosely so air can circulate. Sealing the bag or lid fully will trap moisture and encourage unwanted mold growth on the seeds.
Step Five
Keep your sample warm, whether that is a spot in the window sill (but out of direct, scorching heat), above the fridge, or on a heated seed mat (I use Ferry-Morse Heat Mat for Starting Seeds.)
Step Six
Over the course of the next few days, check in on your seeds and spritz with water if the paper towel dries out, remembering we don’t want it soaking wet.
Beans, corn, peas typically germinate in seven to ten days under these conditions, while the smaller seeds like radish or lettuce can show germination happening in as little as three days. Make sure to reference your seed packet for an accurate germination rate or you may think your peppers and parsley are void, when in reality they can take up to three weeks!
Once the germination period has passed, uncover your seed samples and count how many have sprouted roots or shoots and divide that by your sample size. That is your germination rate!
Reading Your Results
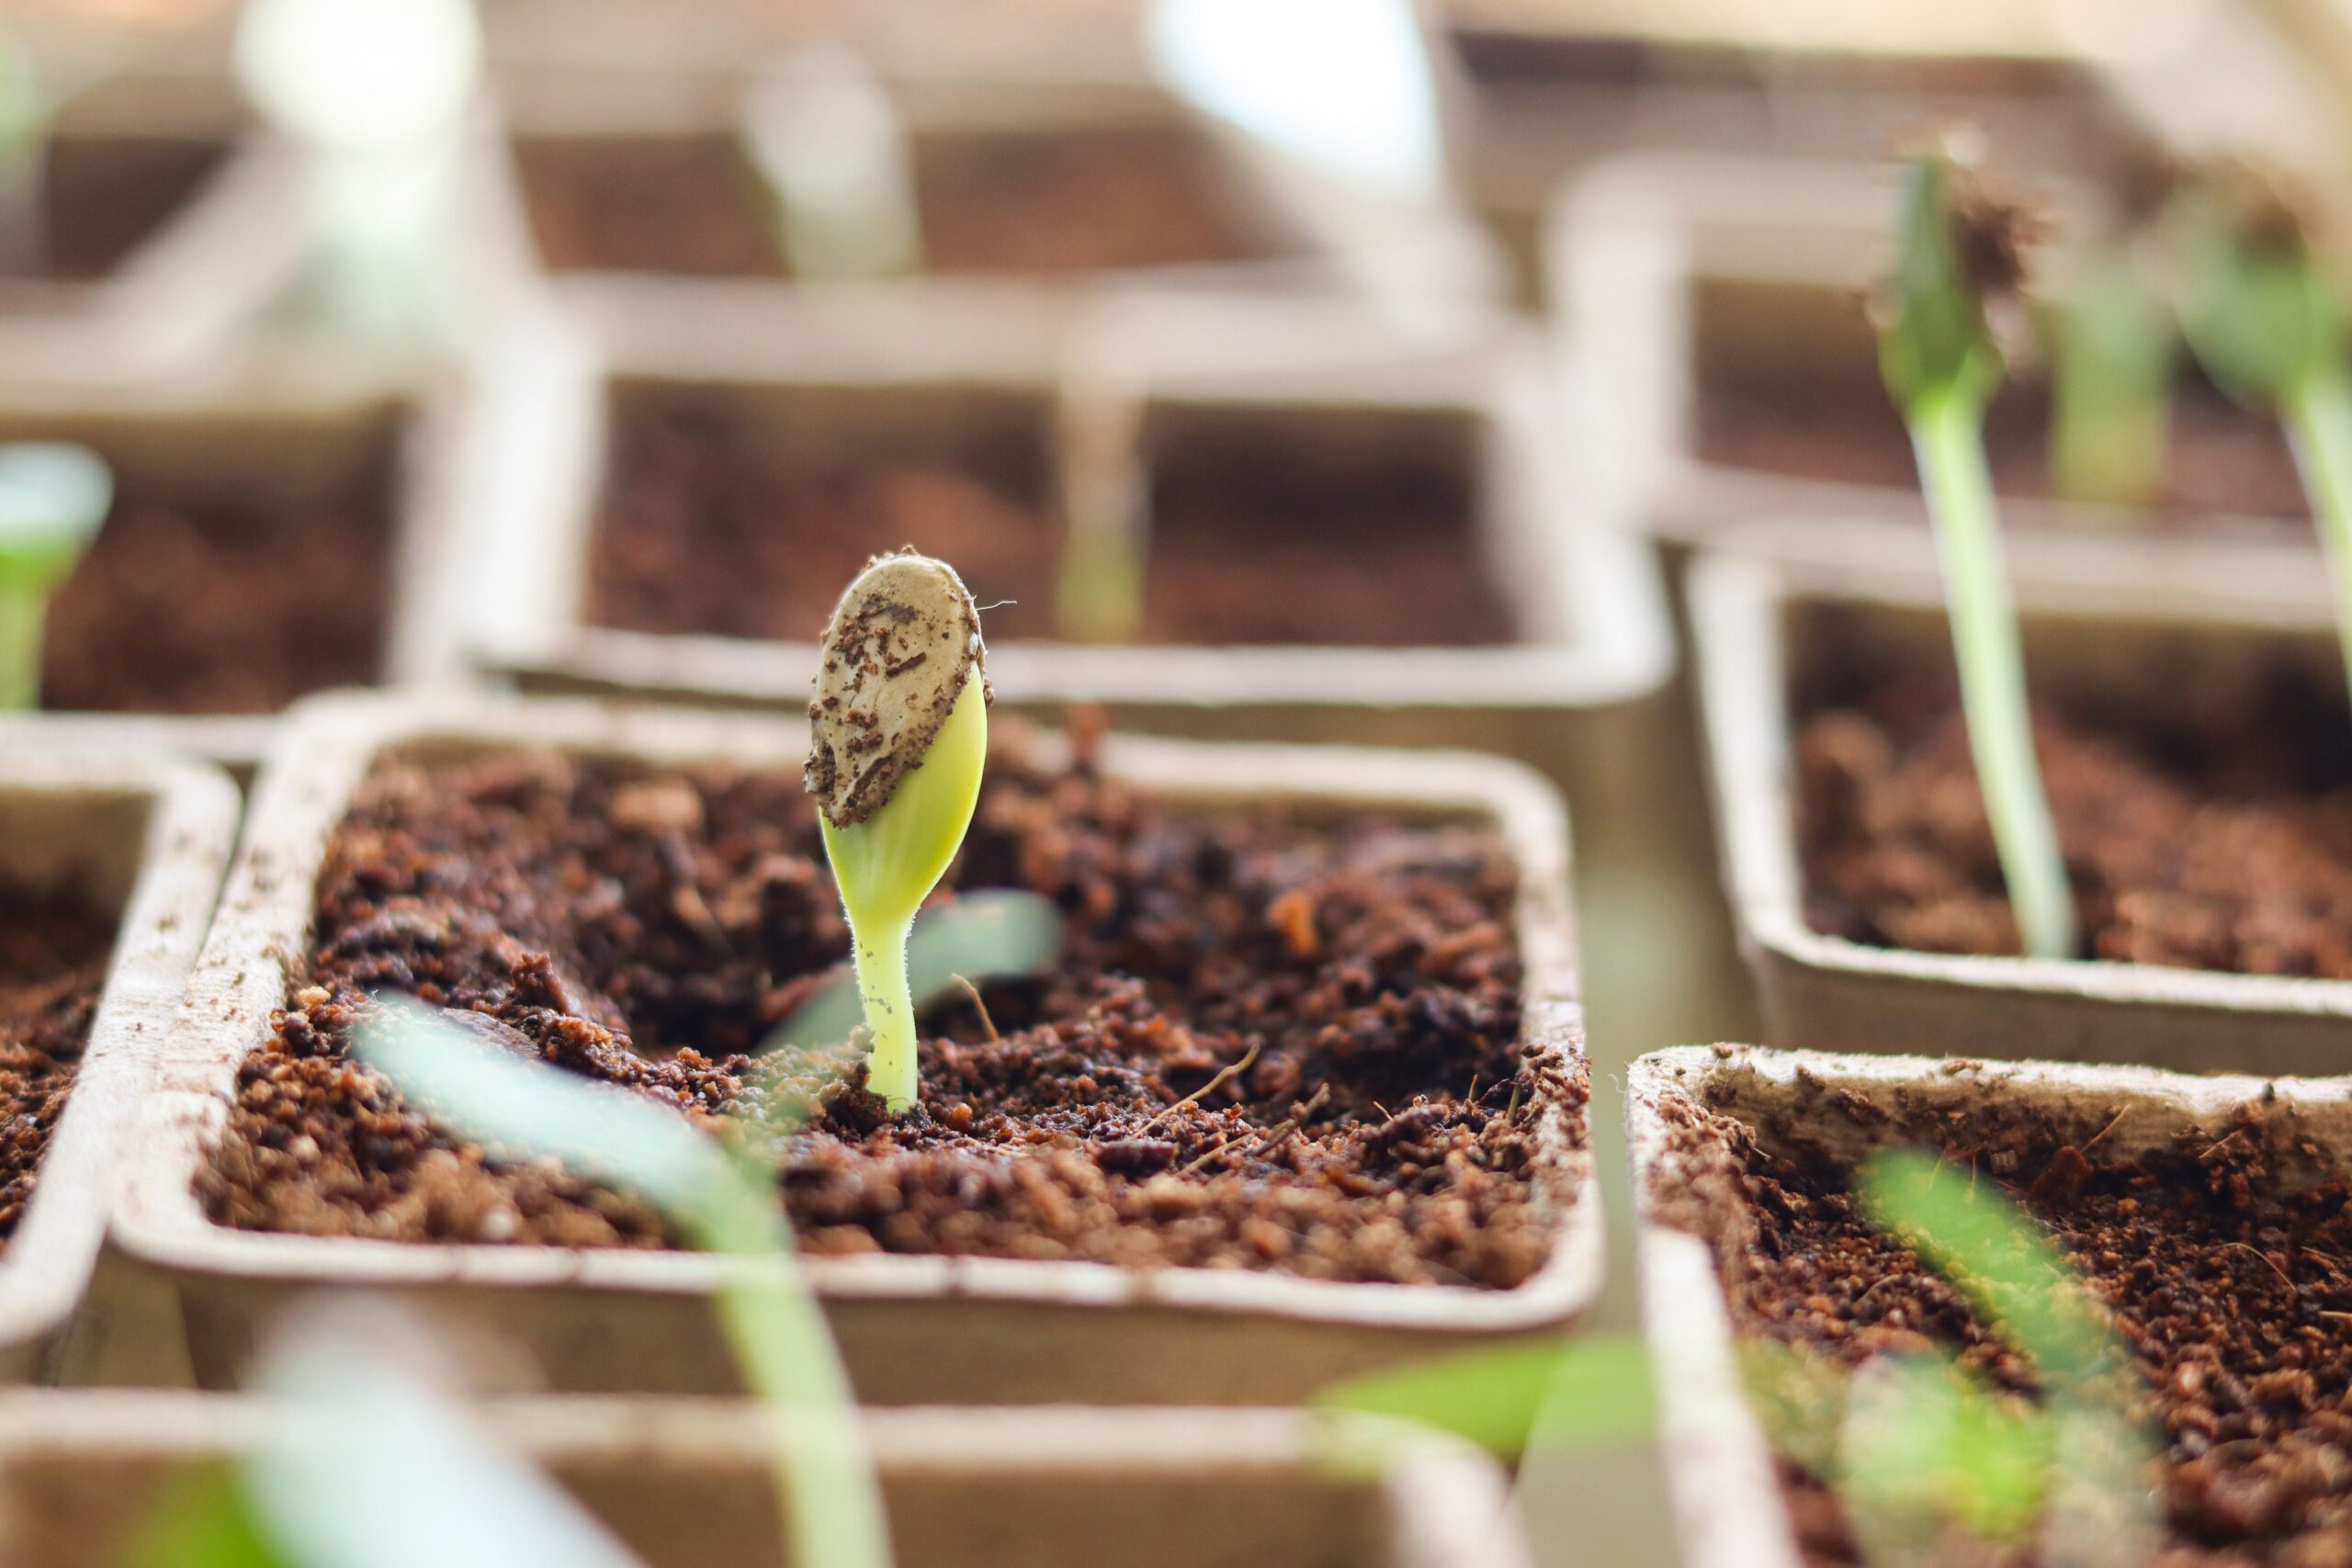
The benchmarks below apply whether you opted for the float test, paper towel method, or both.
75% or higher
Your seeds are in great shape and should do very well under the optimal conditions. Go forward with planting as you normally would, ensuring you are following the spacing and depth recommendations on the seed packet.
50-75%
These are still worth planting, but sow more densely. If one seed every three inches is recommended, I would suggest planting two or three to make up for the seeds that won’t pull through. This should help fill your row more tightly.
50% and below
Sow with low expectations, or not at all. These seeds generally are not worth the time waiting, garden real estate or the water. Your best option is replacing the seeds for a fresh pack for the season.
These germination tests are not a guarantee, but will give you more confidence than planting blindly and waiting for something that may never come. These seeds could easily thrive on your warm kitchen counter, but struggle with colder soil outside in the garden. You should treat these exams as an indicator that your seeds are viable and healthy, not as a promise that you will be harvesting the fruits of your labors from them. There are many other variables to throw into the mix outdoors, like early/late frosts, uneven watering patterns, or soil health to consider.
Skewed Results
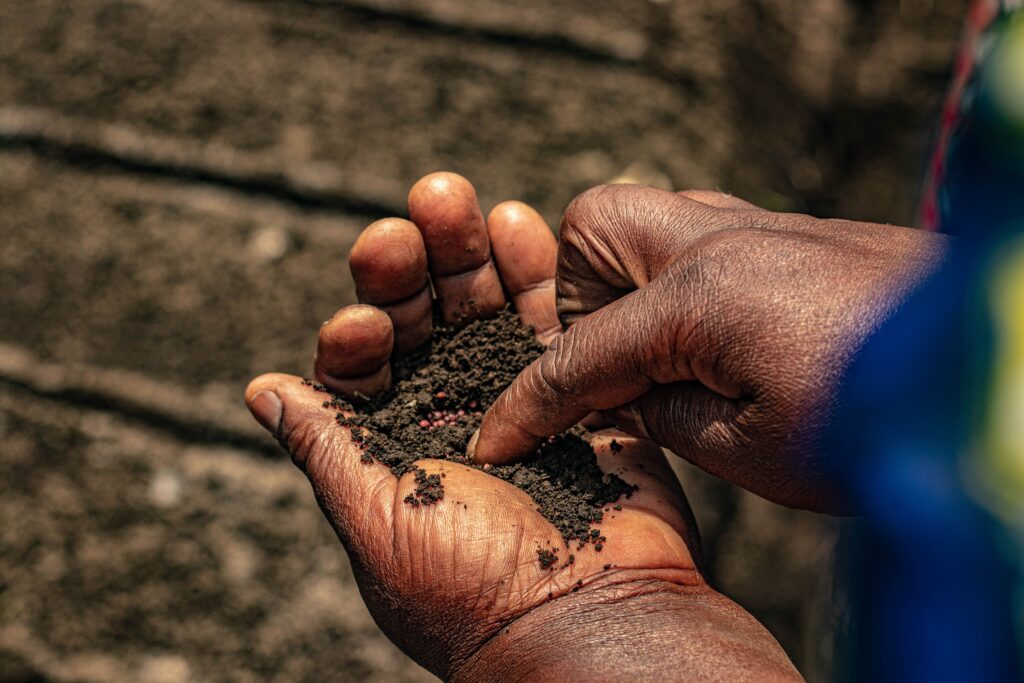
If you believe your seed test results could be inaccurate, rule out these mistakes that could have hindered the final outcome.
Too Hot or Too Cold
Aim for 65-75°F for your tests. A chilly basement work table or a steamy garage in the summer can mess with your germination rates quickly. Ensure you have a stable temperature throughout your testing period.
Too Wet or Too Dry
Peek into your sample stash daily to make sure your paper towel continues to stay damp and not overly wet. A dry paper towel will not give the seed moisture to begin to germinate and on the opposite end, a wet towel will oversaturate your seed and cause it to rot. Aim for moist but not dripping wet.
Sample Size Too Small
Ten or more is the ideal sample size to test. If you only use three or four, you will not have a large enough group to test. One seed that perhaps didn’t get enough moisture immediately throws your germination percentage down the drain, causing a misleading result.
Know the Average
If you don’t have your seed packet to reference the expected germination rate, it’s worth looking up. Just because your corn has started to show a root sprout, that does not mean your peppers should be as well. Peppers have a notoriously longer germination rate than corn does. Don’t give up on them because you didn’t read the recommendations!
Proper Seed Storing For Next Season
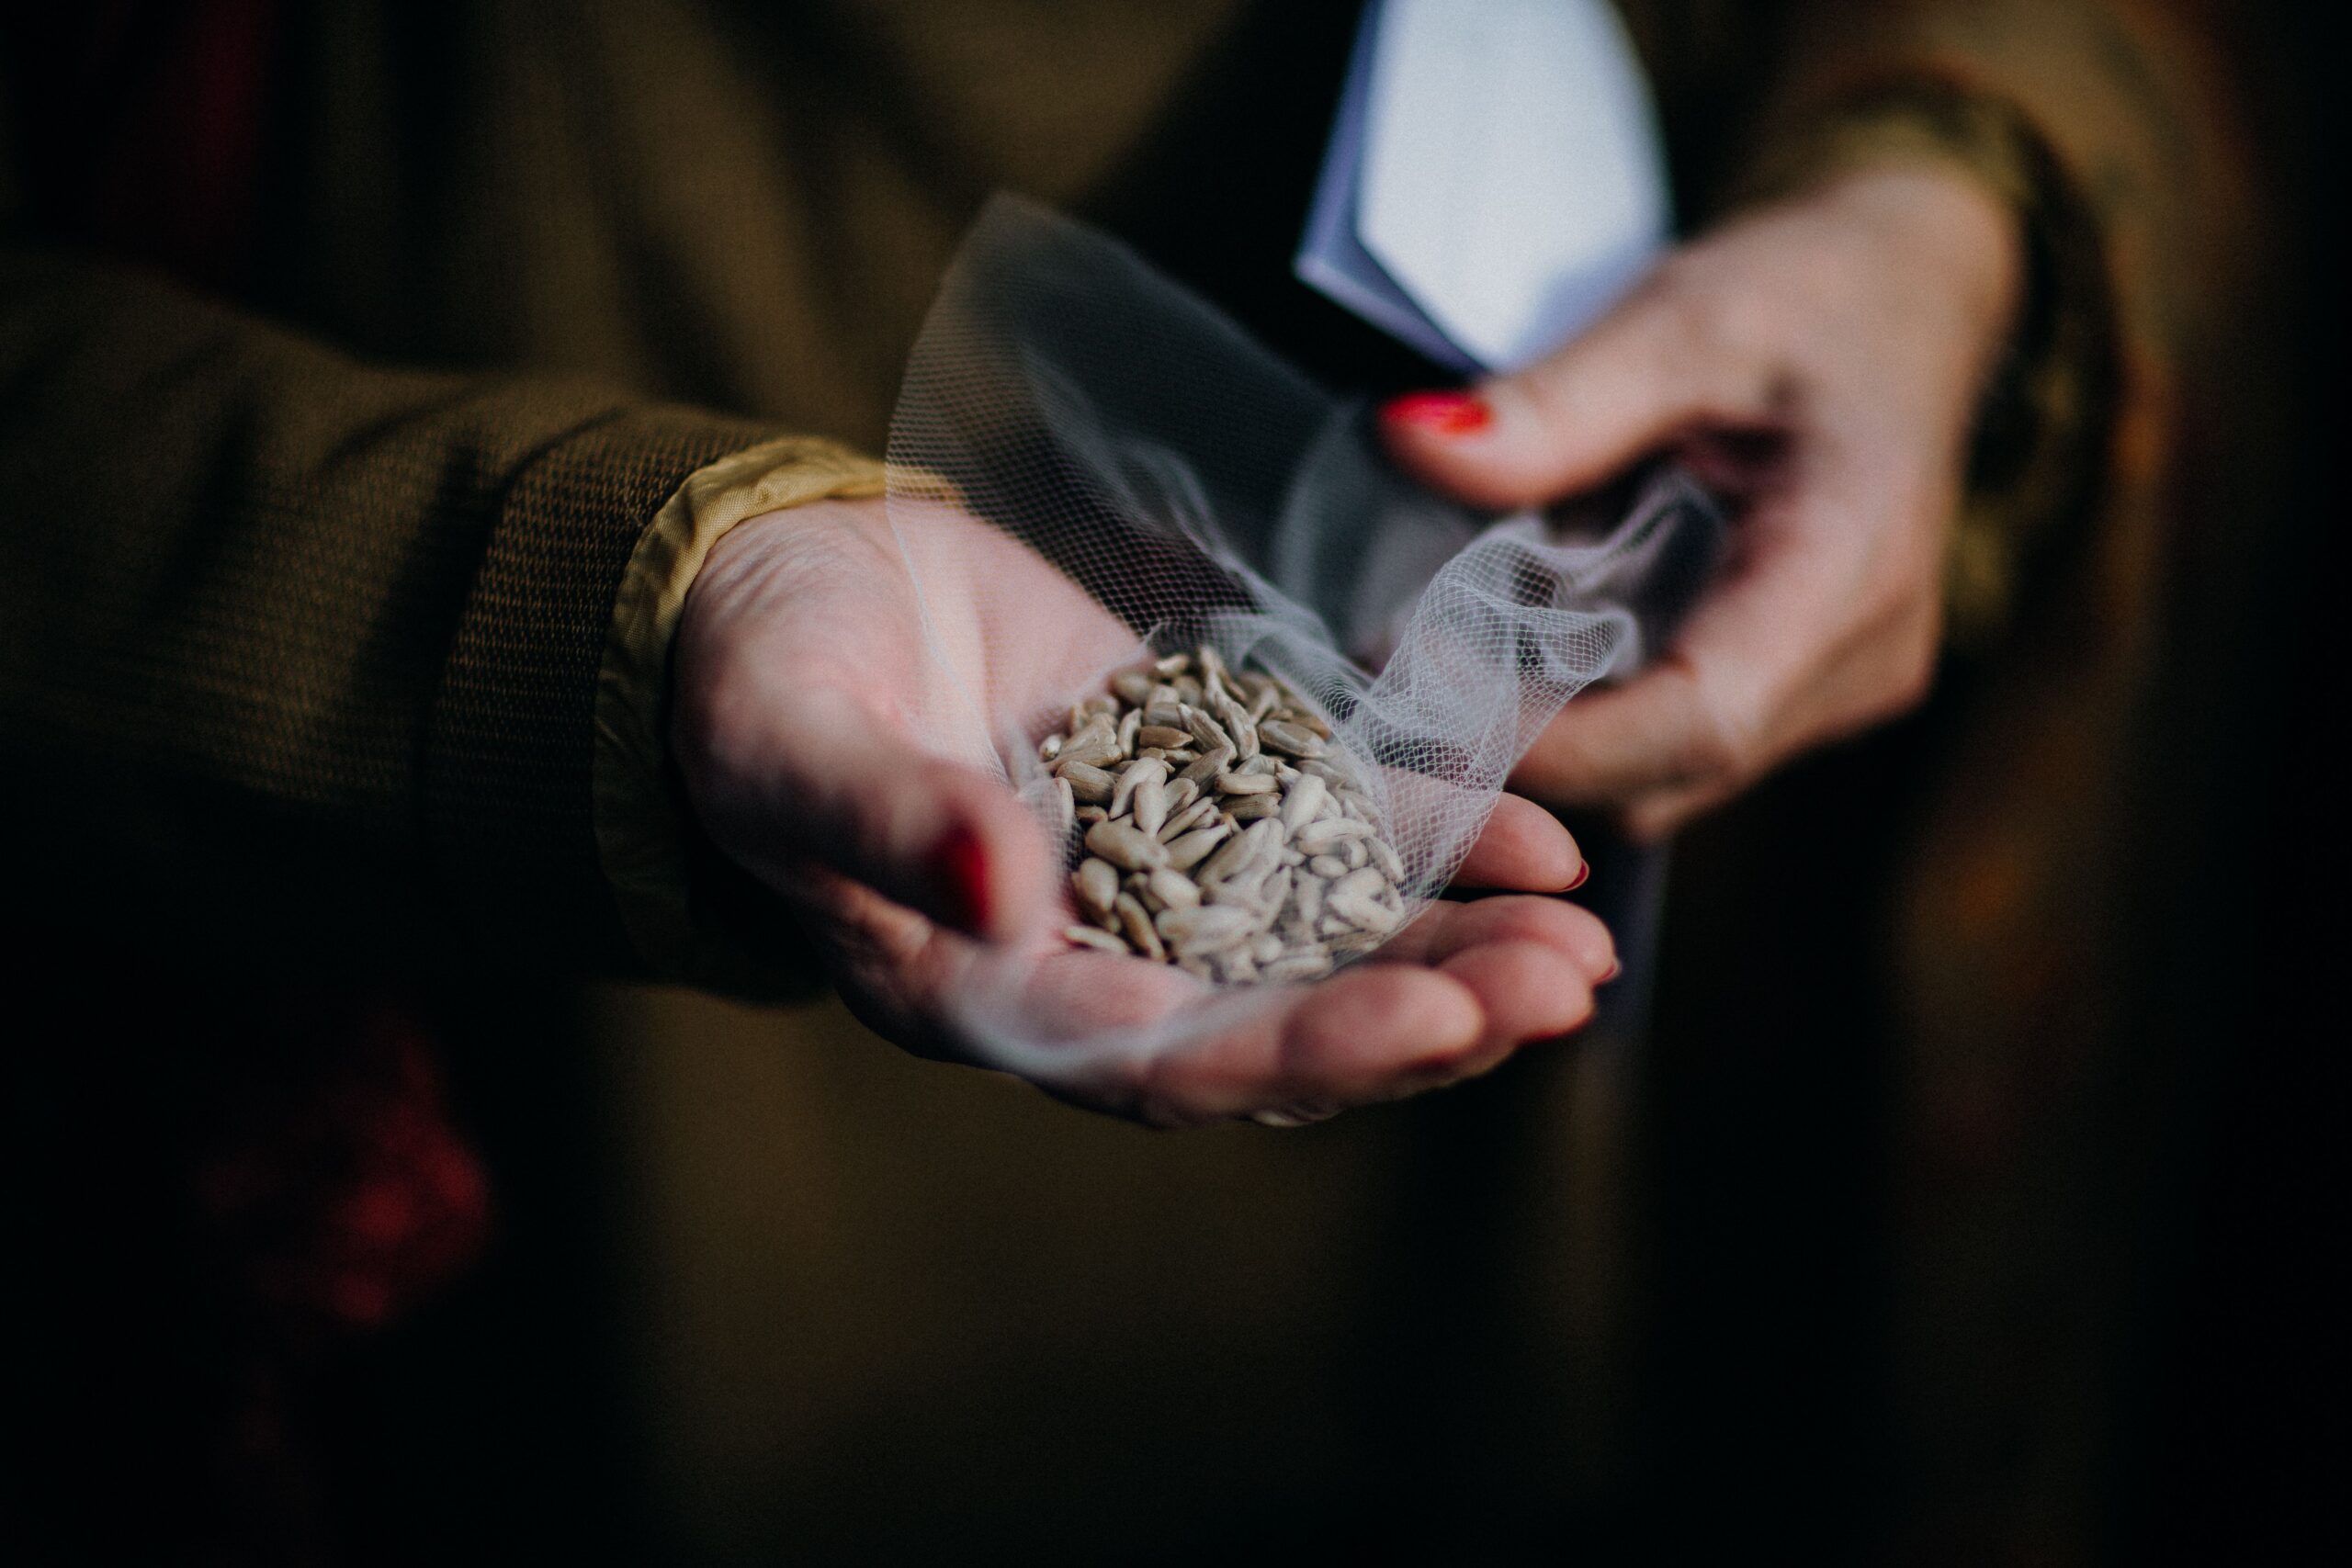
Testing shows you where your seeds stand now, and if you store them properly, then you can avoid running these assessments before you are ready to plant them.
Moisture is the number one reason for having to test seed viability in the first place. When you receive packages, sometimes they’re bundled with small “Do Not Eat” packets of silica gel. I would recommend saving those, or buying some if you plan to store your seeds. Those silica gel packs absorb excess moisture and will prevent molding or rot.
Seeds will last longest if stored in a cool, dry place and you will cut years off their shelf life if you store them loosely in a warm or humid area. The best place for storage is in a pantry, closet or kitchen drawer in a tightly sealed container that will keep out moisture. Some gardeners even store their seeds in the back of their fridge! TIP: If you are planning to grow seeds that need cold stratification (i.e. Common Milkweed), you can store them in your refrigerator to mimic cold and skip sowing in cold months.
Knowing your seeds shelf life is also a pro-tip and can save you time with testing. I recommend labeling your seeds with the date of when they were opened or preserved (if they were harvested from your garden.) That way, you know which to use first if you have multiples because different varieties have different timelines. Onions, parsnips and leeks are shorter-lived and should be used within a year or two. Lettuce, peppers and beans have a moderate seed life that can hold viability up to three or four years. Melons and cucumbers are long-haul seeds and can remain dormant for up to five or more years with the proper storage.
Time For a Restock?
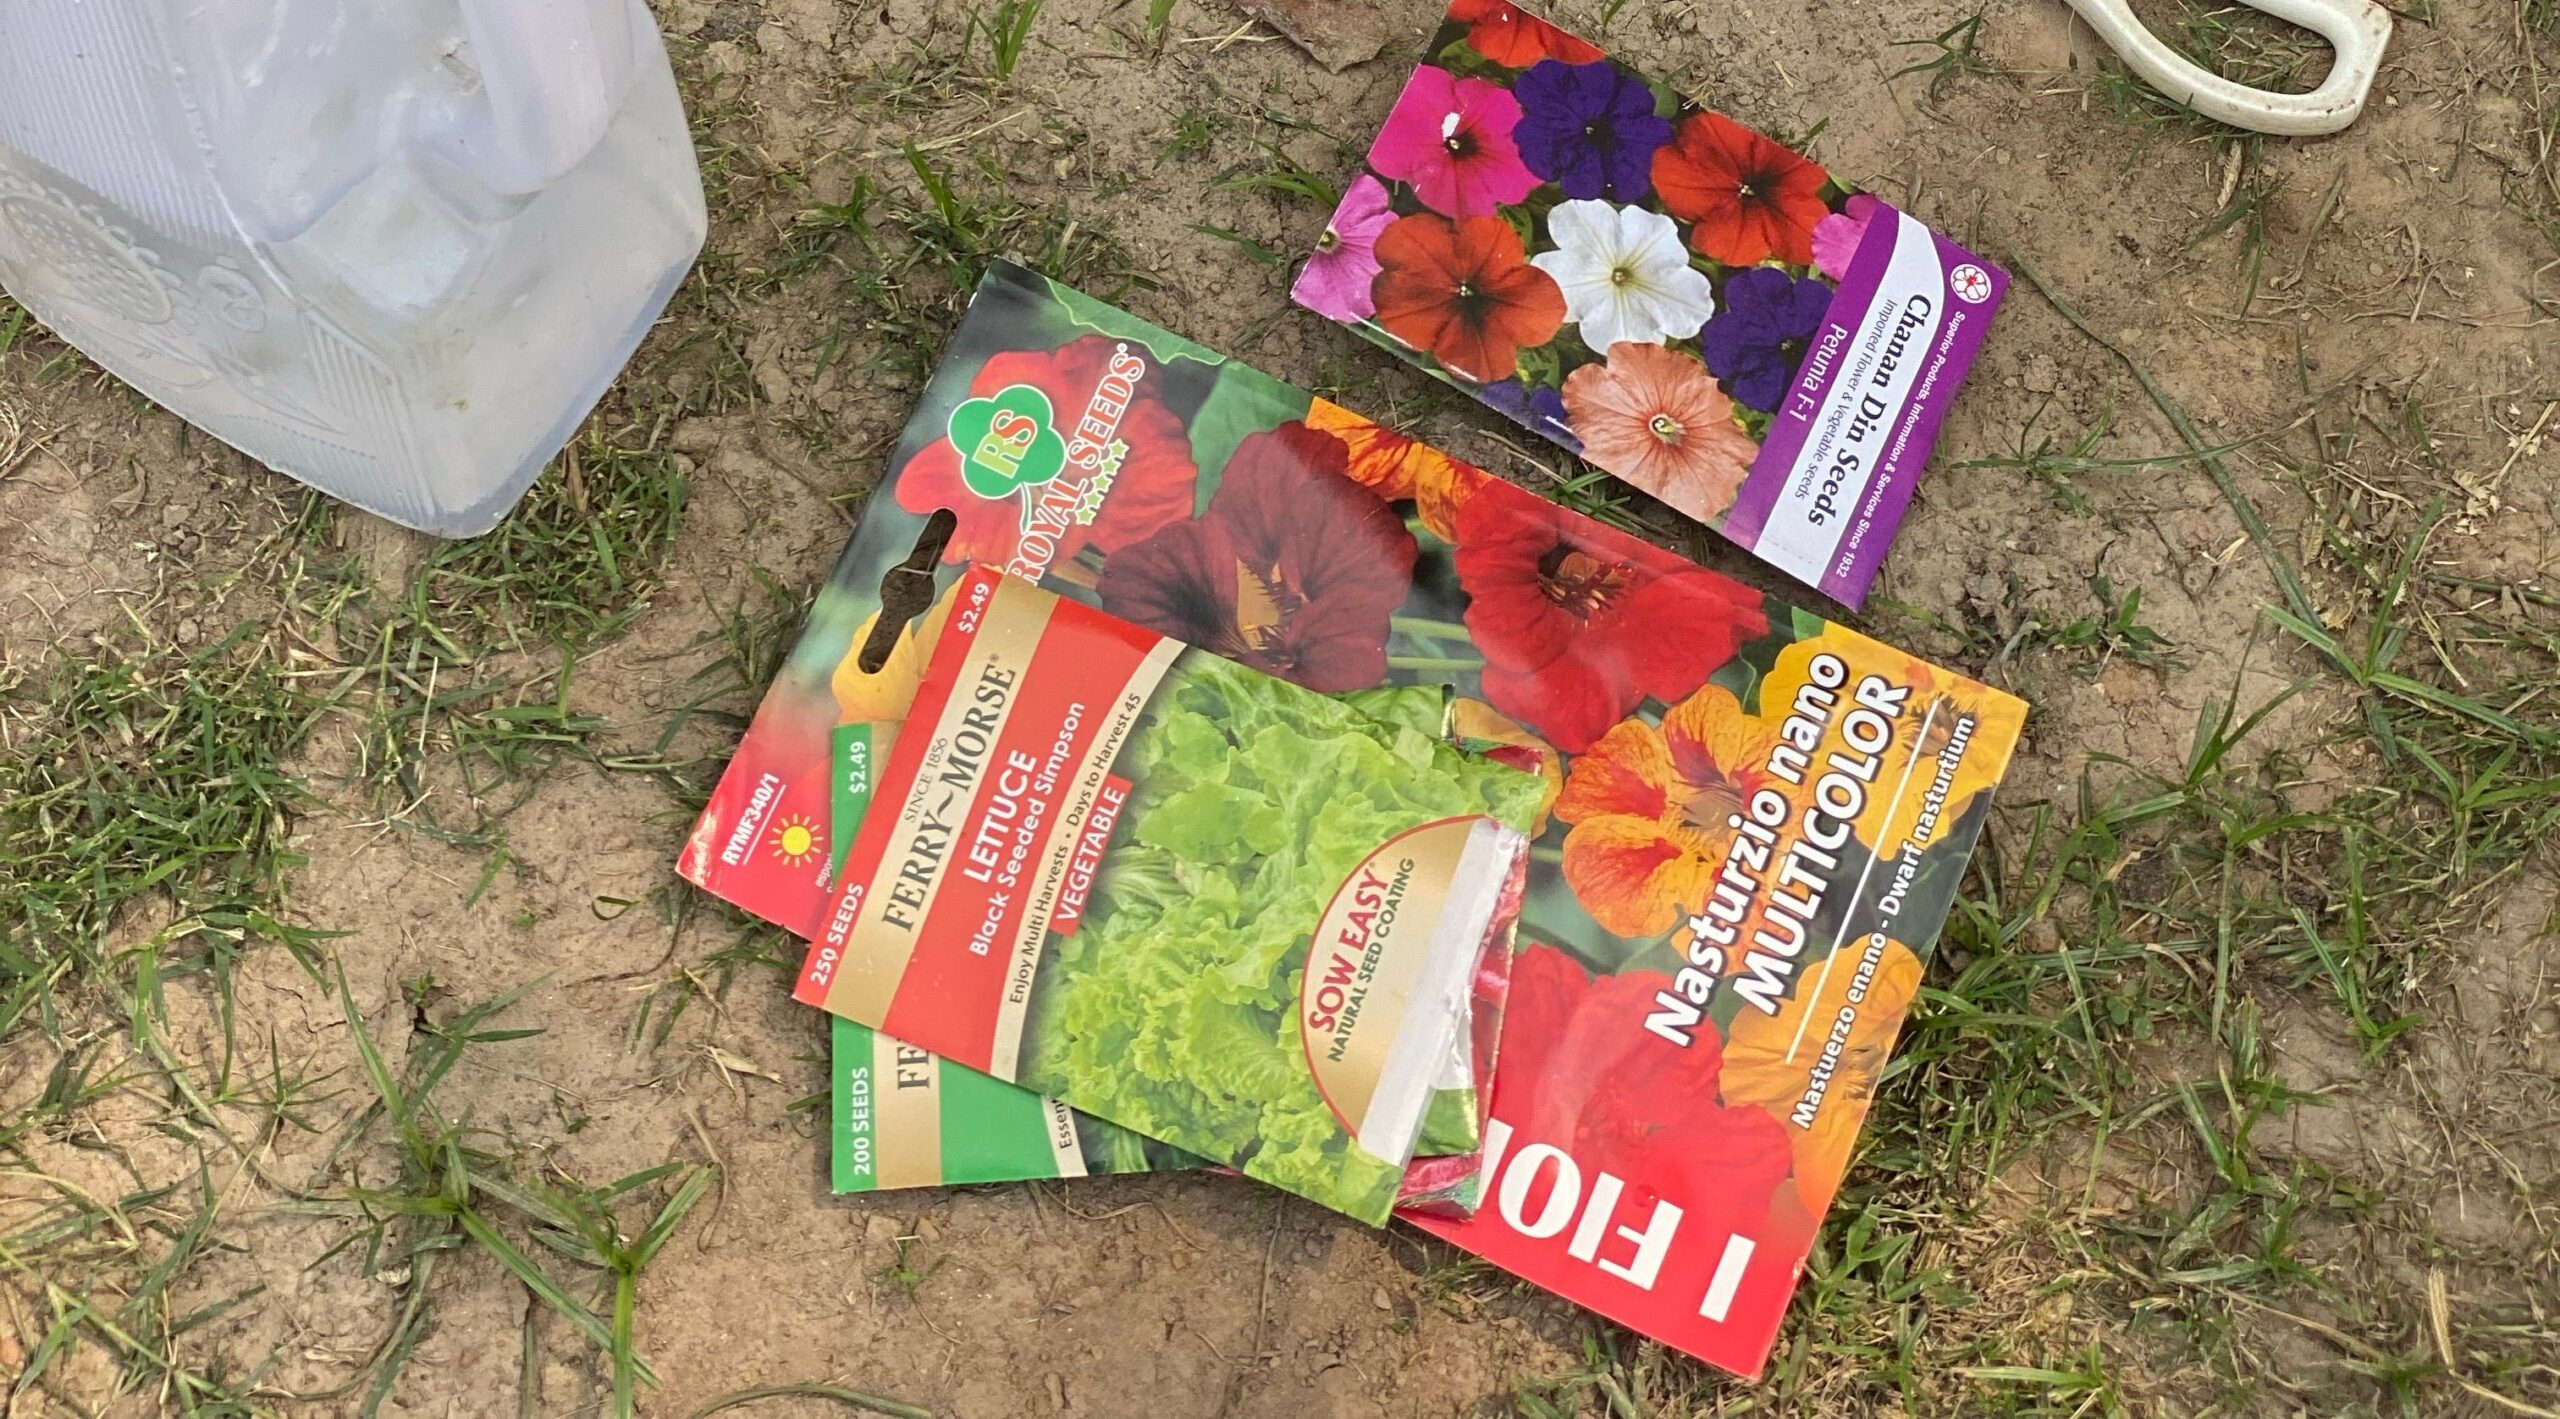
If your test results came back 50% or lower, your best bet is to go grab some fresh seeds. Don’t gamble on old seeds that may never even sprout for you. Know that you may not have caused any damage to them, their time probably just expired and it’s time to run to the seed aisle. My favorite fresh seed comes from Ferry-Morse. They are Ole’ Reliable in the market and pack their seeds for the current growing season.
Quick Recap
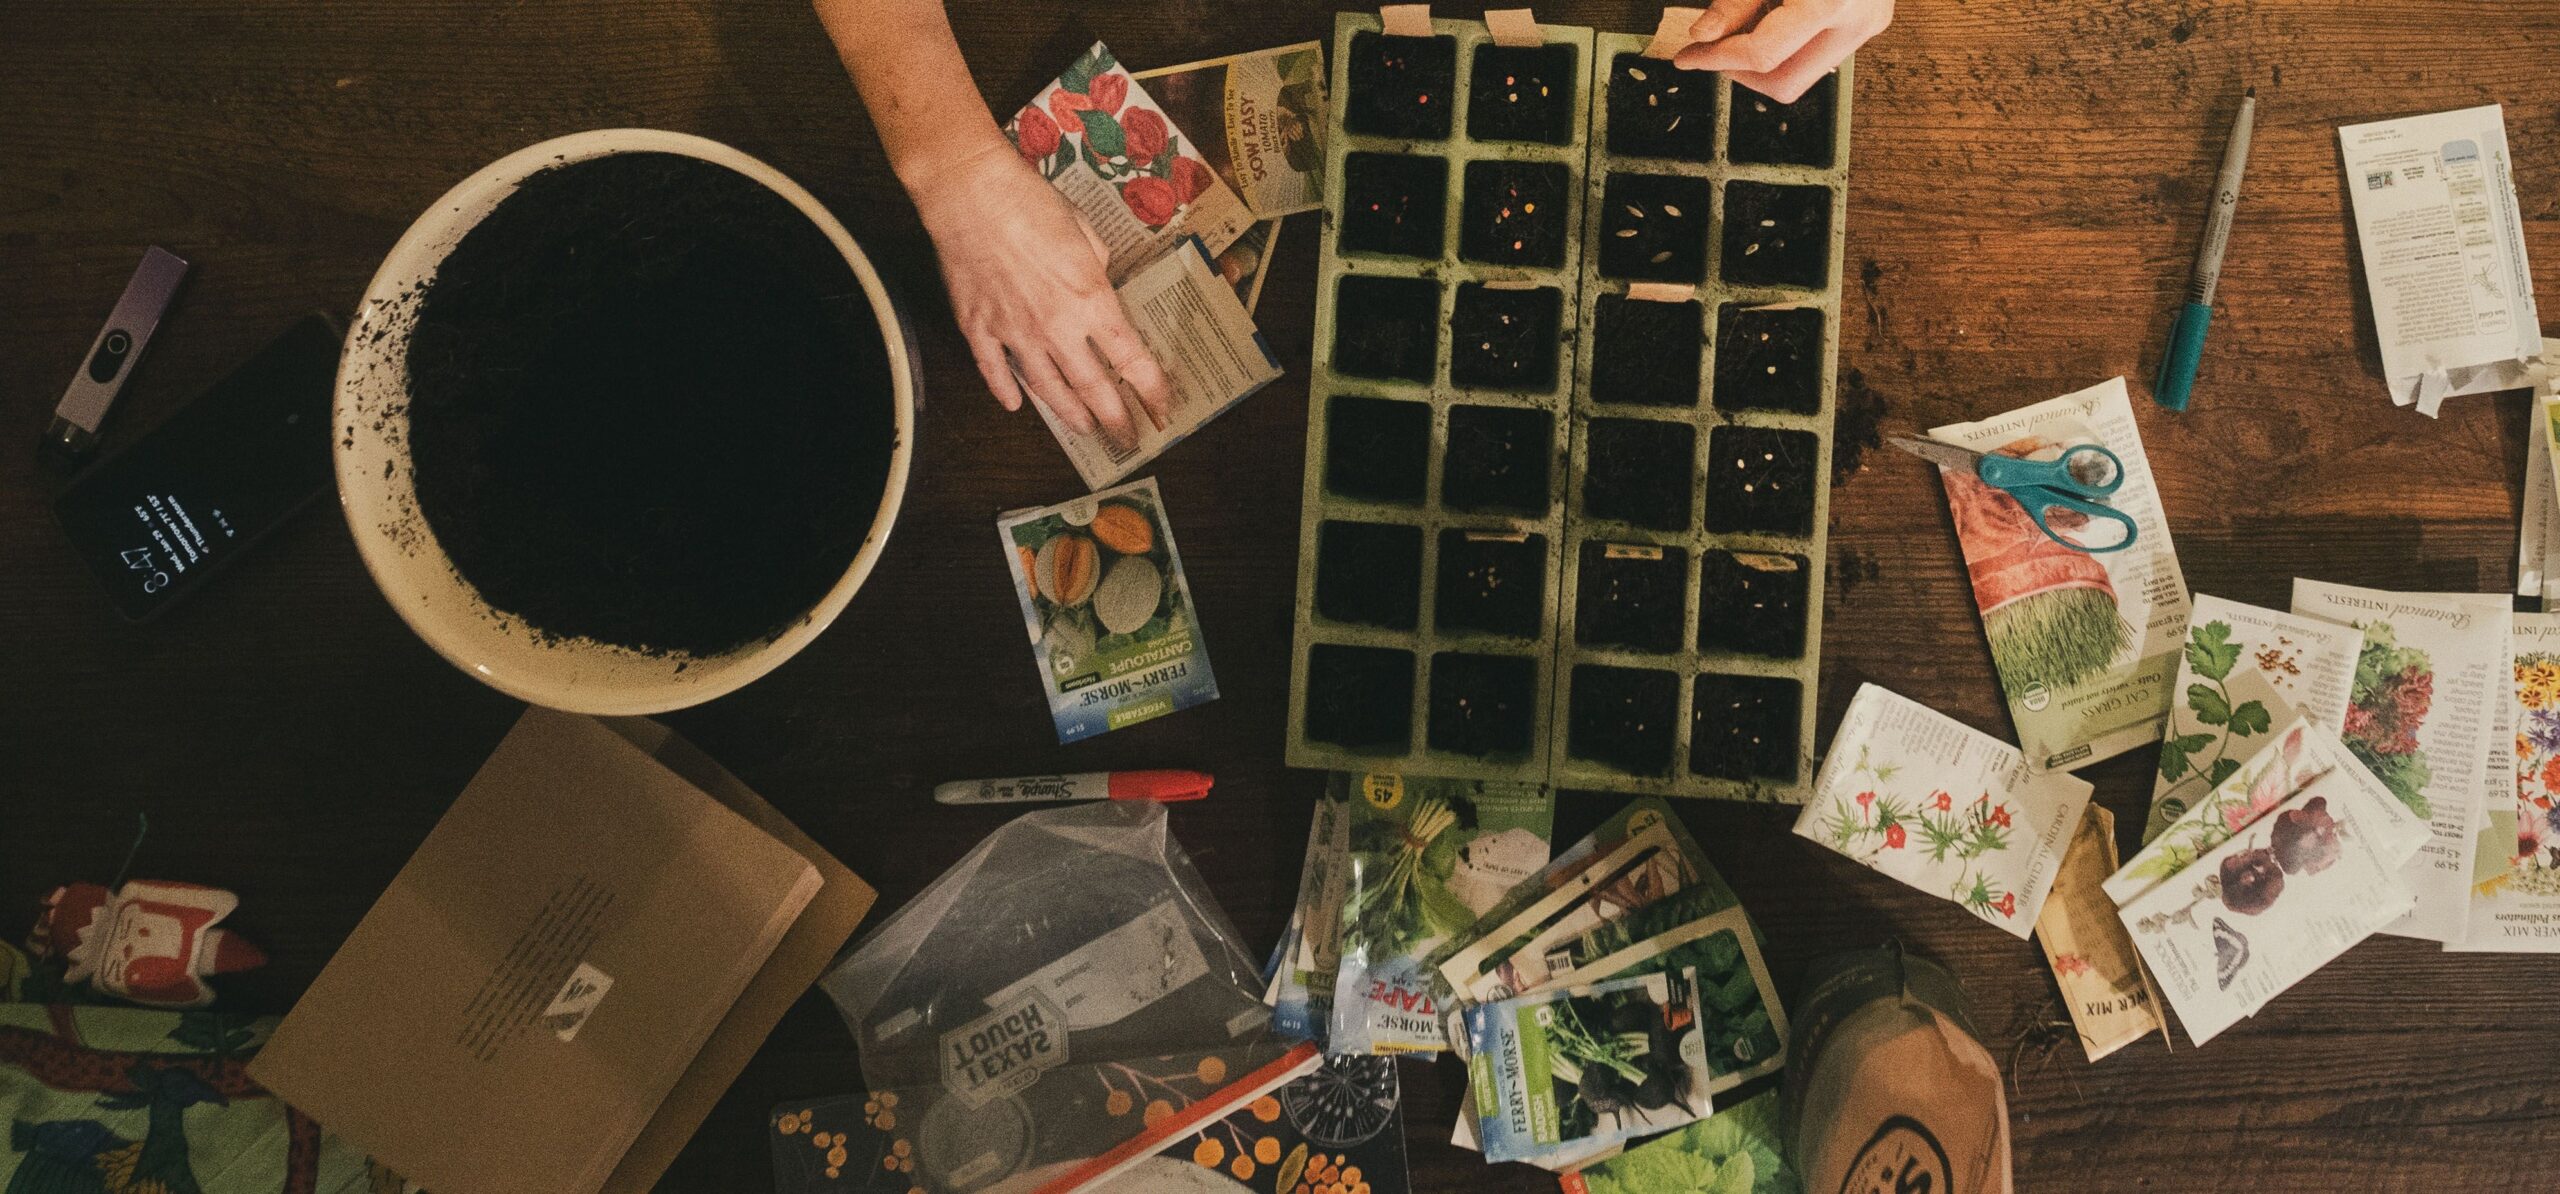
Before you plant anything this season, run through this quick checklist if you have any uncertainty or red flags with your seeds
- Check for obvious signs of seed decline with a visual and physical exam. Toss the ones that don’t make the cut for testing.
- Larger seeds can be vetted with the float test, but also does not indicate the final verdict.
- The paper towel test should have at least ten or more seeds in the sample size, especially for the smaller seeds.
- Use the benchmarks discussed to decide whether you need to plant more densely, or just replace.
- And remember, these test methods are not a guarantee. You still need optimal conditions for the plant to grow and mature.
A ten minute float test, or a few days of the paper towel test can save you heartbreak when you are waiting weeks for your plants to come through the soil, just to be let down. Grab some seeds and run these test methods to know what’s worth planting and what’s worth replacing before you dedicate your time and garden space to something that may never be.